Happy new year, friends! I hope you have all had a lovely break and feeling ready to take on 2023. I think I can count on one hand how many blog posts I wrote in 2022 but I hope to do a lot more this year, especially whilst I am studying at KLC School of Design until the summer. I spent my Christmas break painting our living room so be prepared for a few updates on here, starting with the windows…
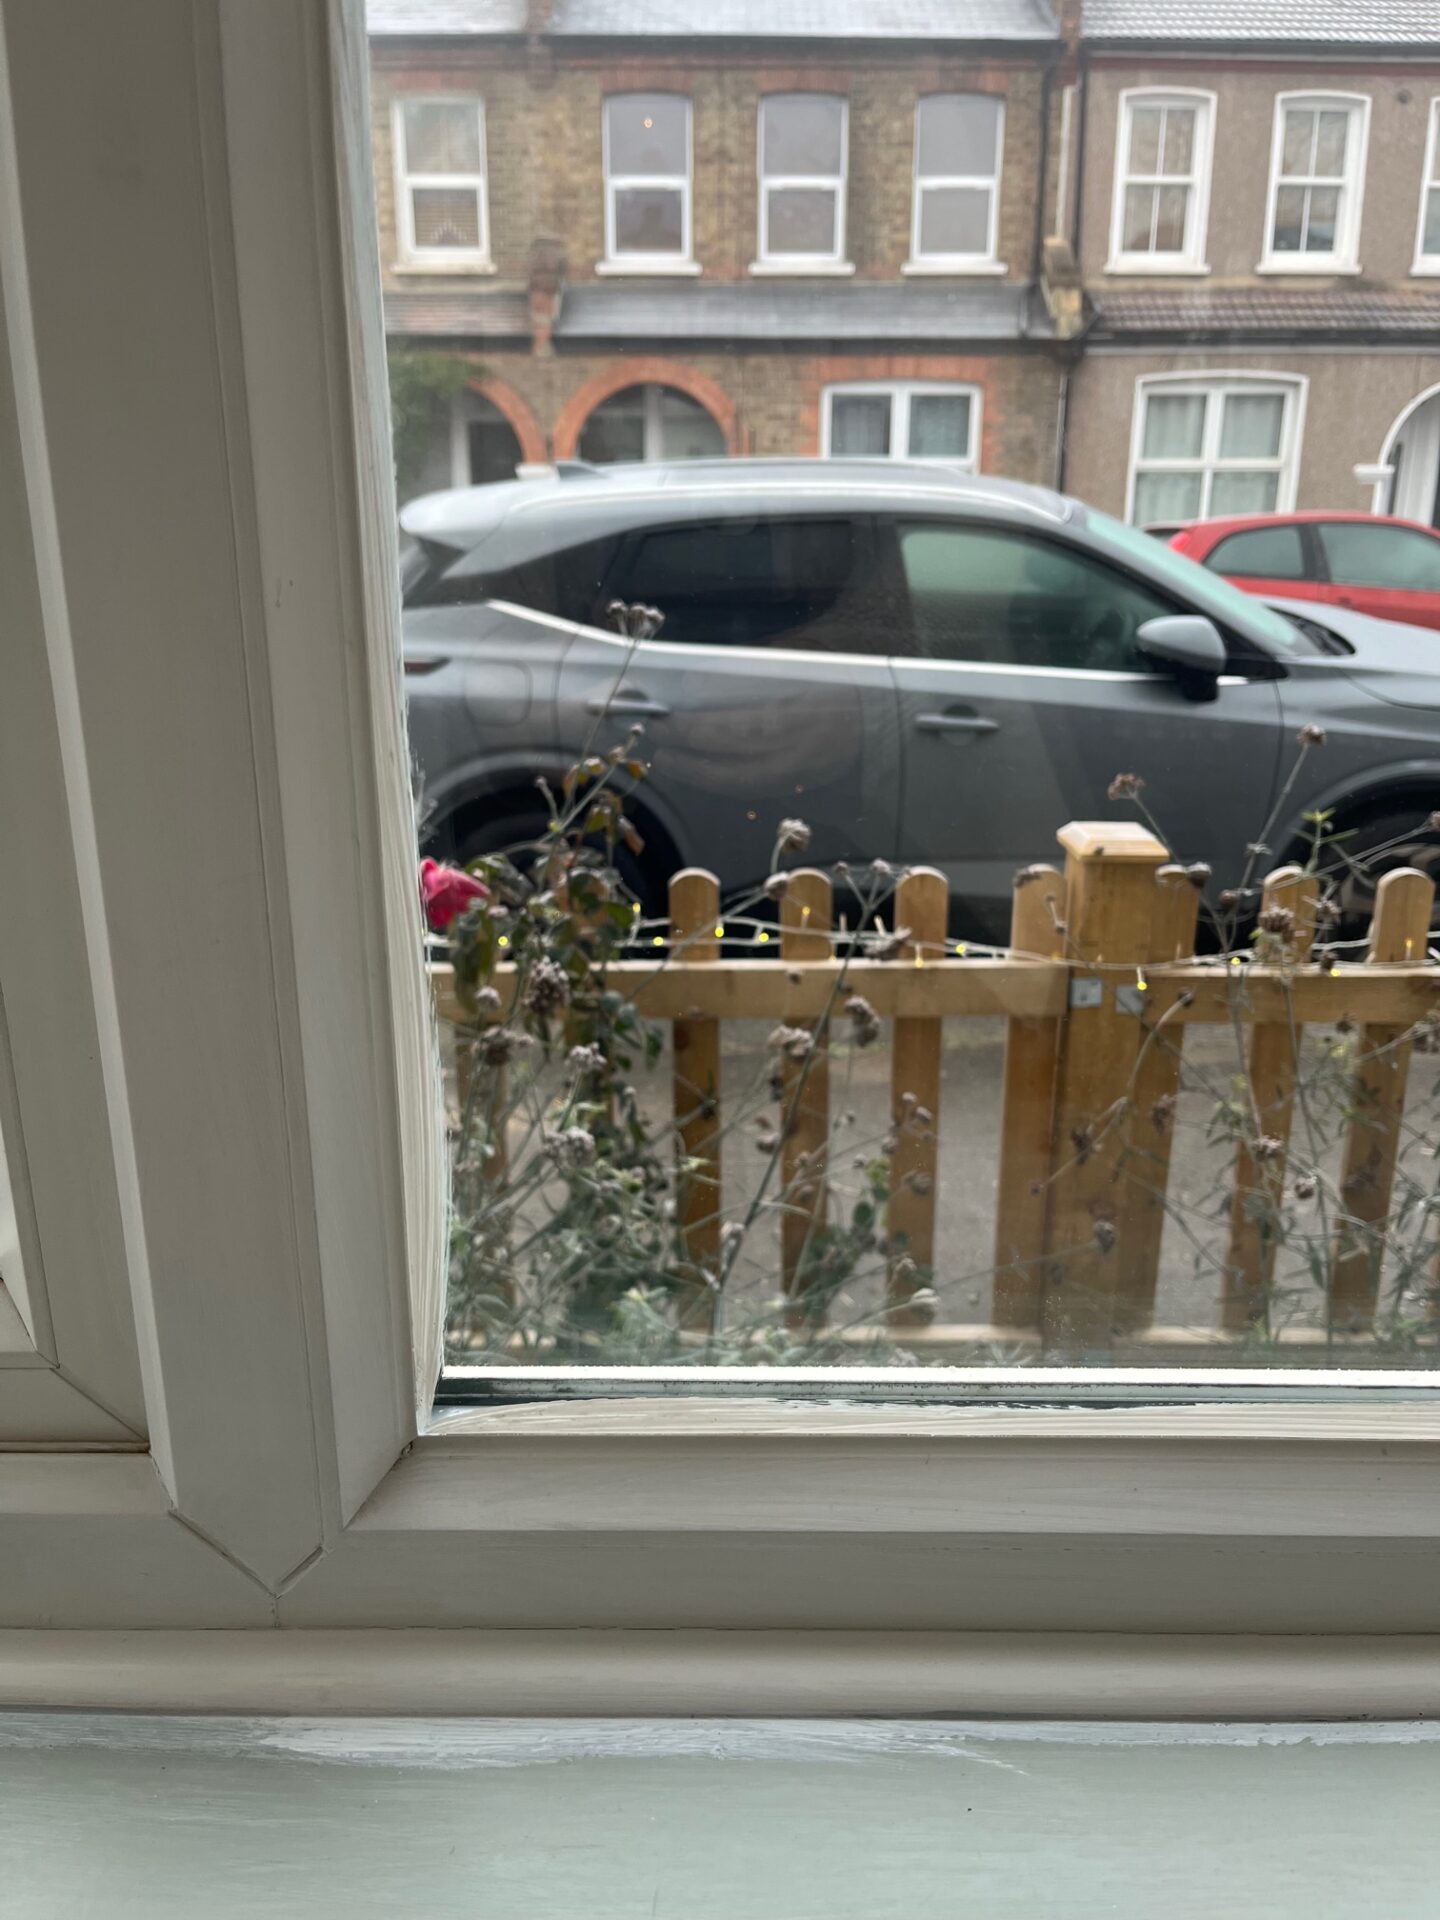
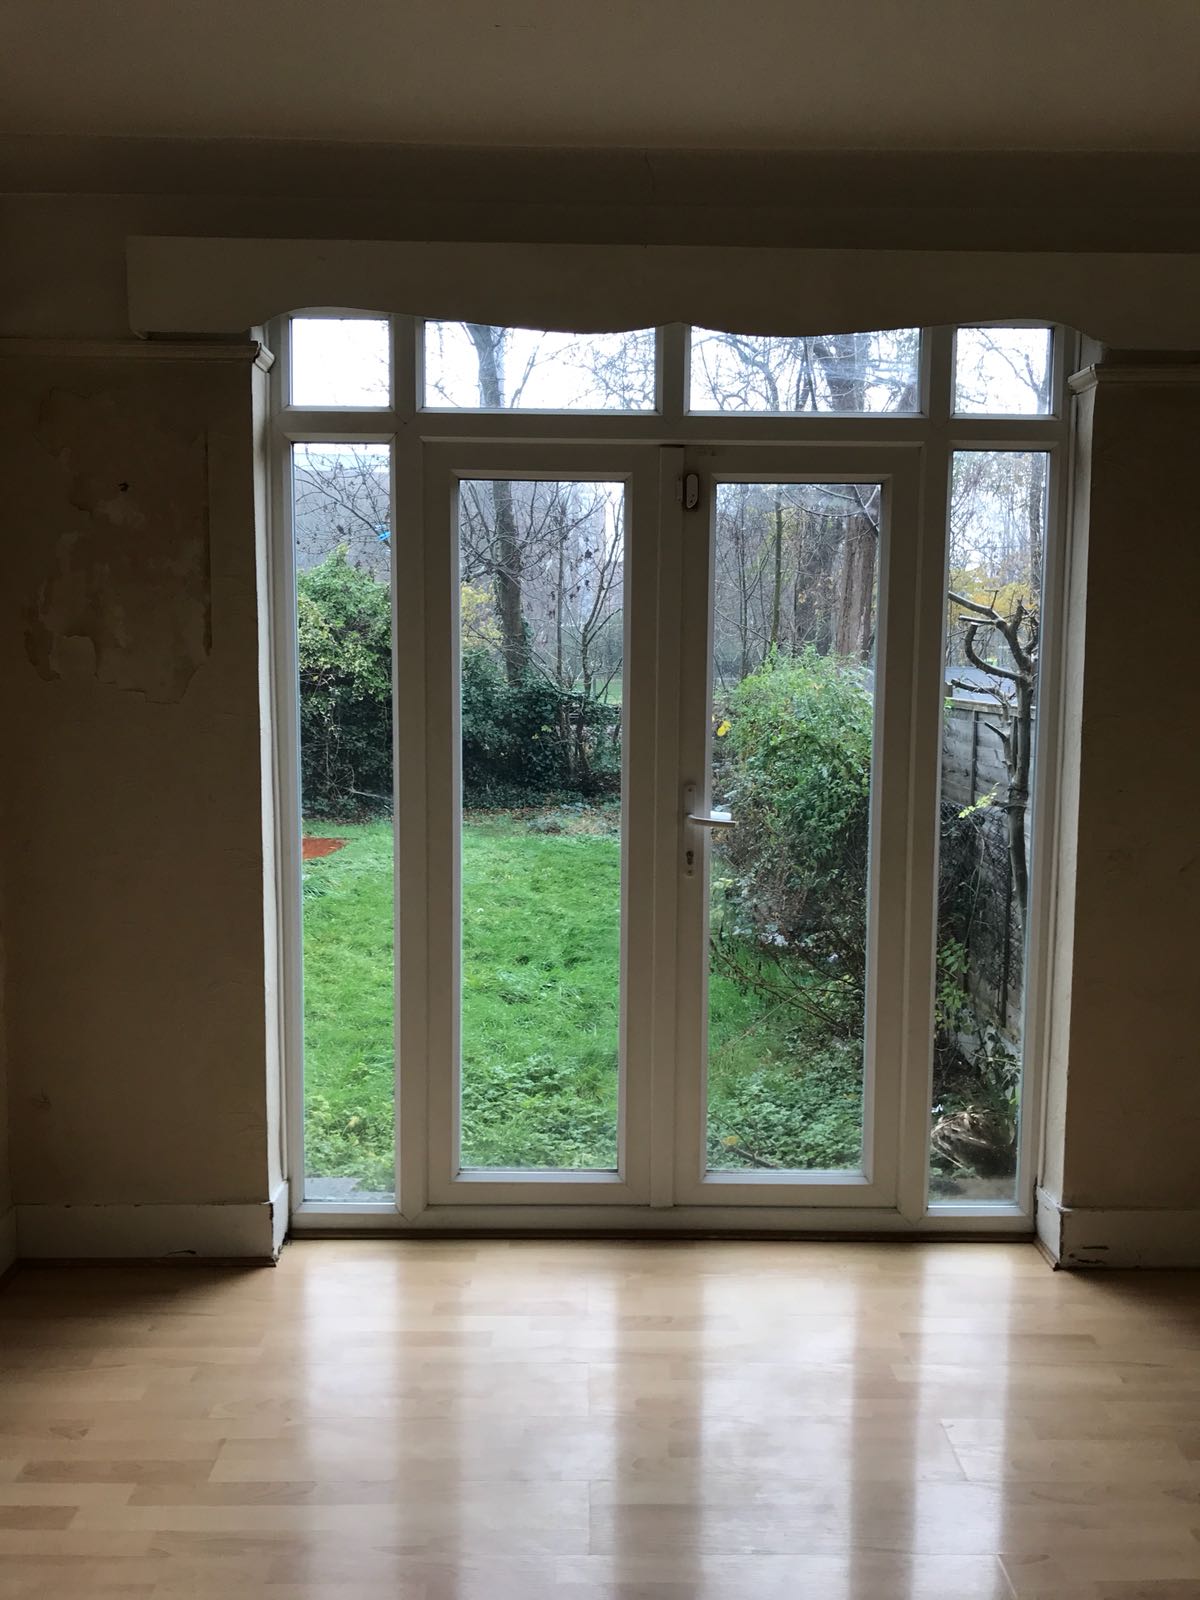
I have spent a long four years staring at the horrible plastic window frames and doors in our living room. We inherited all of them and they would never be our first choice but they are very practical, do not need replacing and we definitely do not have the budget to replace them. Therefore, I decided at the end of last year, whilst I had a break from college, it was about time that I gave them a little glow up.
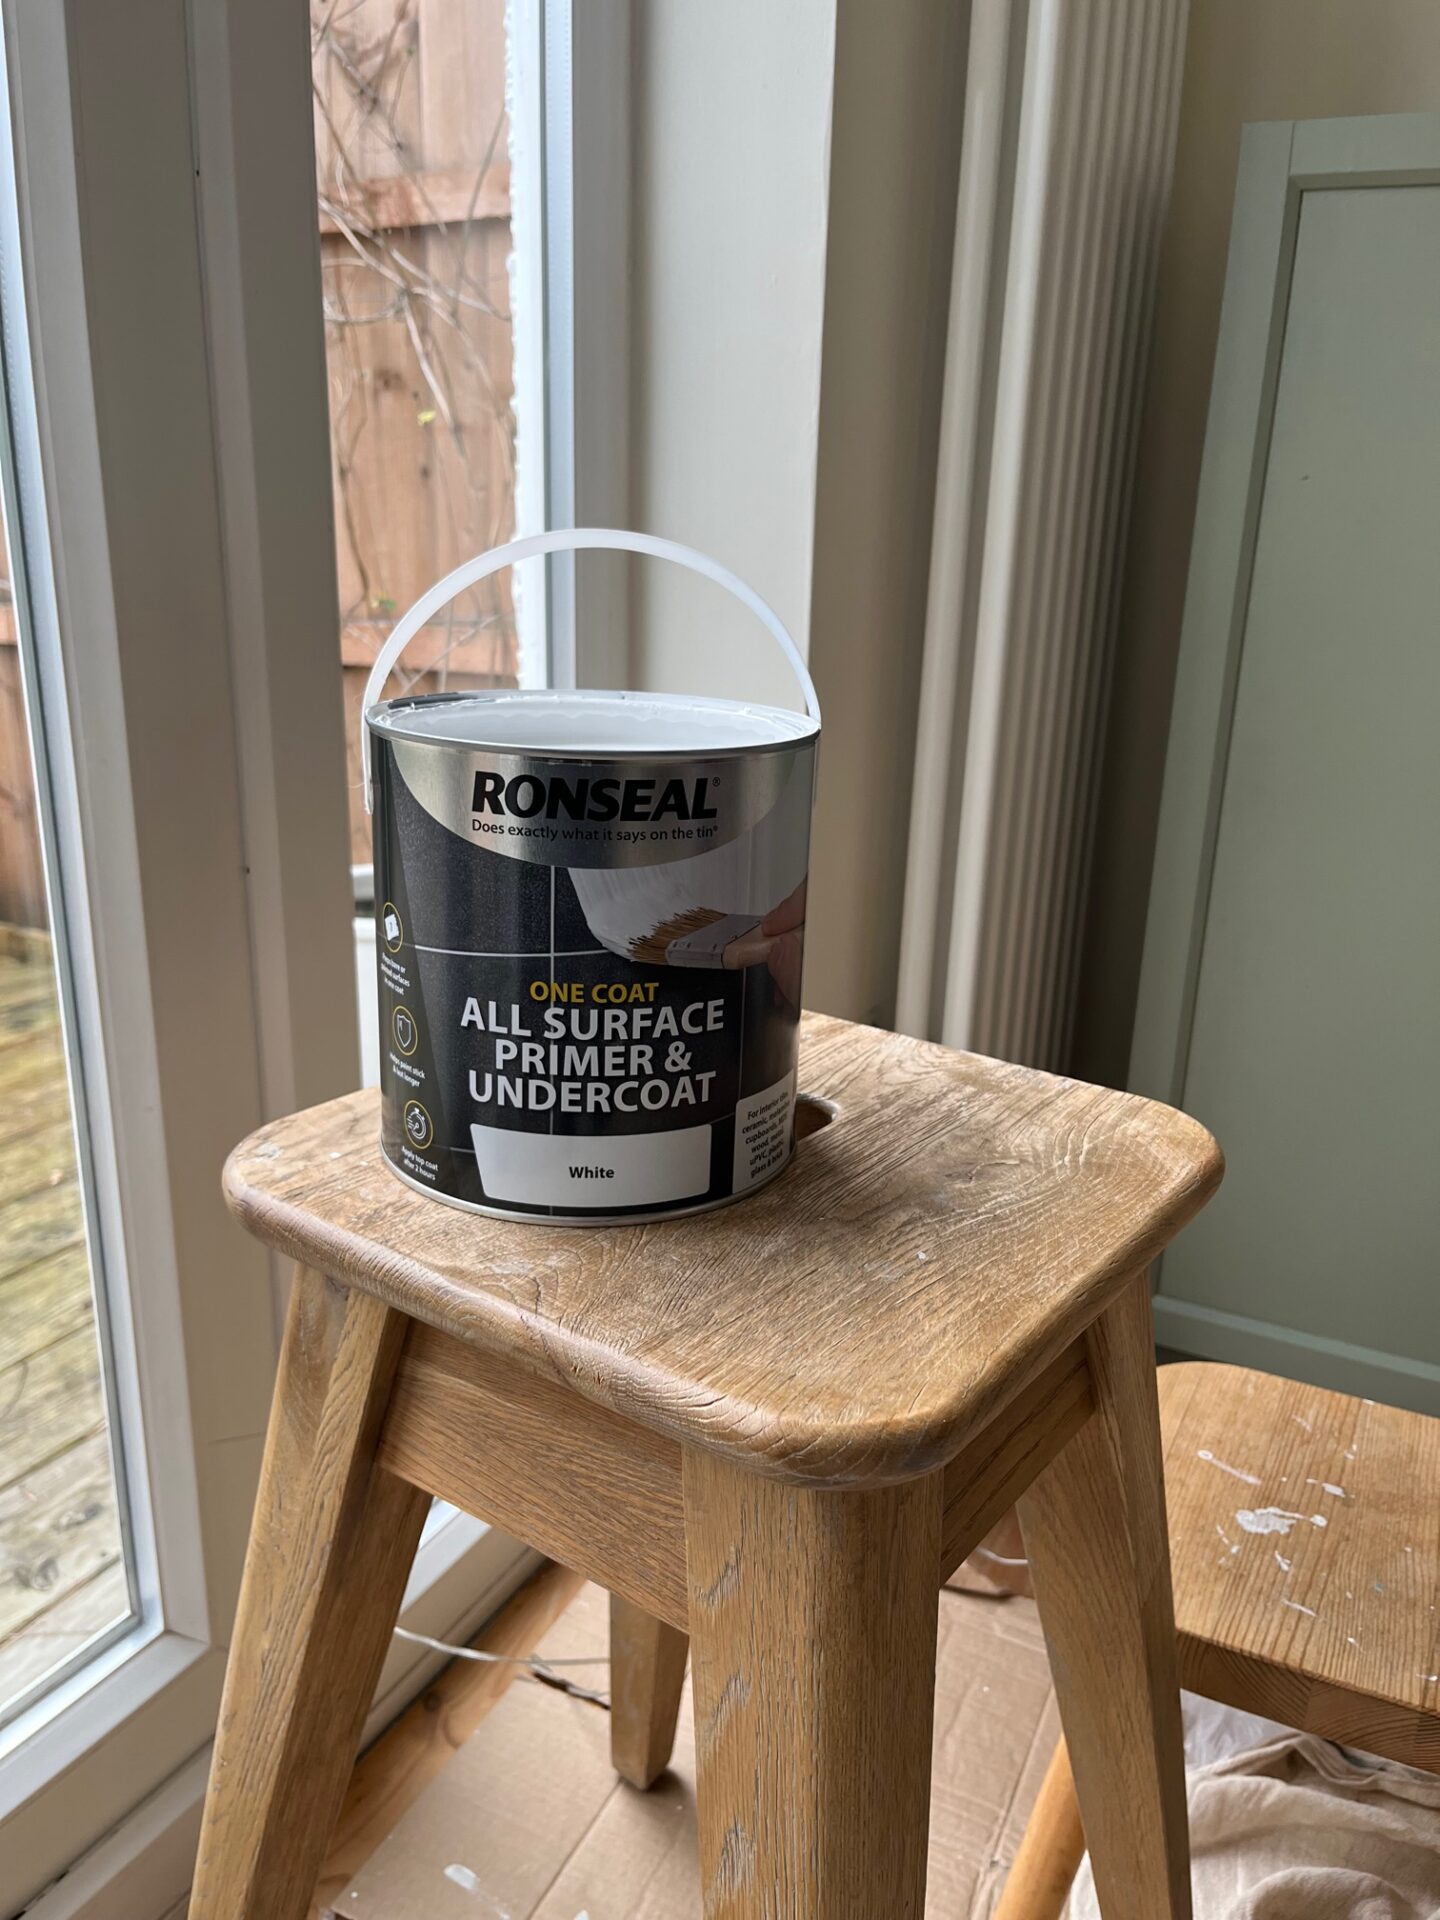
I have long been a proponent of painting uPVC since we did our front door the first year we moved to the house. It has withstood so much battering, dog claw scraping, scooter bumping so I know it is a good long term solution. My experience of using Ronseal’s All Purpose Primer on the front door has been nothing but positive (I collaborated with them on that project) so they were my first port of call for this new project. I asked them to send me a new tin of the primer and it has worked a treat, again!
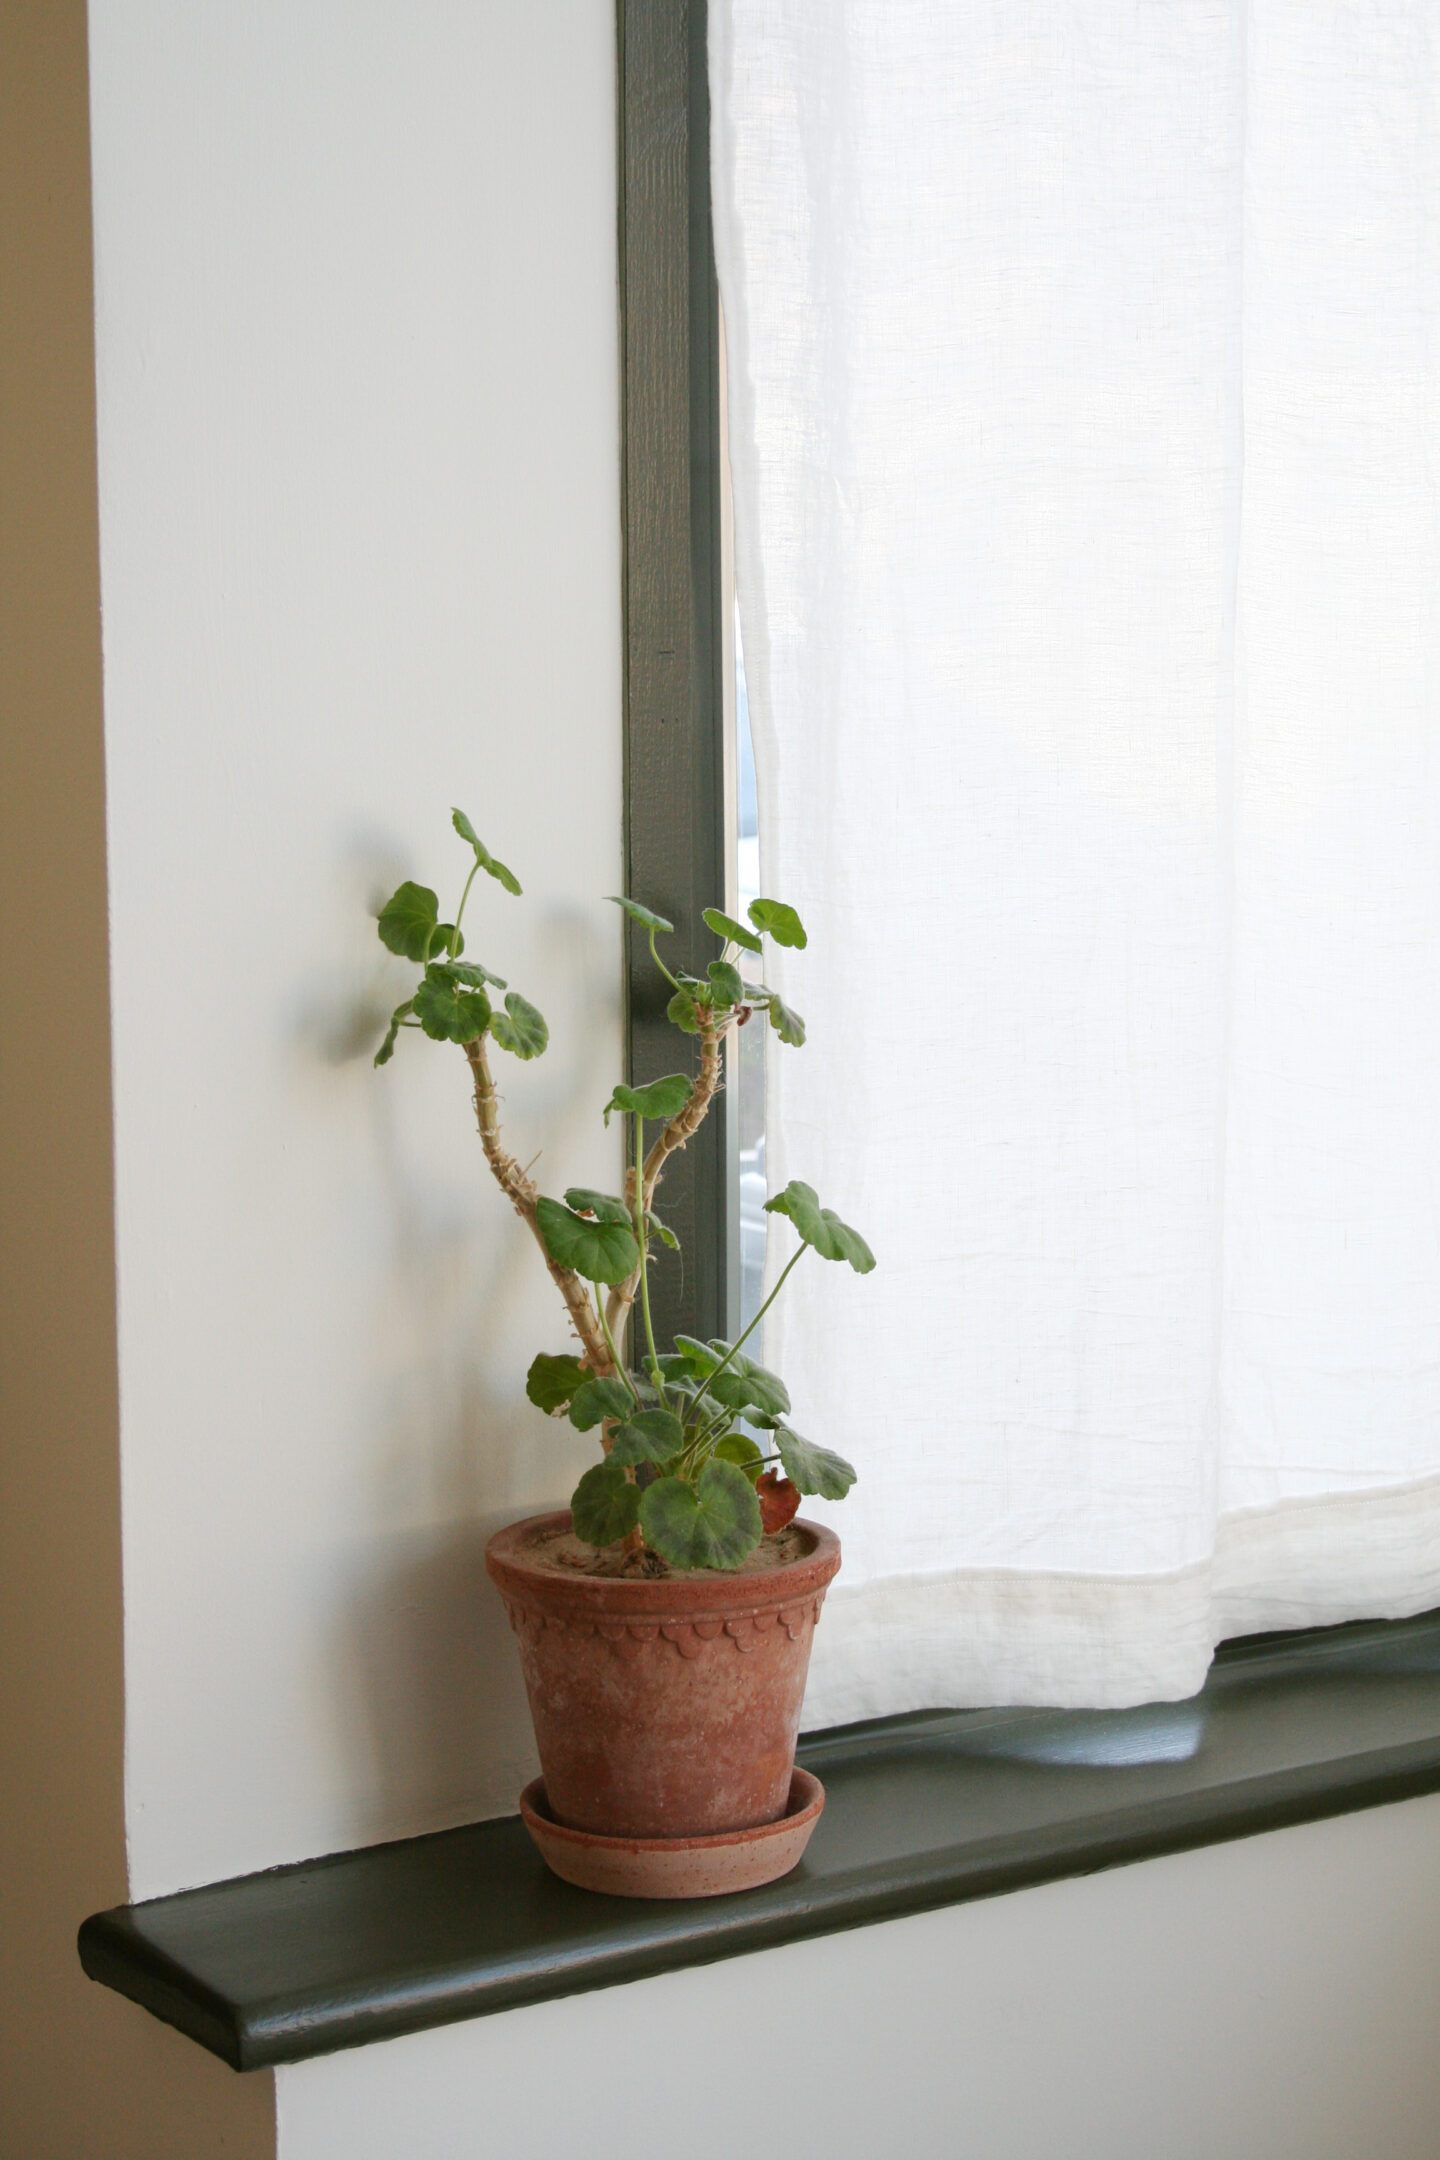
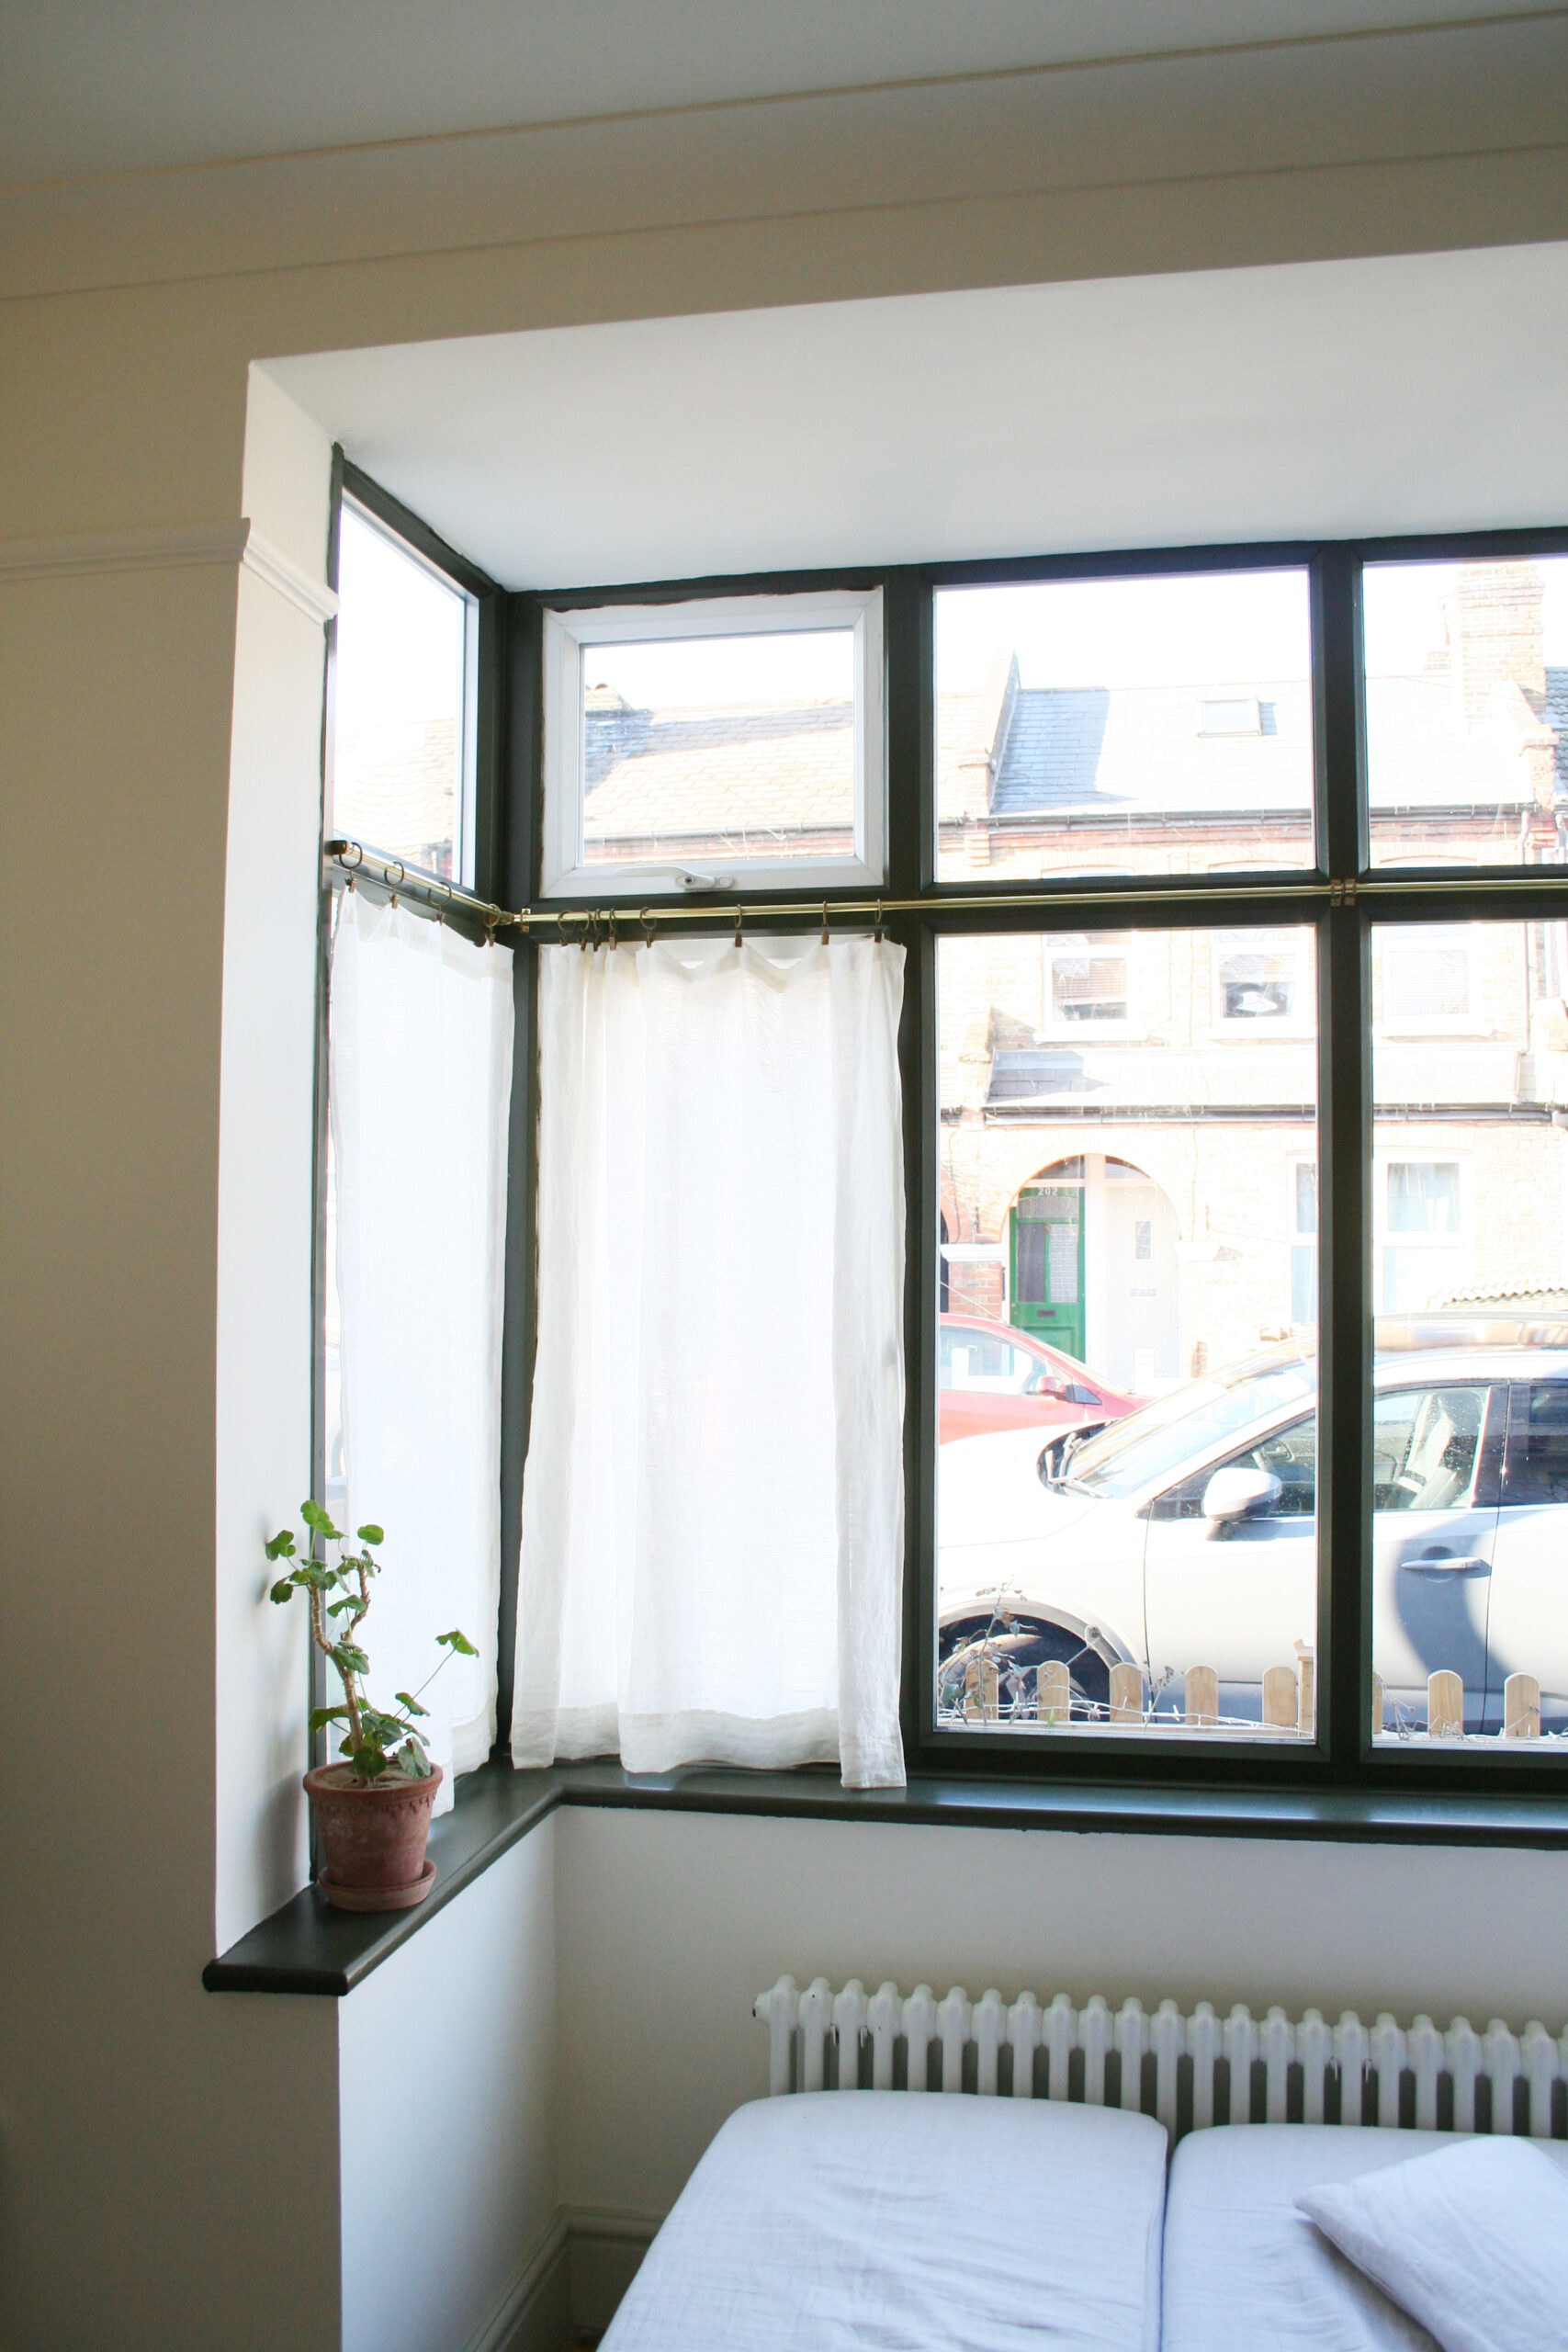
As with most painting projects preparation is absolutely key and definitely will take the majority of the time. Once the cleaning, sanding and priming is done, the painting itself is pretty easy. And I hope you agree it is well worth the effort. For me, one of the biggest benefits of painting uPVC is getting rid of the shiny plastic so whatever colour you choose just applying paint makes it look better and gives it more of a feel of painted timber. However, my advice to you is to choose a dark colour if you really want to make it look less like uPVC as this is what disguises the tell tale chunky plastic frames and unpleasant joints. The shadows created by the block like frames disappear with dark paint and it all looks much more cohesive.
Anyhoo, here are the simple steps to painting uPVC – DO NOT skip any of these as there’s only one thing worse than plastic frames and that is chipped painted plastic frames.
You will need:
Primer, cloth, 120 grit sandpaper, eggshell topcoat, paint brush, mini roller, paint scraper.
I have used:
Ronseal All Purpose Primer (PR Product)
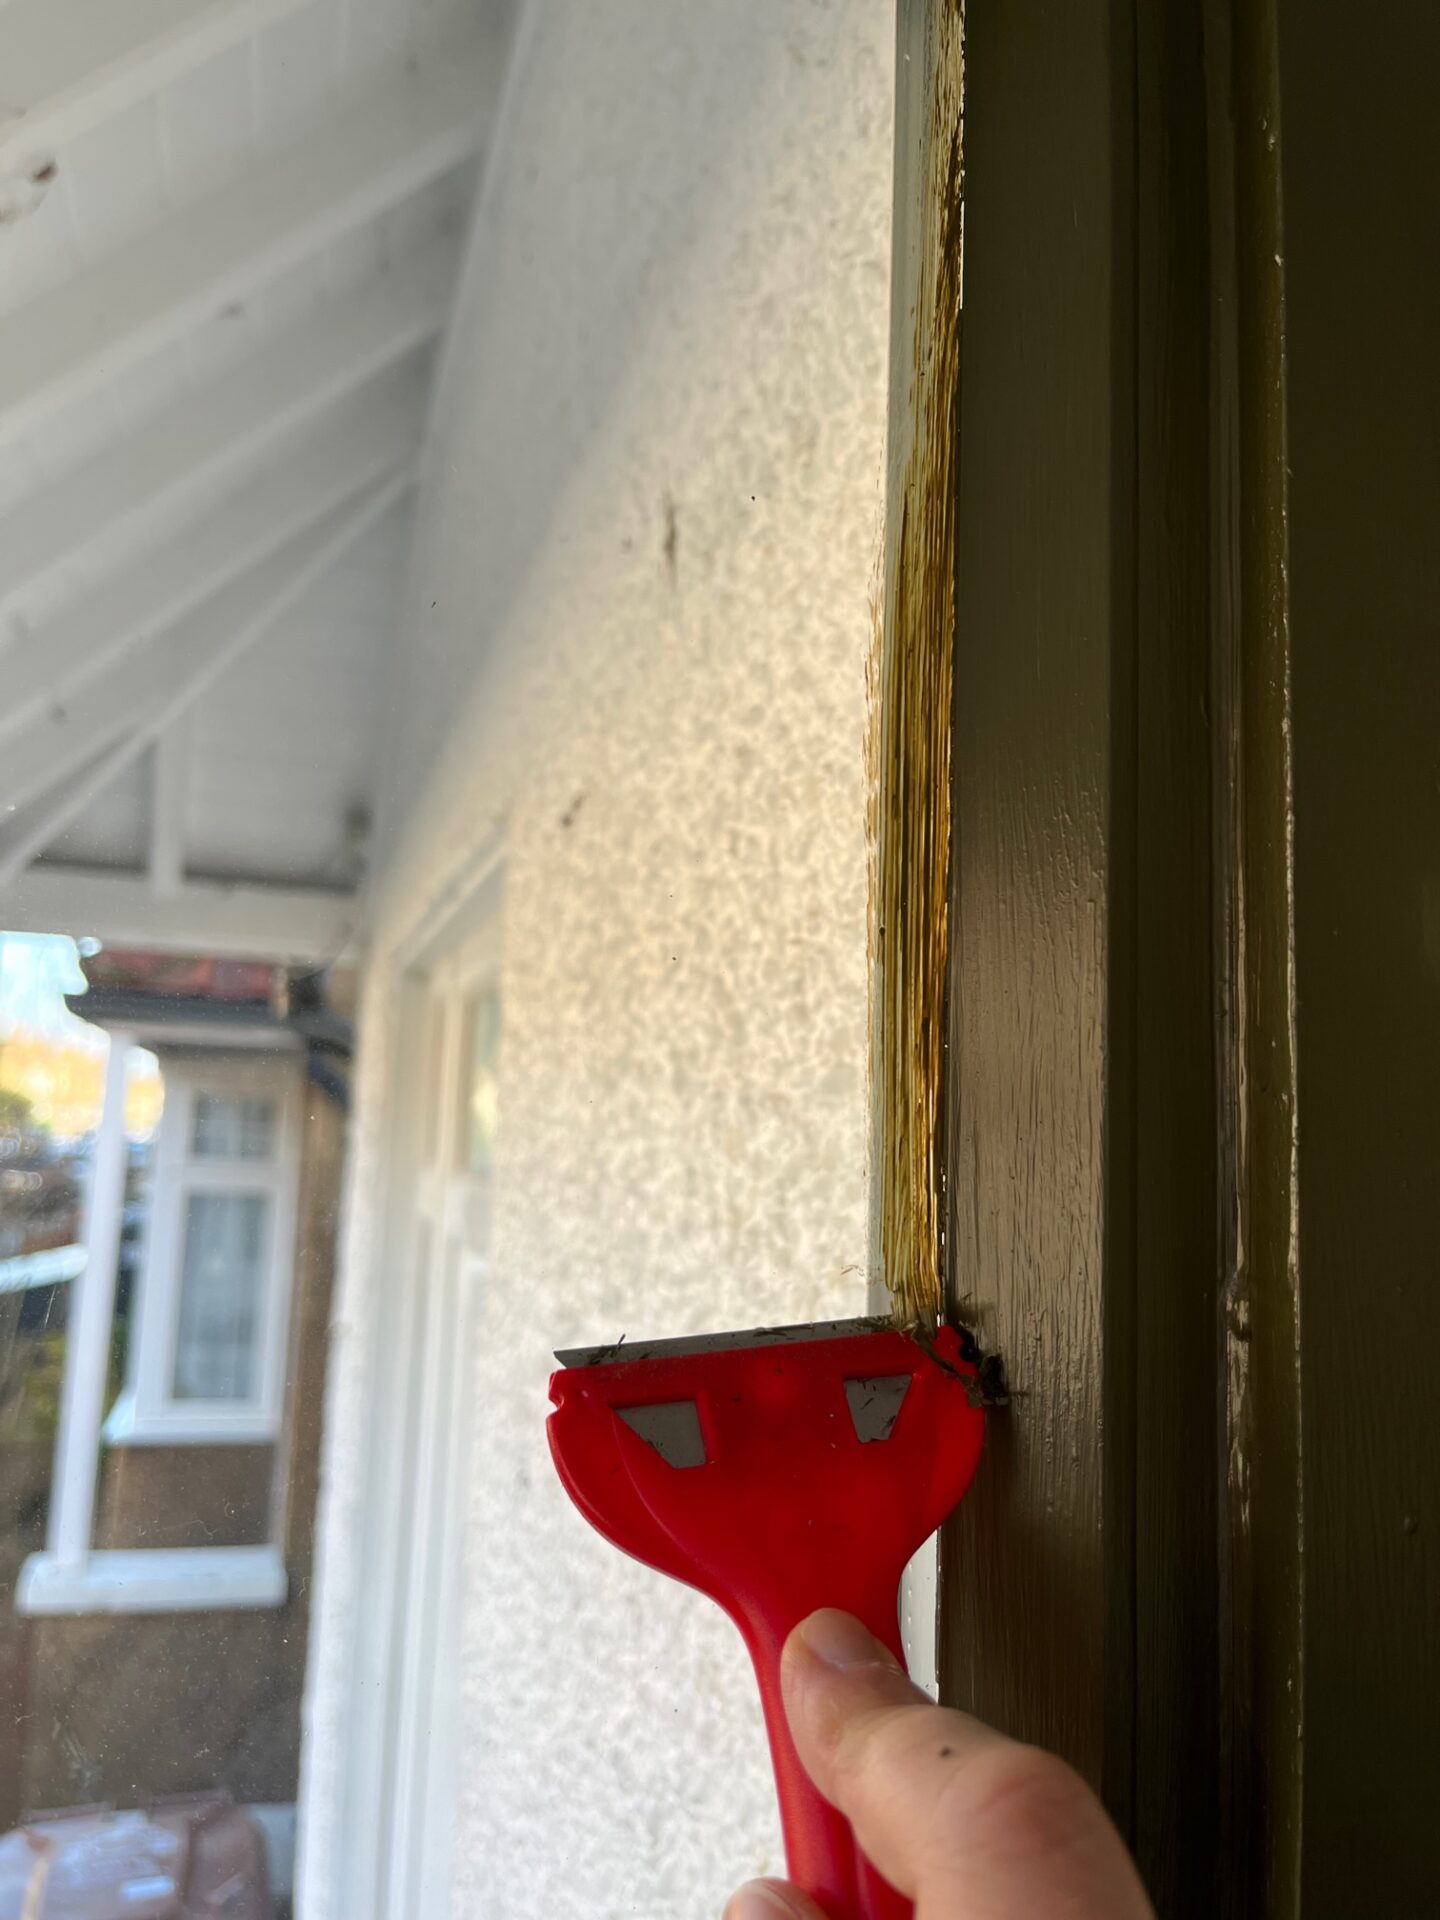
Paint scraper (I wouldn’t recommend this as a great product – it works but I worry the blade blunts very easily. It was what I had so I used it but you can get better alternatives.)
- Choose a mild day that isn’t too hot, too cold or wet so that you can leave your windows/doors open (I did mine in the middle of the cold snap so I couldn’t open the windows so I still haven’t finished parts of them).
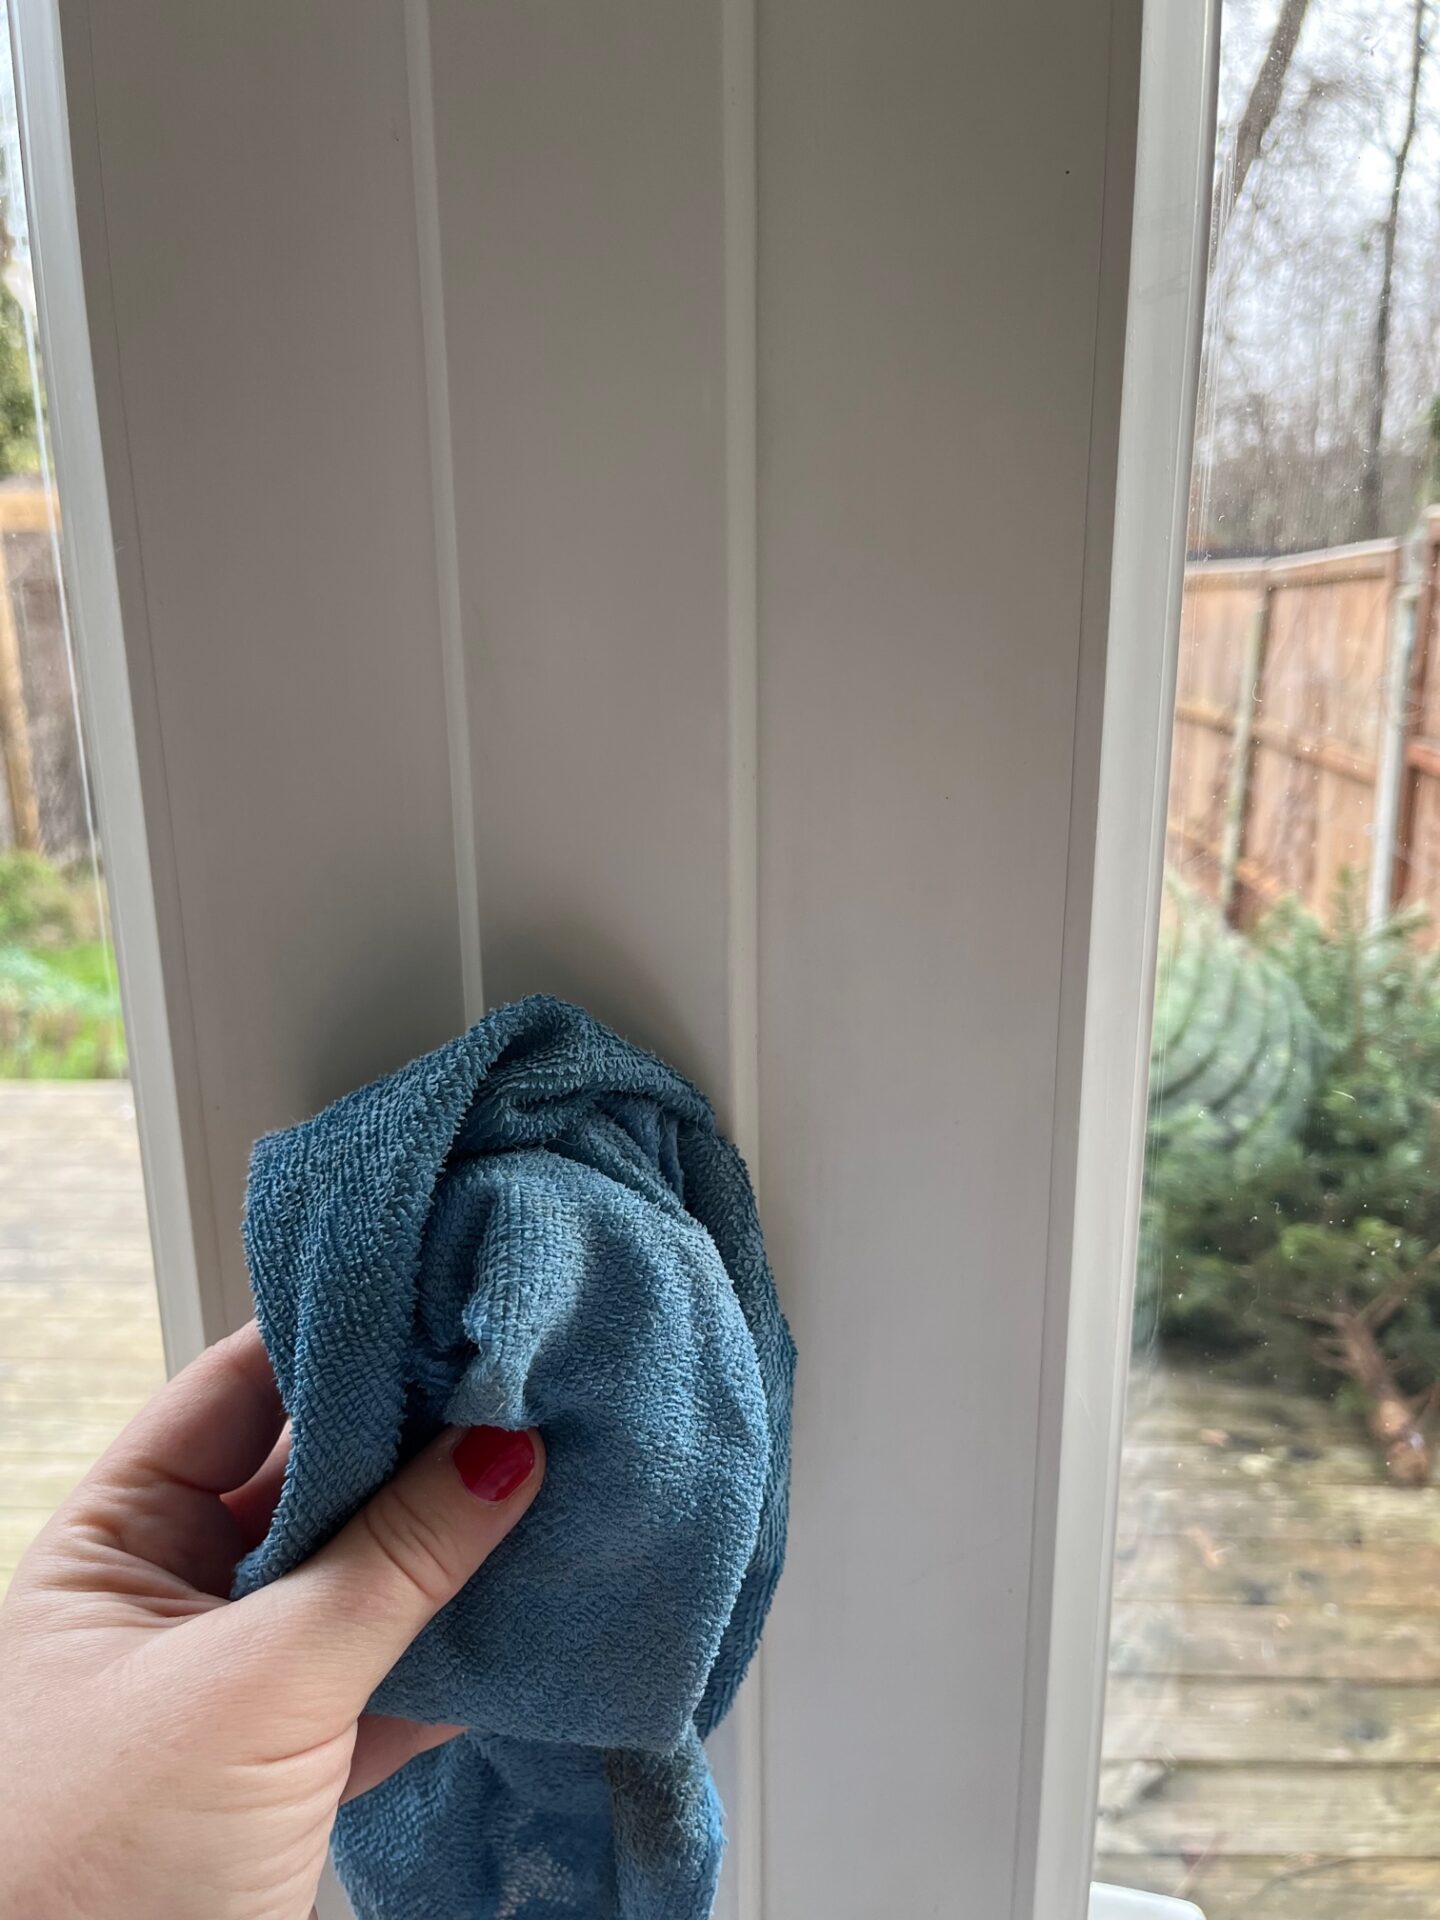
- Wash down the plastic really thoroughly and dry off.
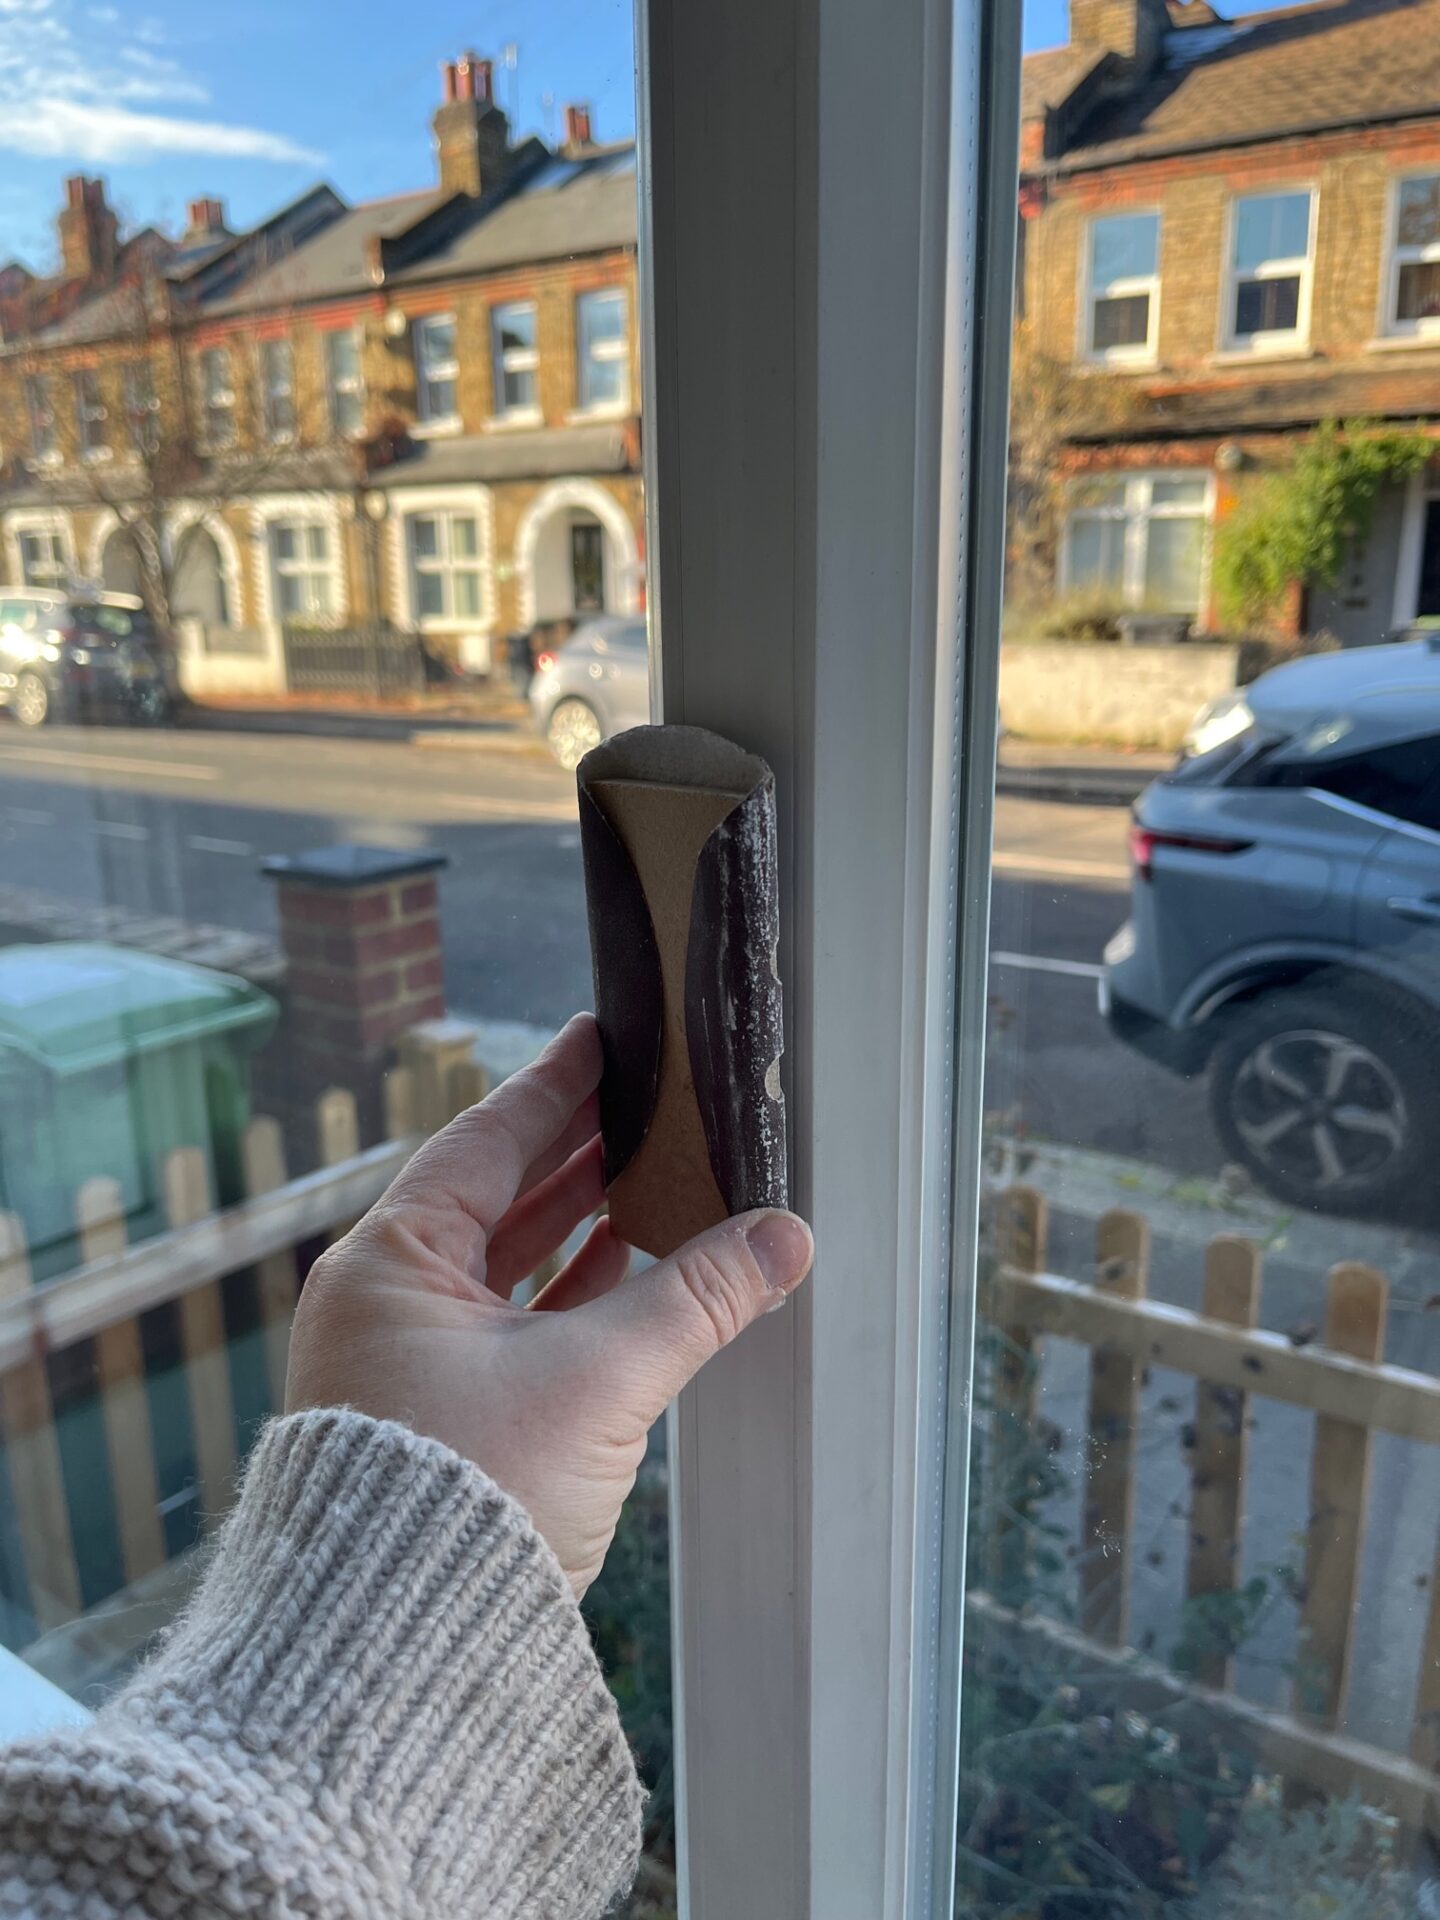
- Lightly sand every part of the frames that you plan paint. Use 120 grit. Hoover the frames to remove all sanding dust.
- Apply one thin, even coat of primer with a brush ensuring you cover every part of the frames but don’t heap it on. Don’t worry about taping the windows, you can paint primer onto the glass itself as it will scrape off very easily at the end. Technically, you can paint over the primer in four hours but leaving it to dry overnight is better in my book (this is not a job you can get done in a day).
- Choose an eggshell paint that is intended for interior wood or metal for your topcoat. To all intents and purposes the primer turns your plastic surface into a wood surface so you now can paint your frames as though they are timber. Apply a very thin first coat of eggshell with a small soft brush – the patchier the better! You want to build up two or three thin coats to give it a nice strong finish. I leave each coat to dry overnight and then it needs a few days to completely dry before you can put things on window sills etc. Again, don’t worry about the paint going on the glass as this will easily scrape off and you will get a much better finish by painting all the way to the edge of each frame and onto the glass than taping the windows will give you. Also, a mini foam roller will be your best friend to give a lovely even coat but don’t be scared of brush strokes – they make it look even less like plastic!
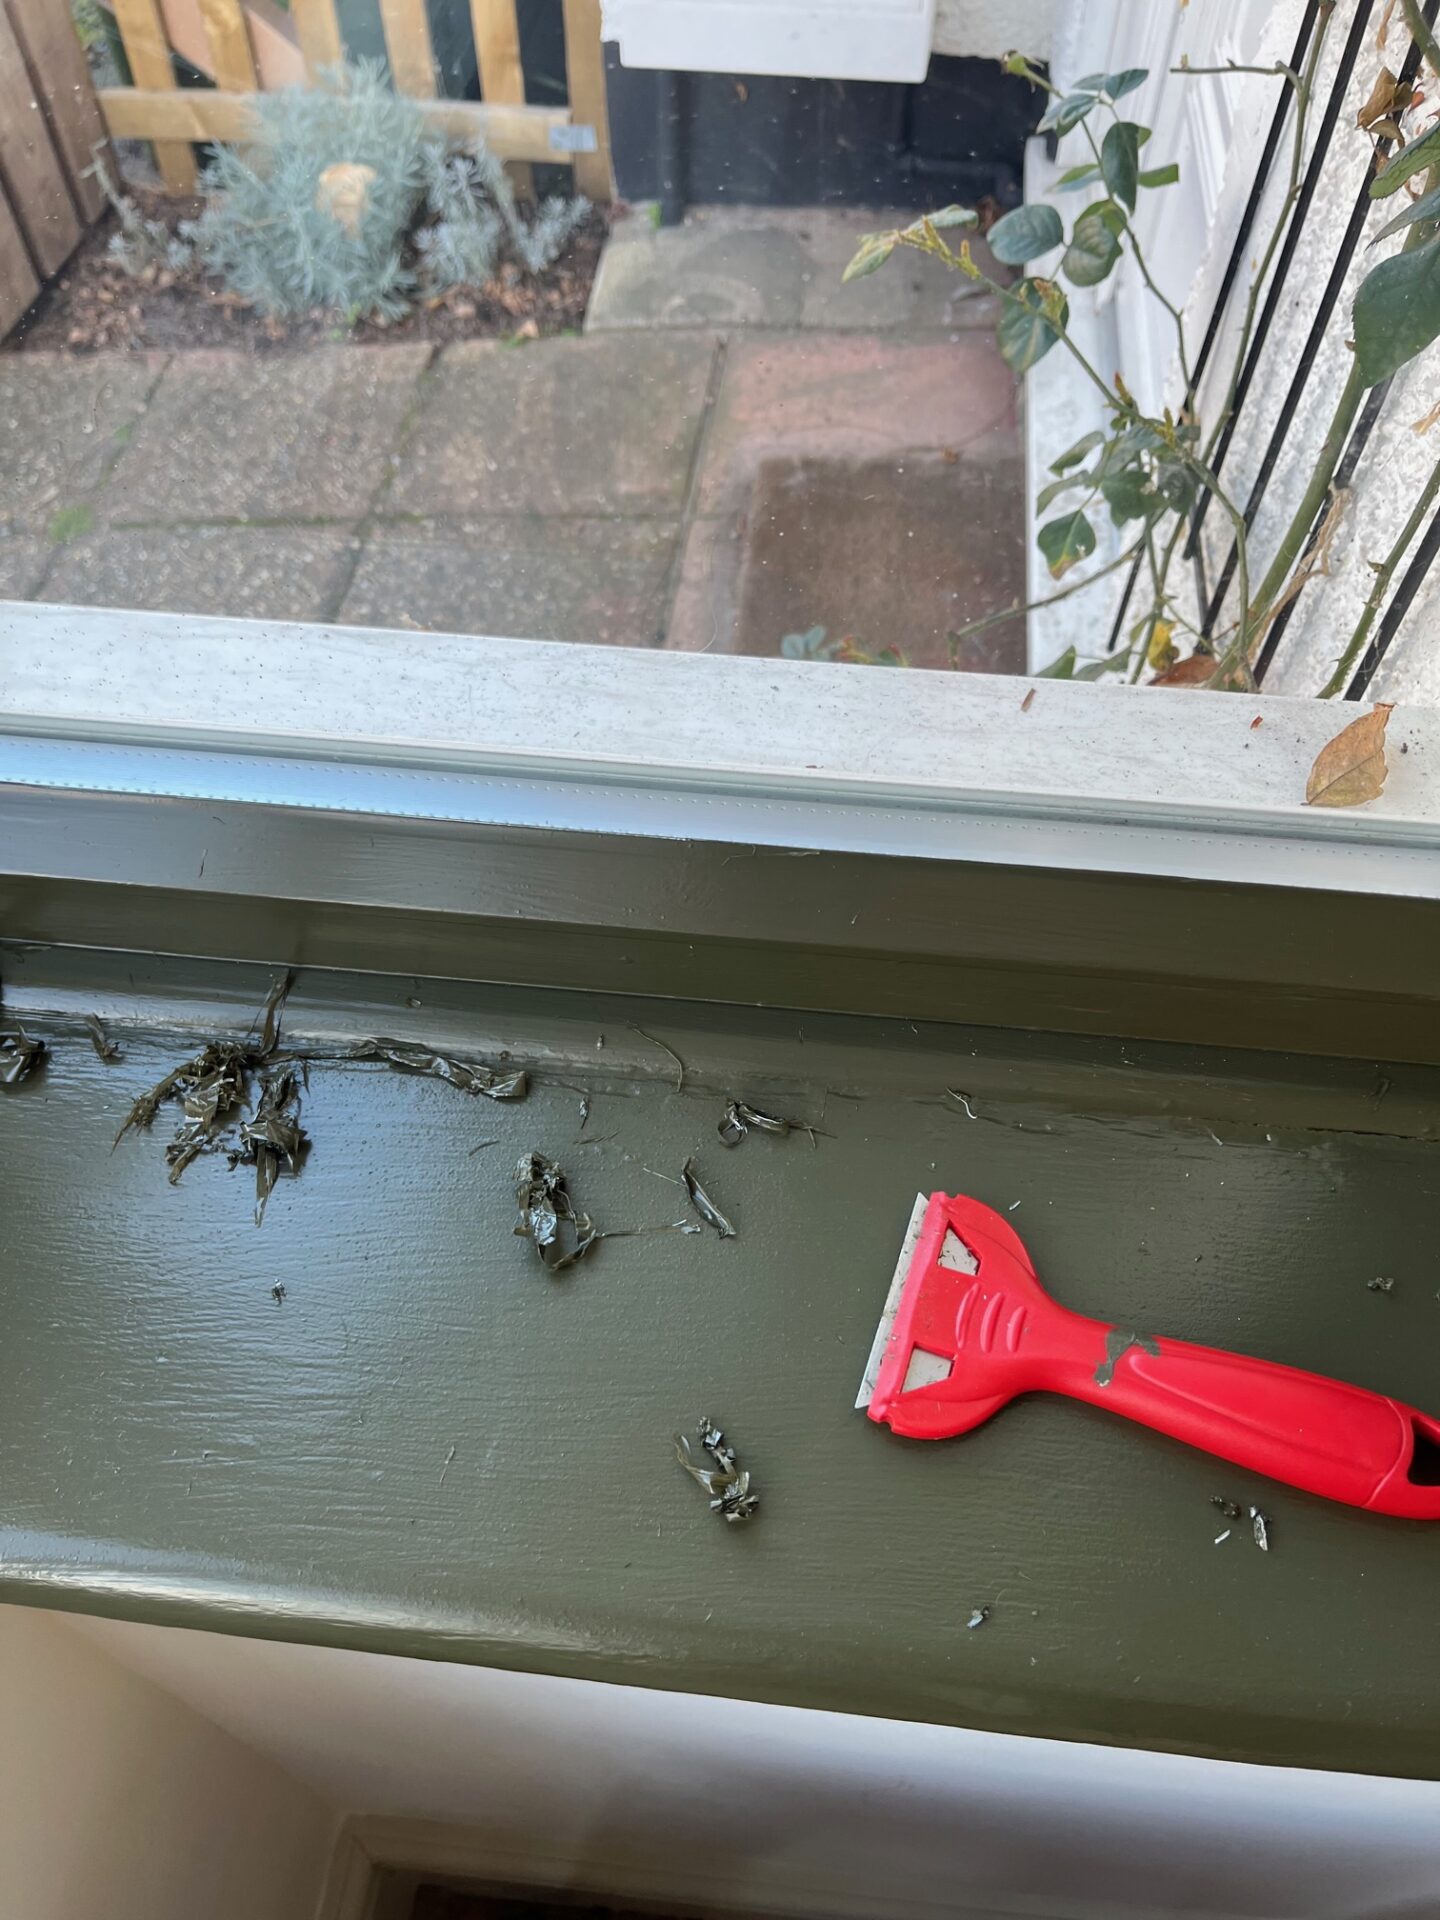
- Use a paint scraper to remove the excess paint on the glass – you should end up with a really neat finish this way.
- Replace hardware to improve the overall looks of the windows. UPVC require specialist handles/locks as the lock mechanism is different. Try The Door Handle Company for some really good options.
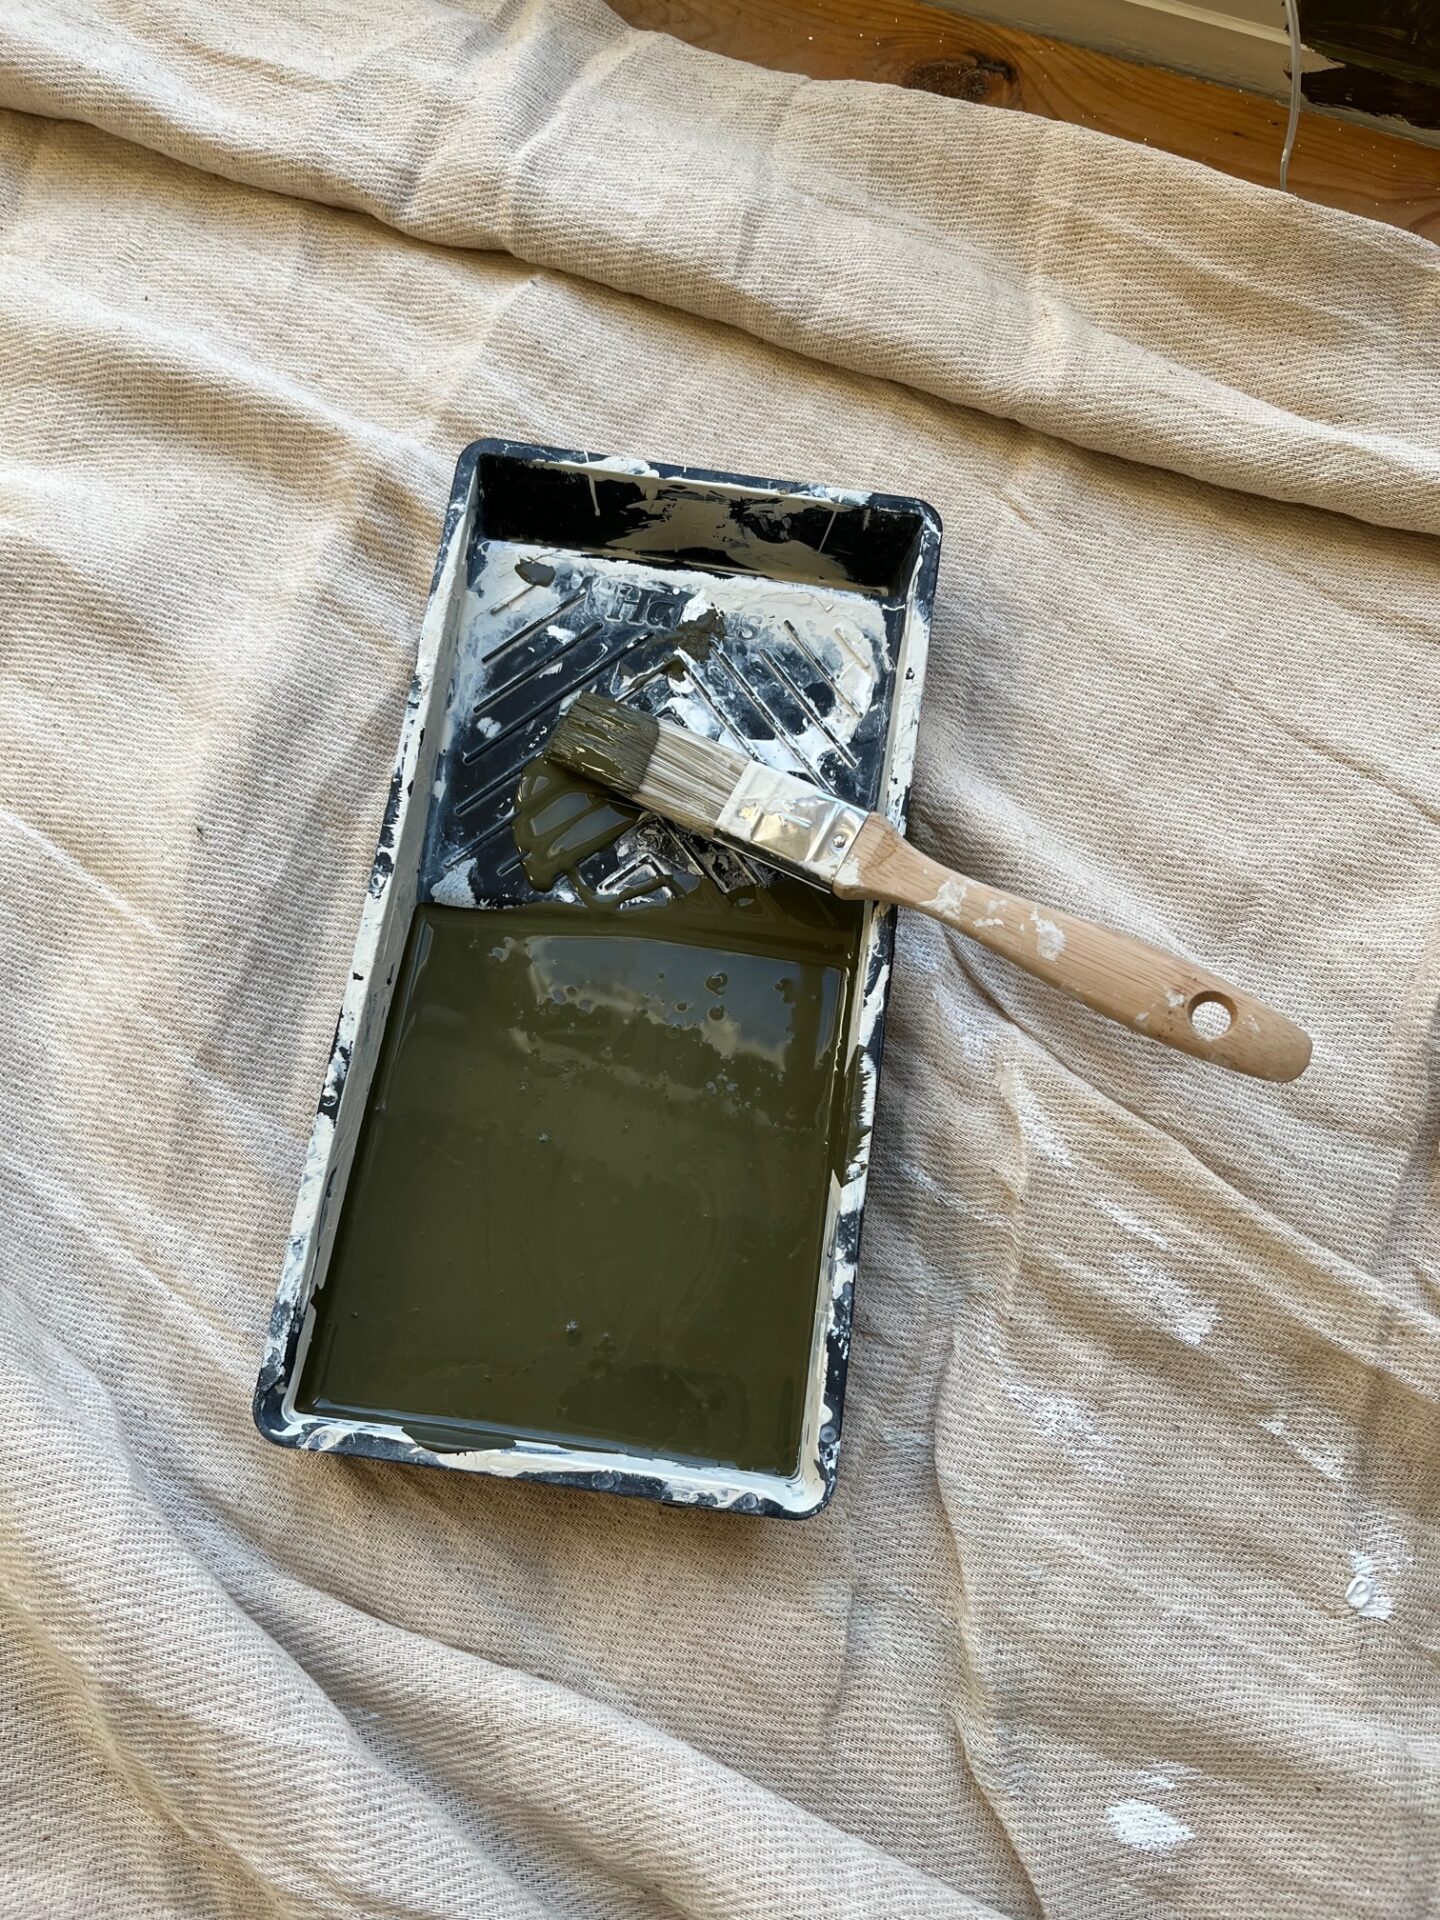
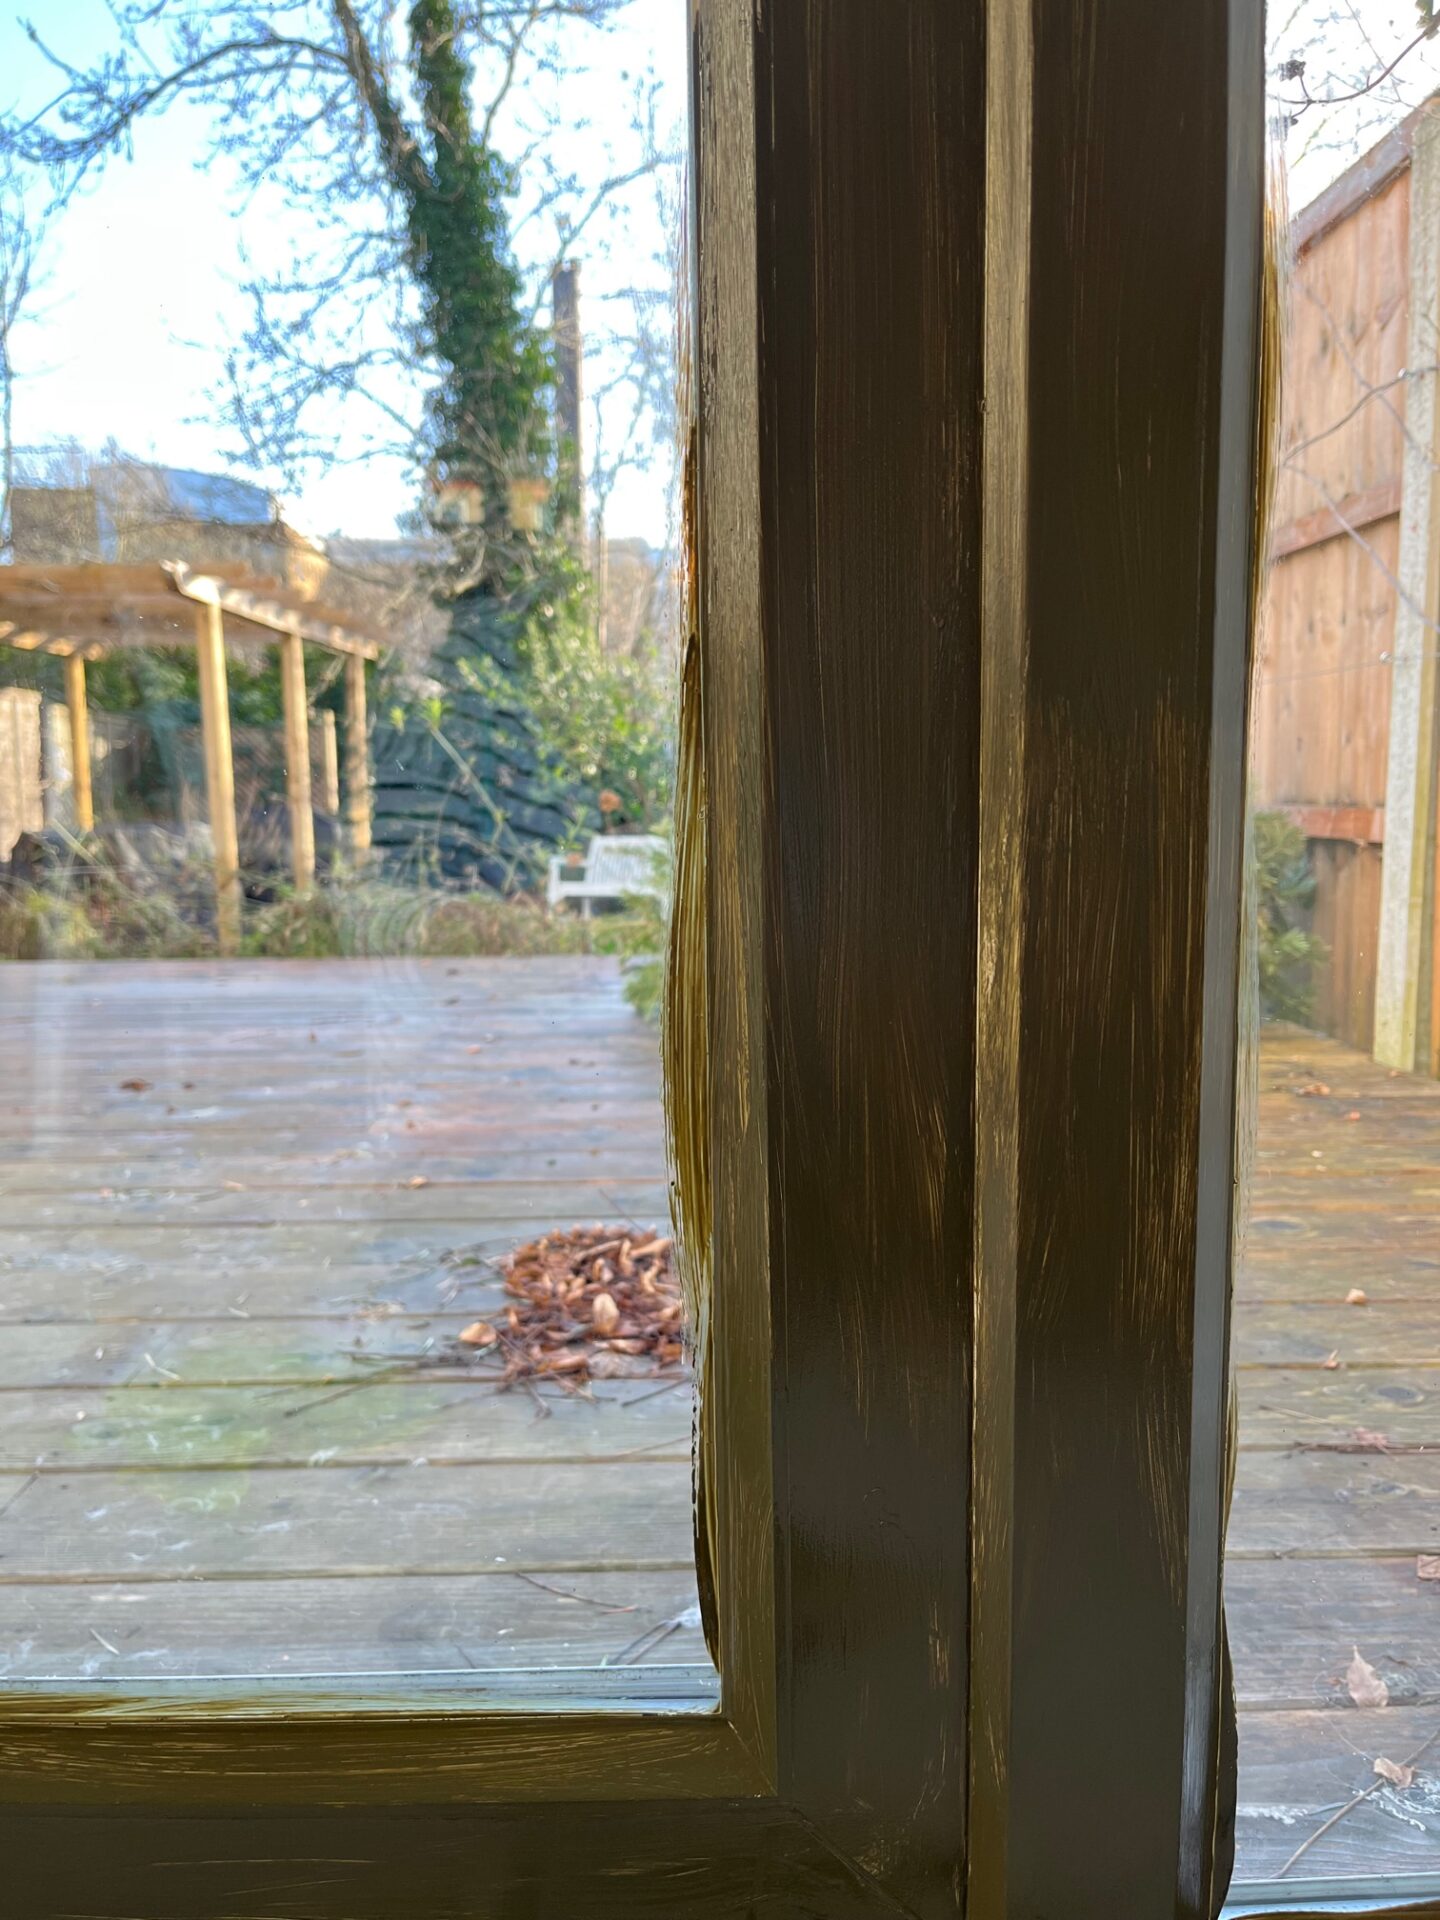
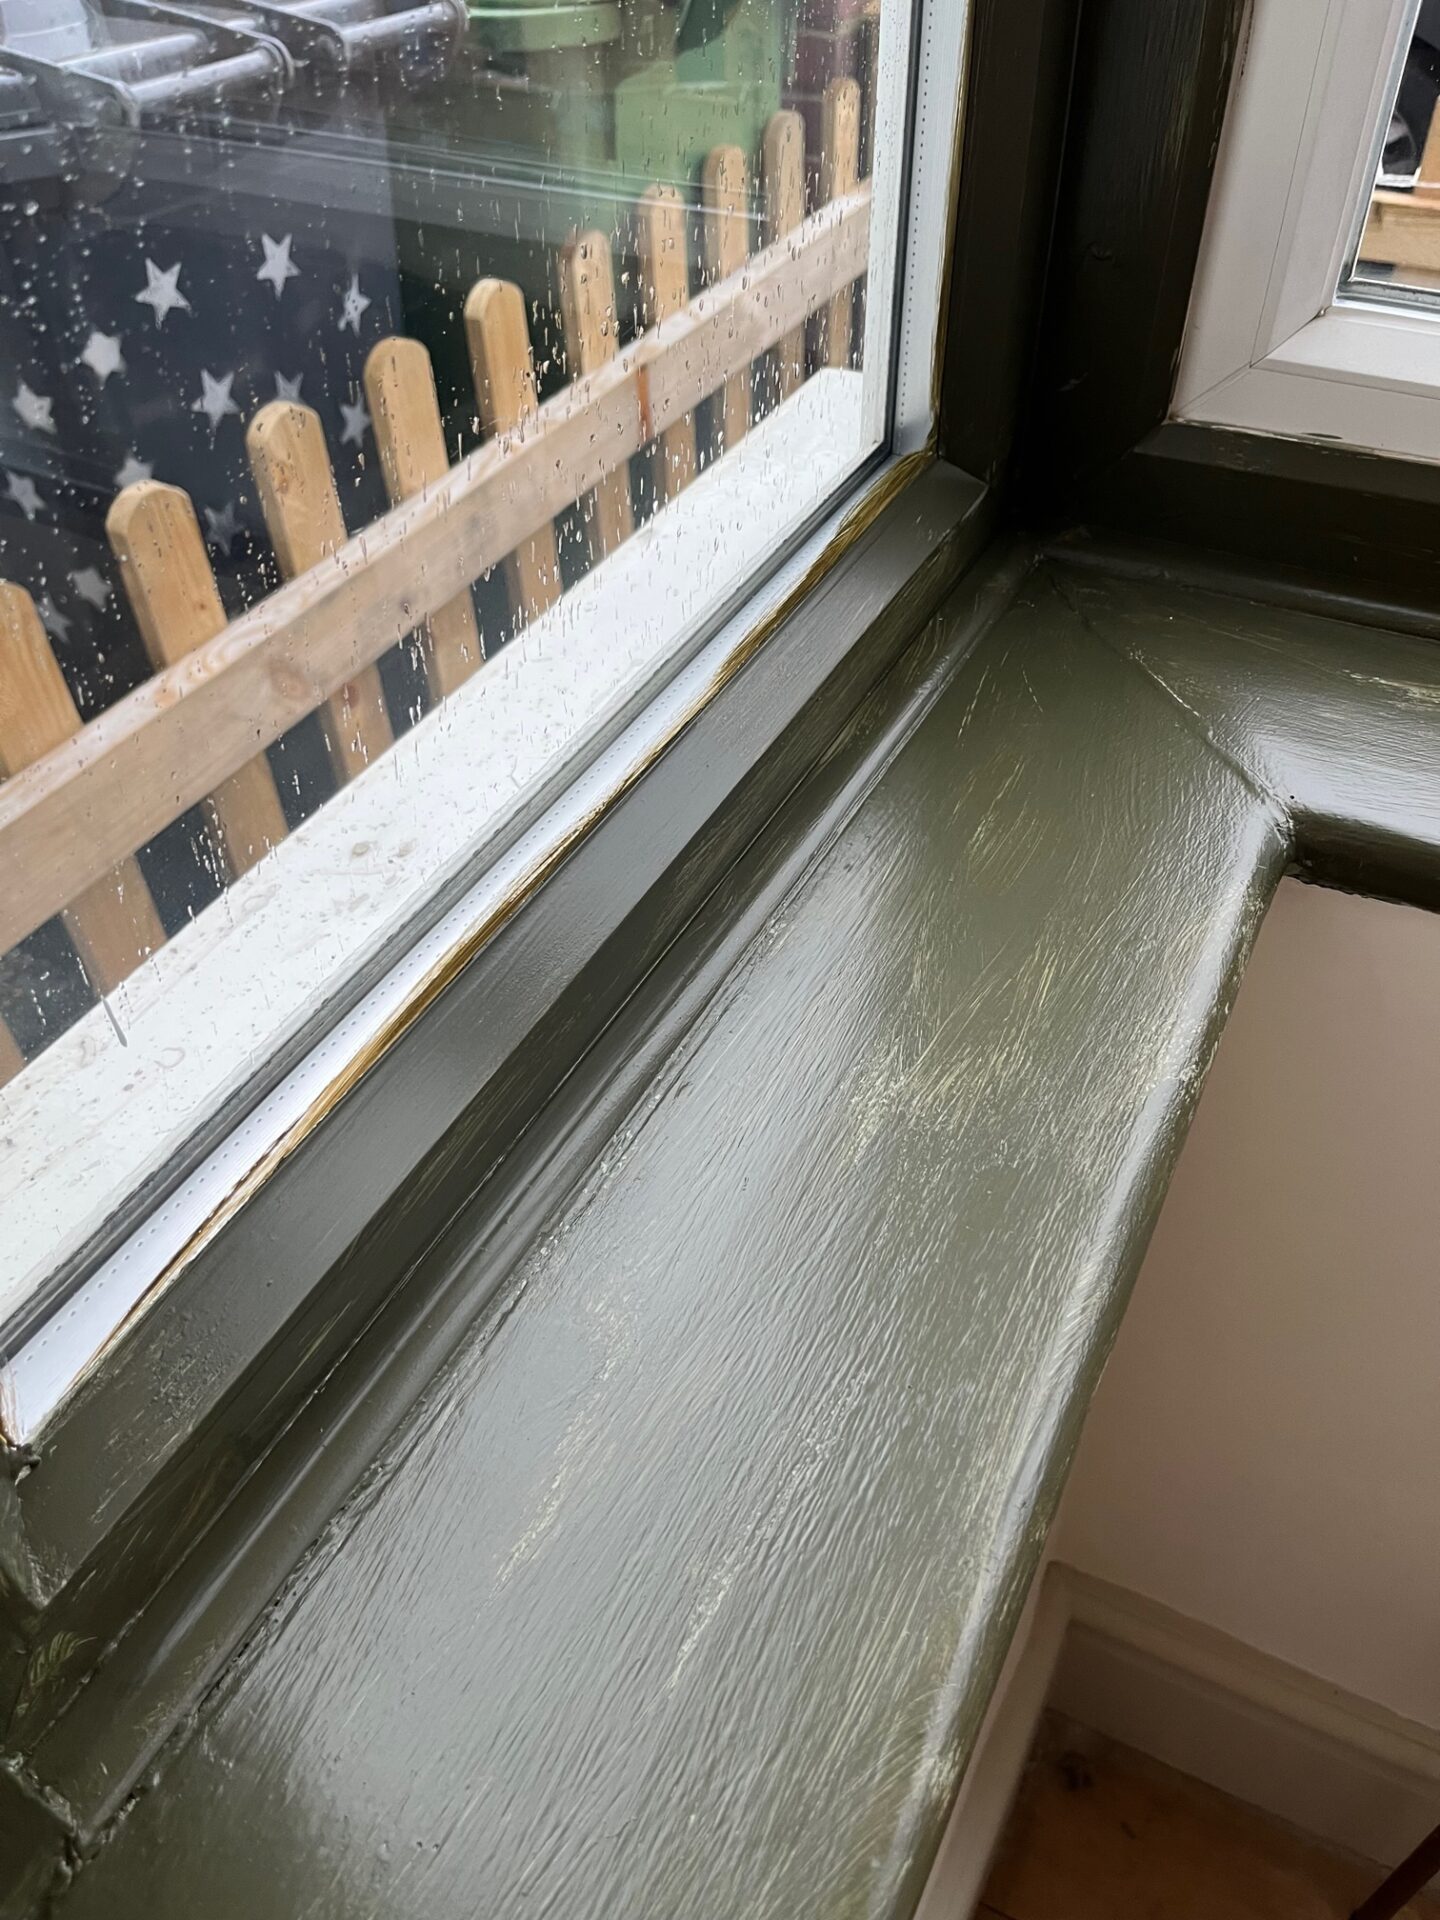
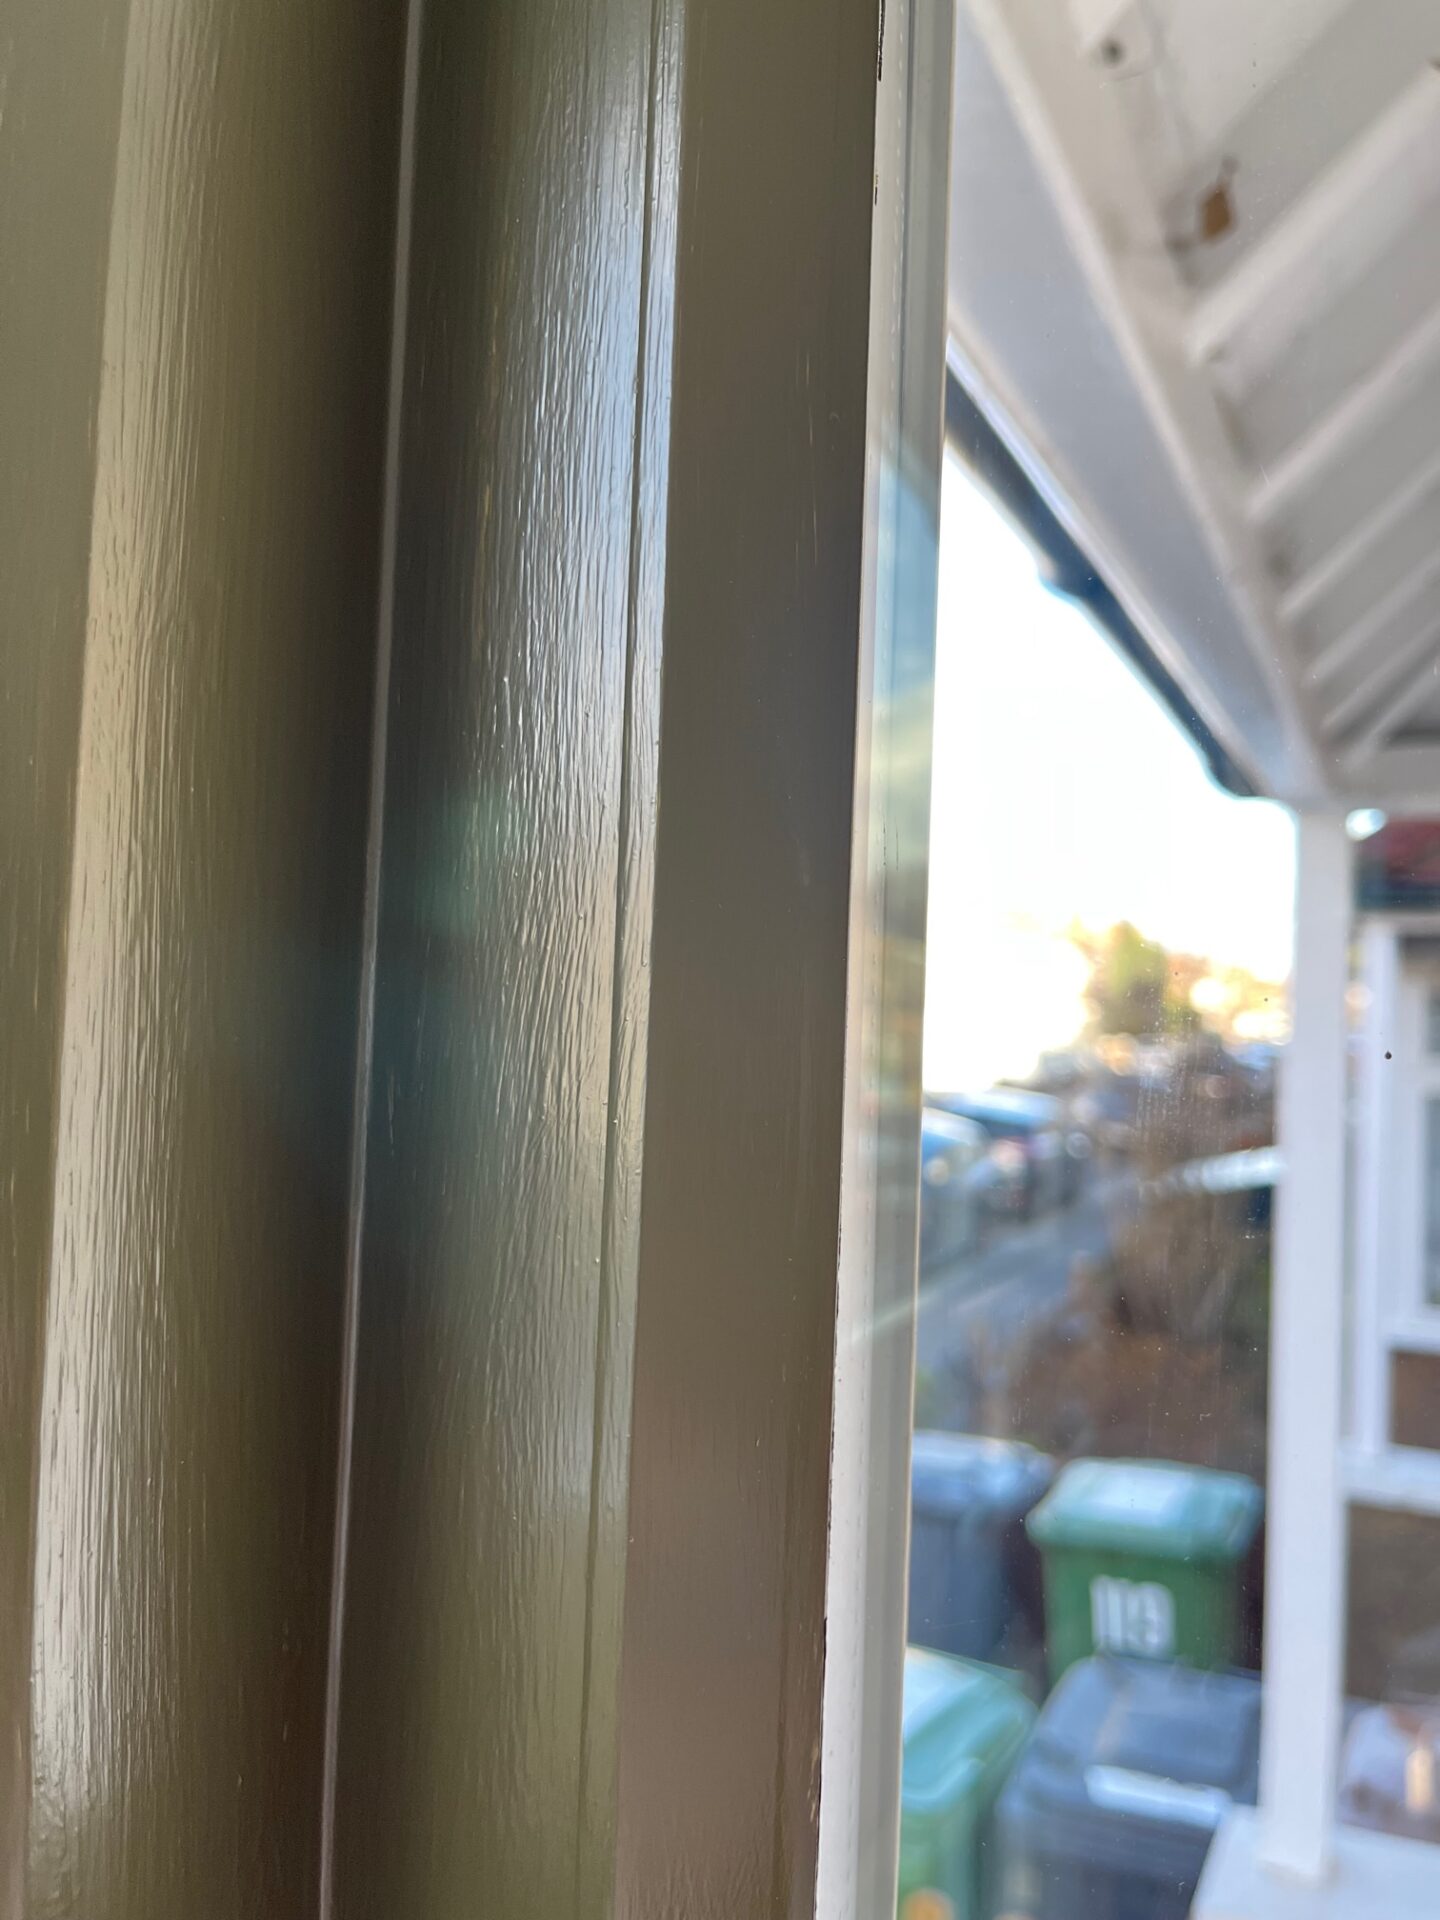
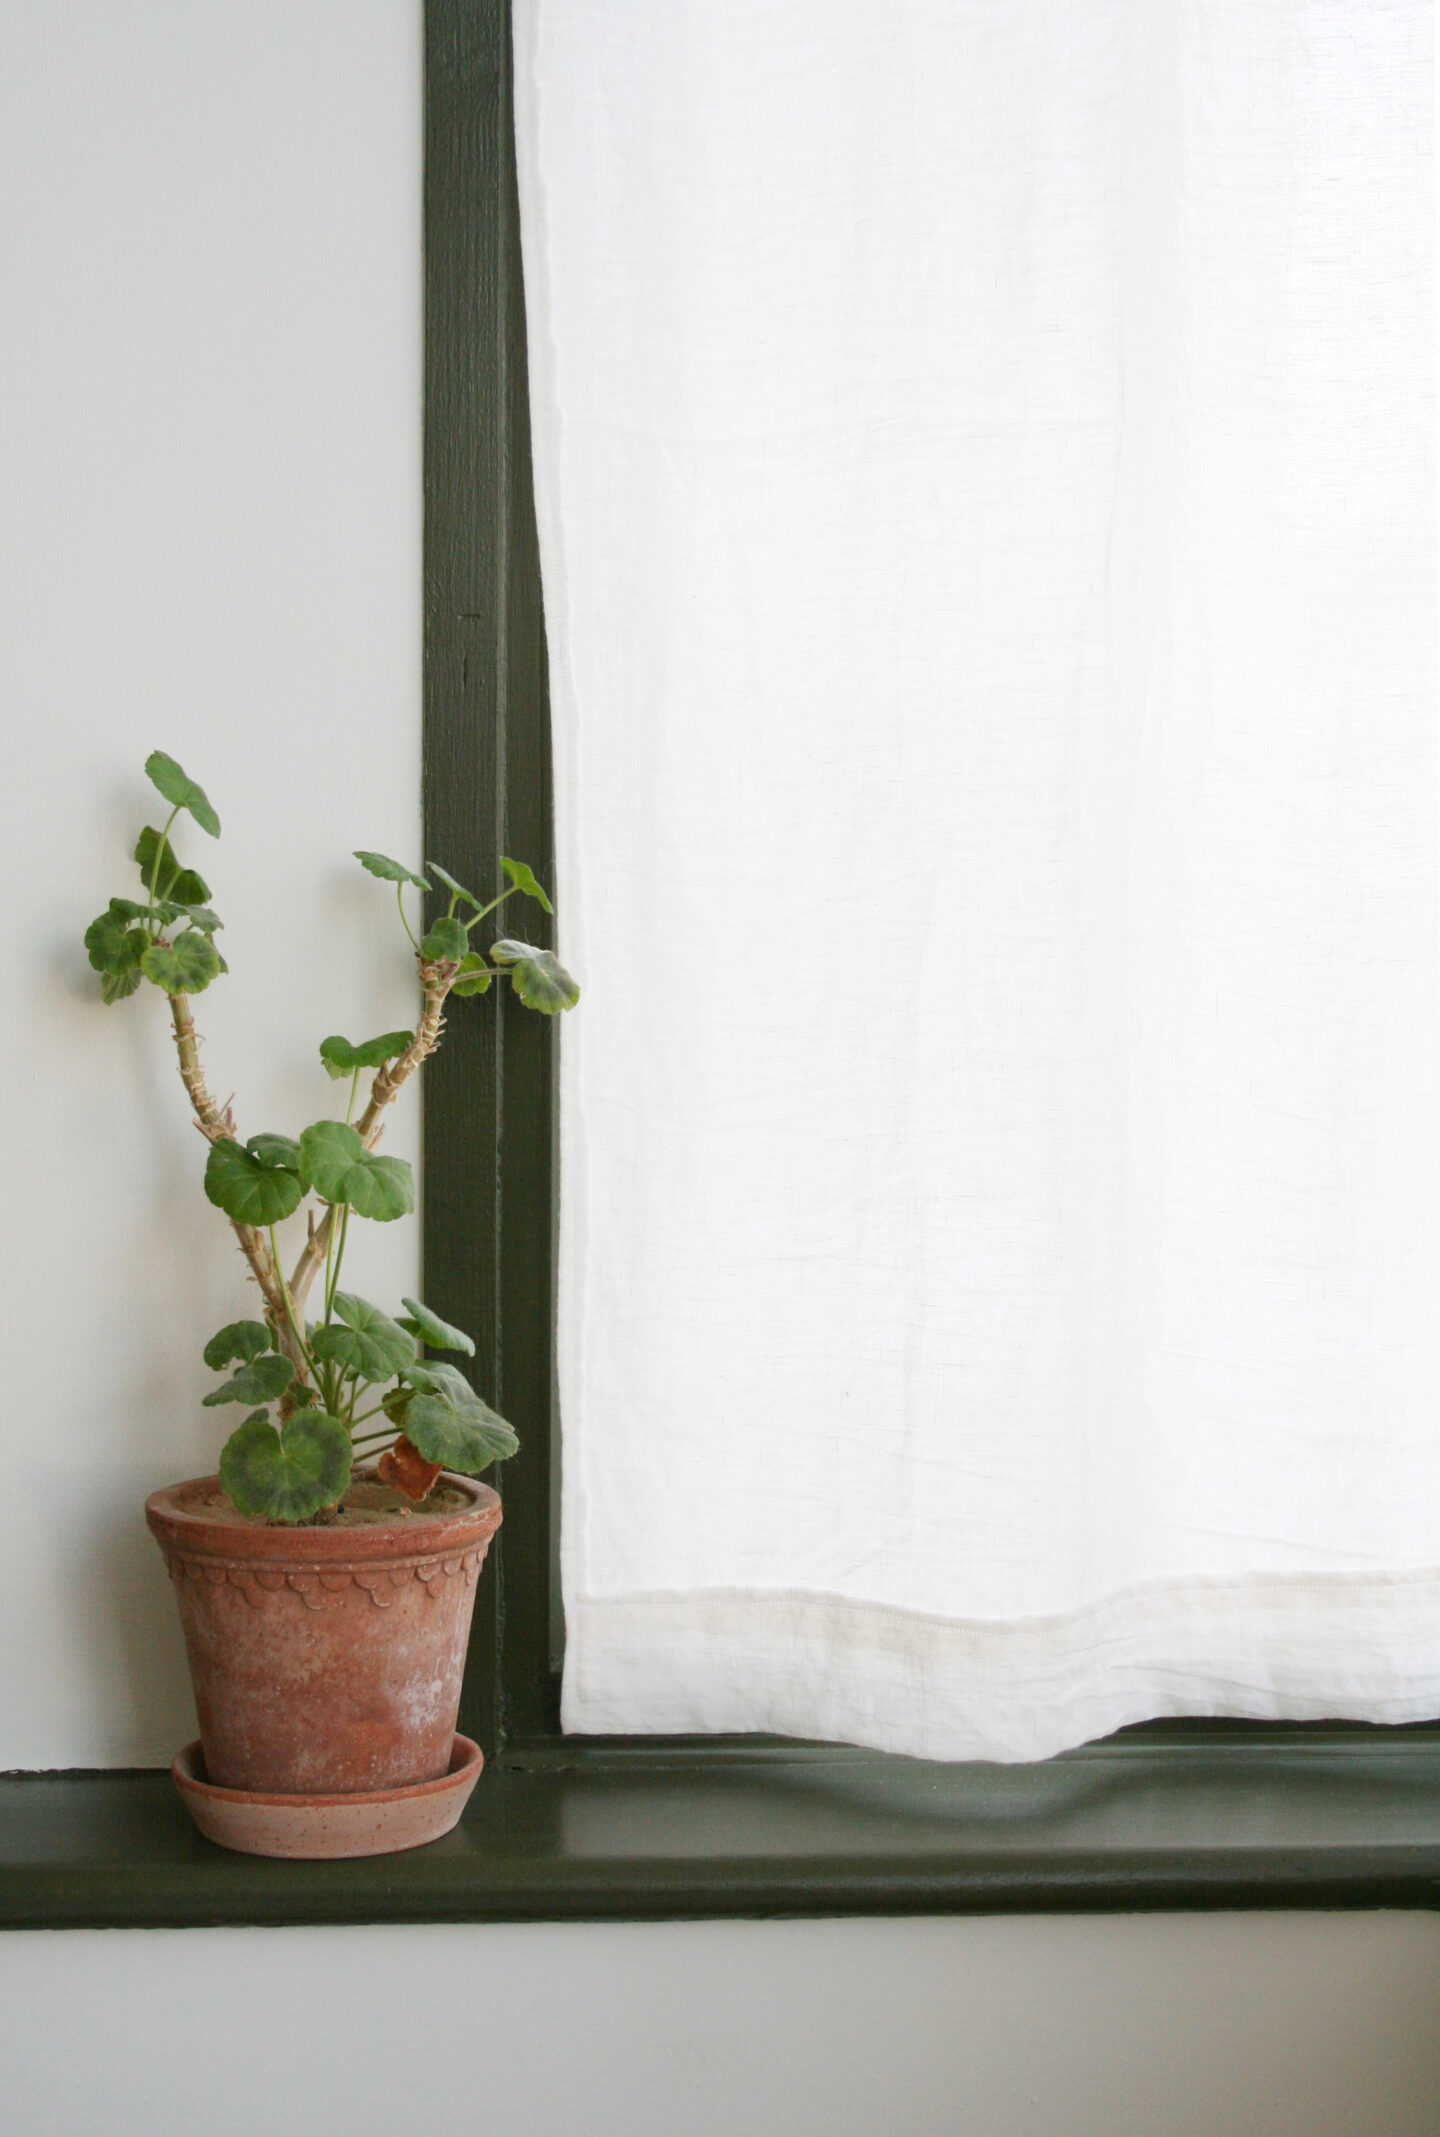
I’m really thrilled with the topcoat colour that I’ve chosen, The Tobacconist, which is a very dark bronzey green. It has none of the harshness of black or graphite as it’s full of warm bronze undertones. Also, because it is a very dark colour it helps to blur the lines between all the joins and layers of plastic to make the windows and French doors more streamline.

Look forward to showing you more of the room now that I have nearly finished giving it a makeover.
Katy x