If you follow me on Instagram you will probably be sick of seeing and hearing about this ottoman but I have been pretty pleased with myself because I managed to cover the ottoman as well as sourcing everything second hand. I love an ottoman as I think it fills a room in the same way as a coffee table but it adds more warmth and cosiness as it is soft and squidgy with the added benefit that it can be used as a footstool. I am no upholstery expert, and don’t have any of the pro-tools, but I have recorded some of the basic steps I took to breath new life in to this ottoman that I found on Facebook marketplace for £45 in the hope that it might inspire some of you.
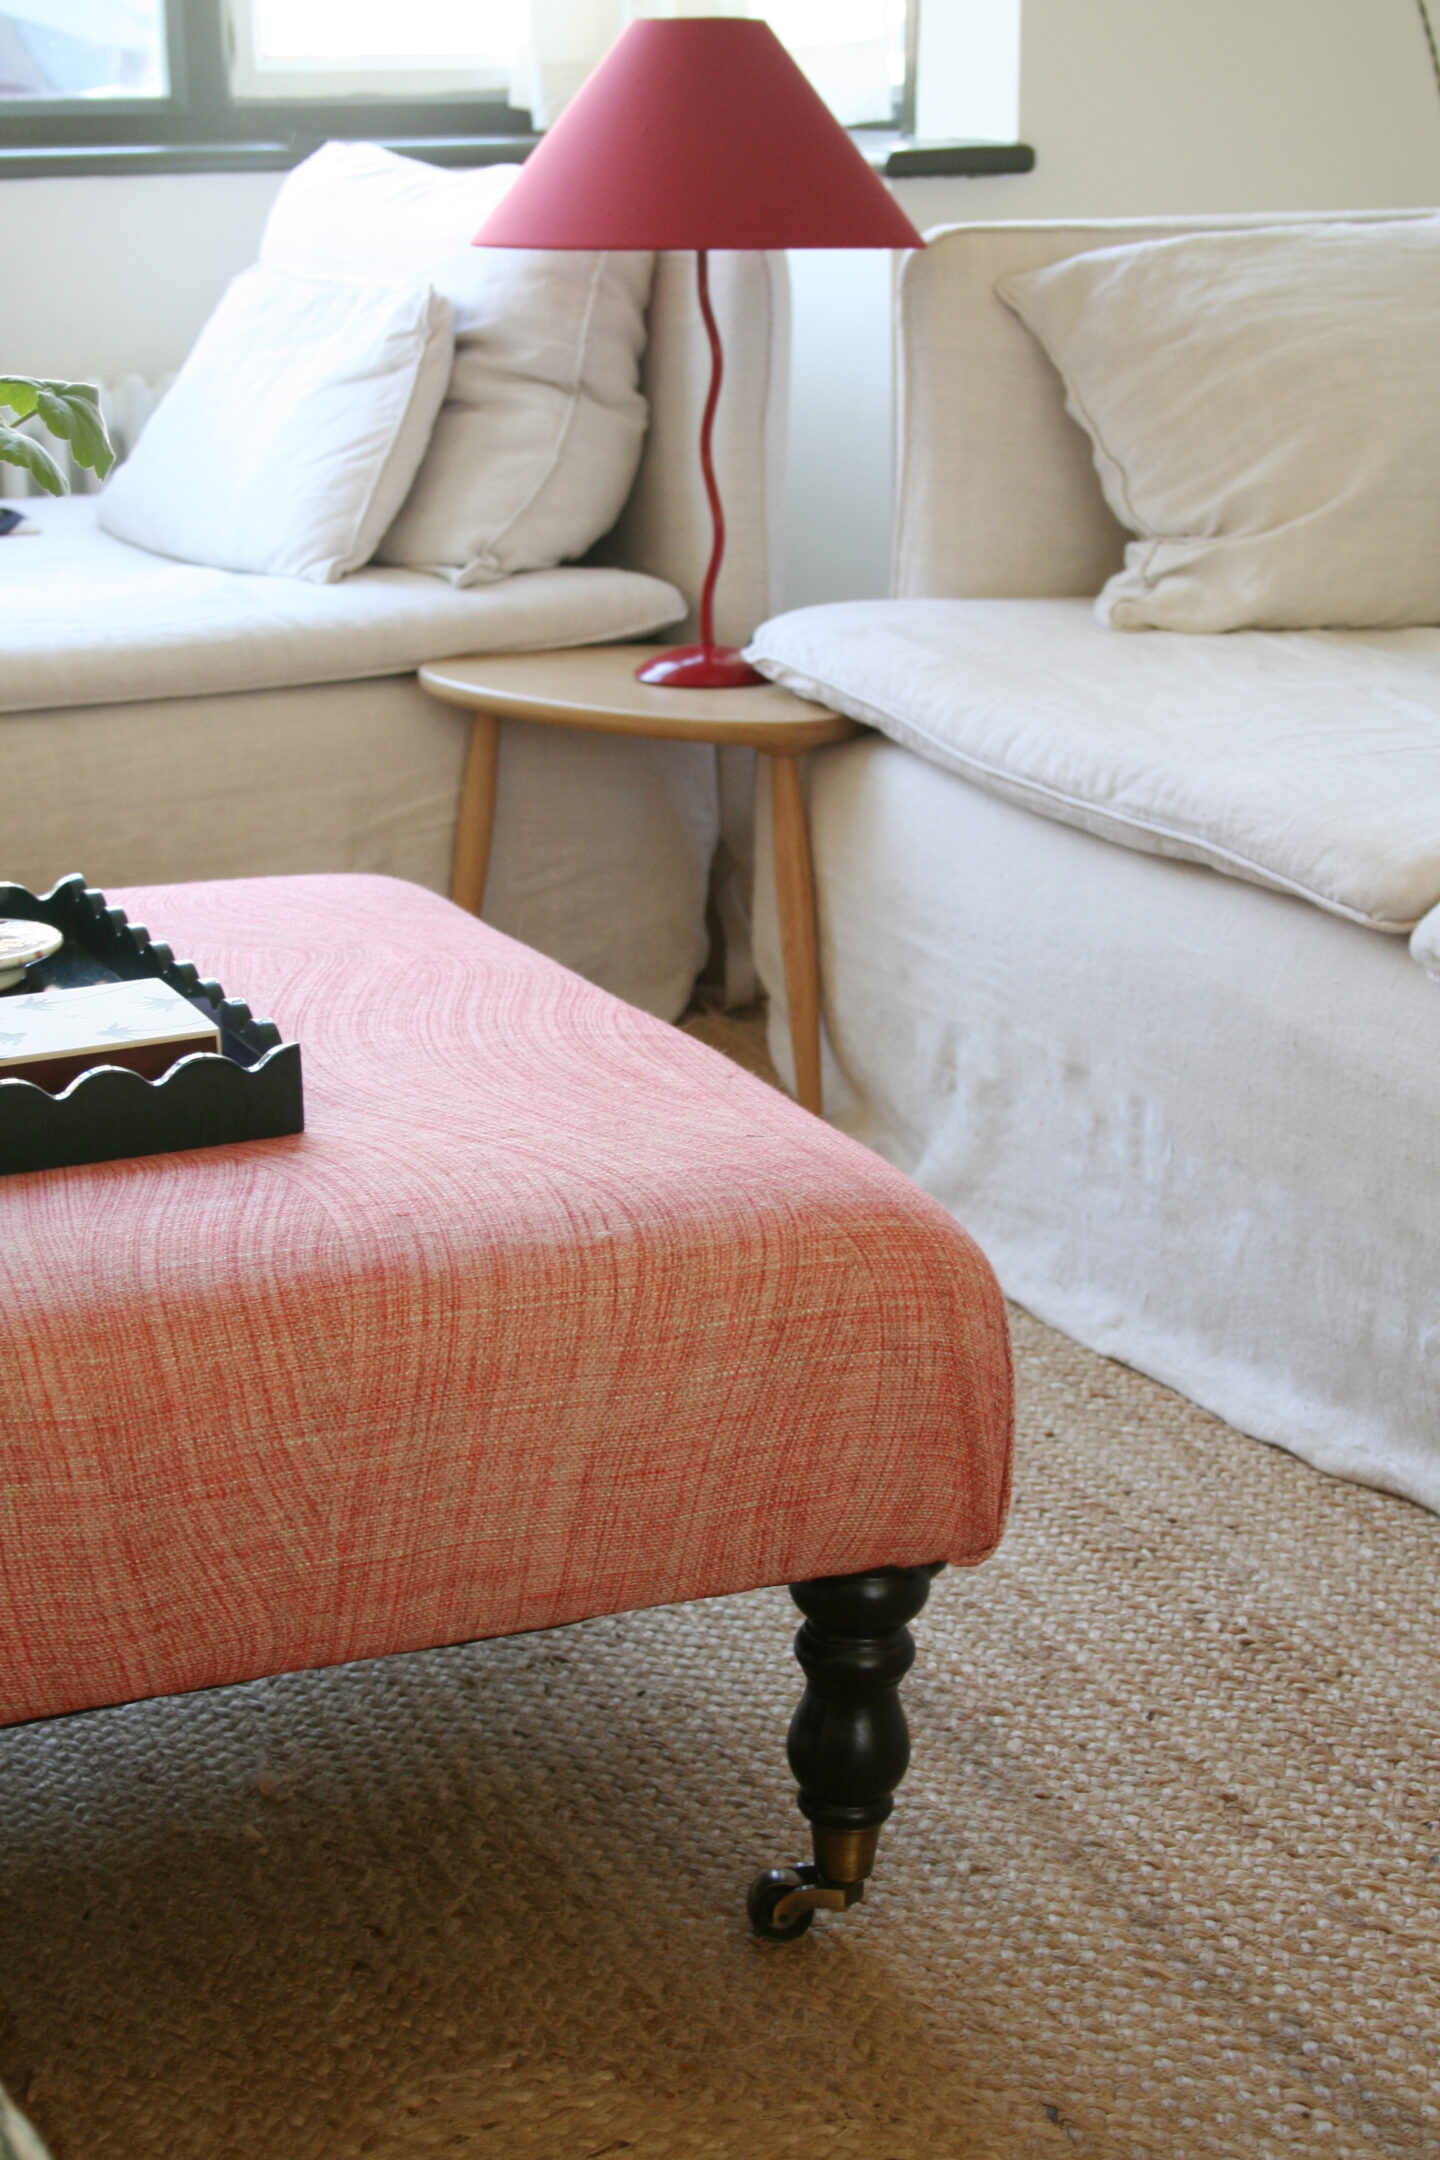
The ottoman was in great condition when I bought it second hand but I really wasn’t keen on the shiny velvet cover. I chose it carefully knowing that I could cover it myself as this type of ottoman involves no sewing or piping or that type of more skilful upholstery.
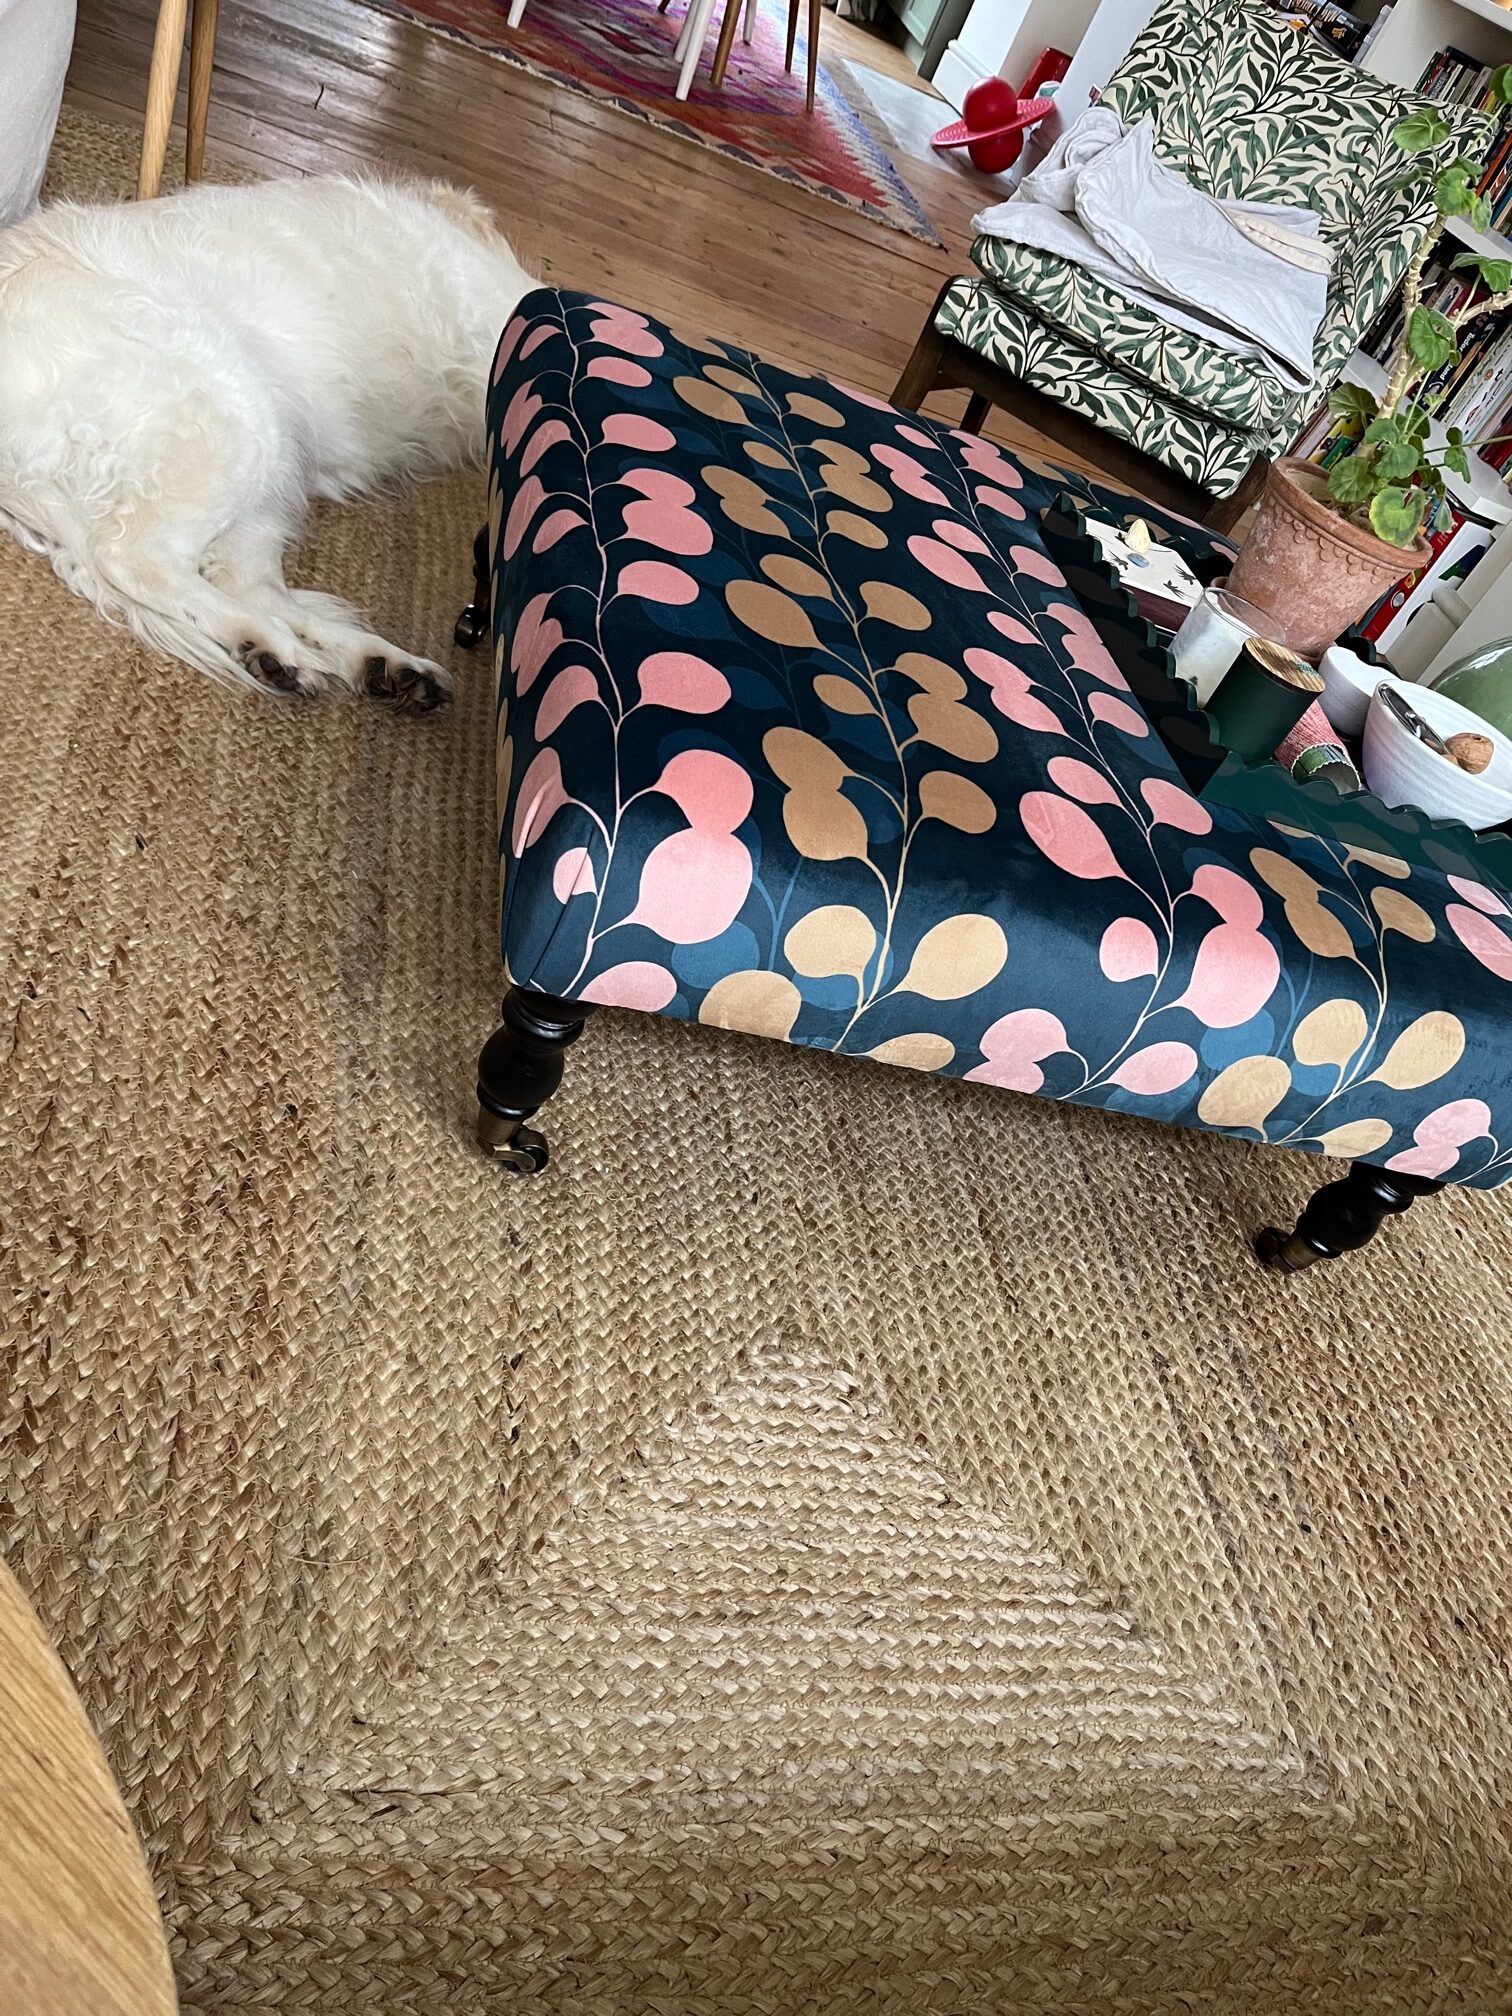
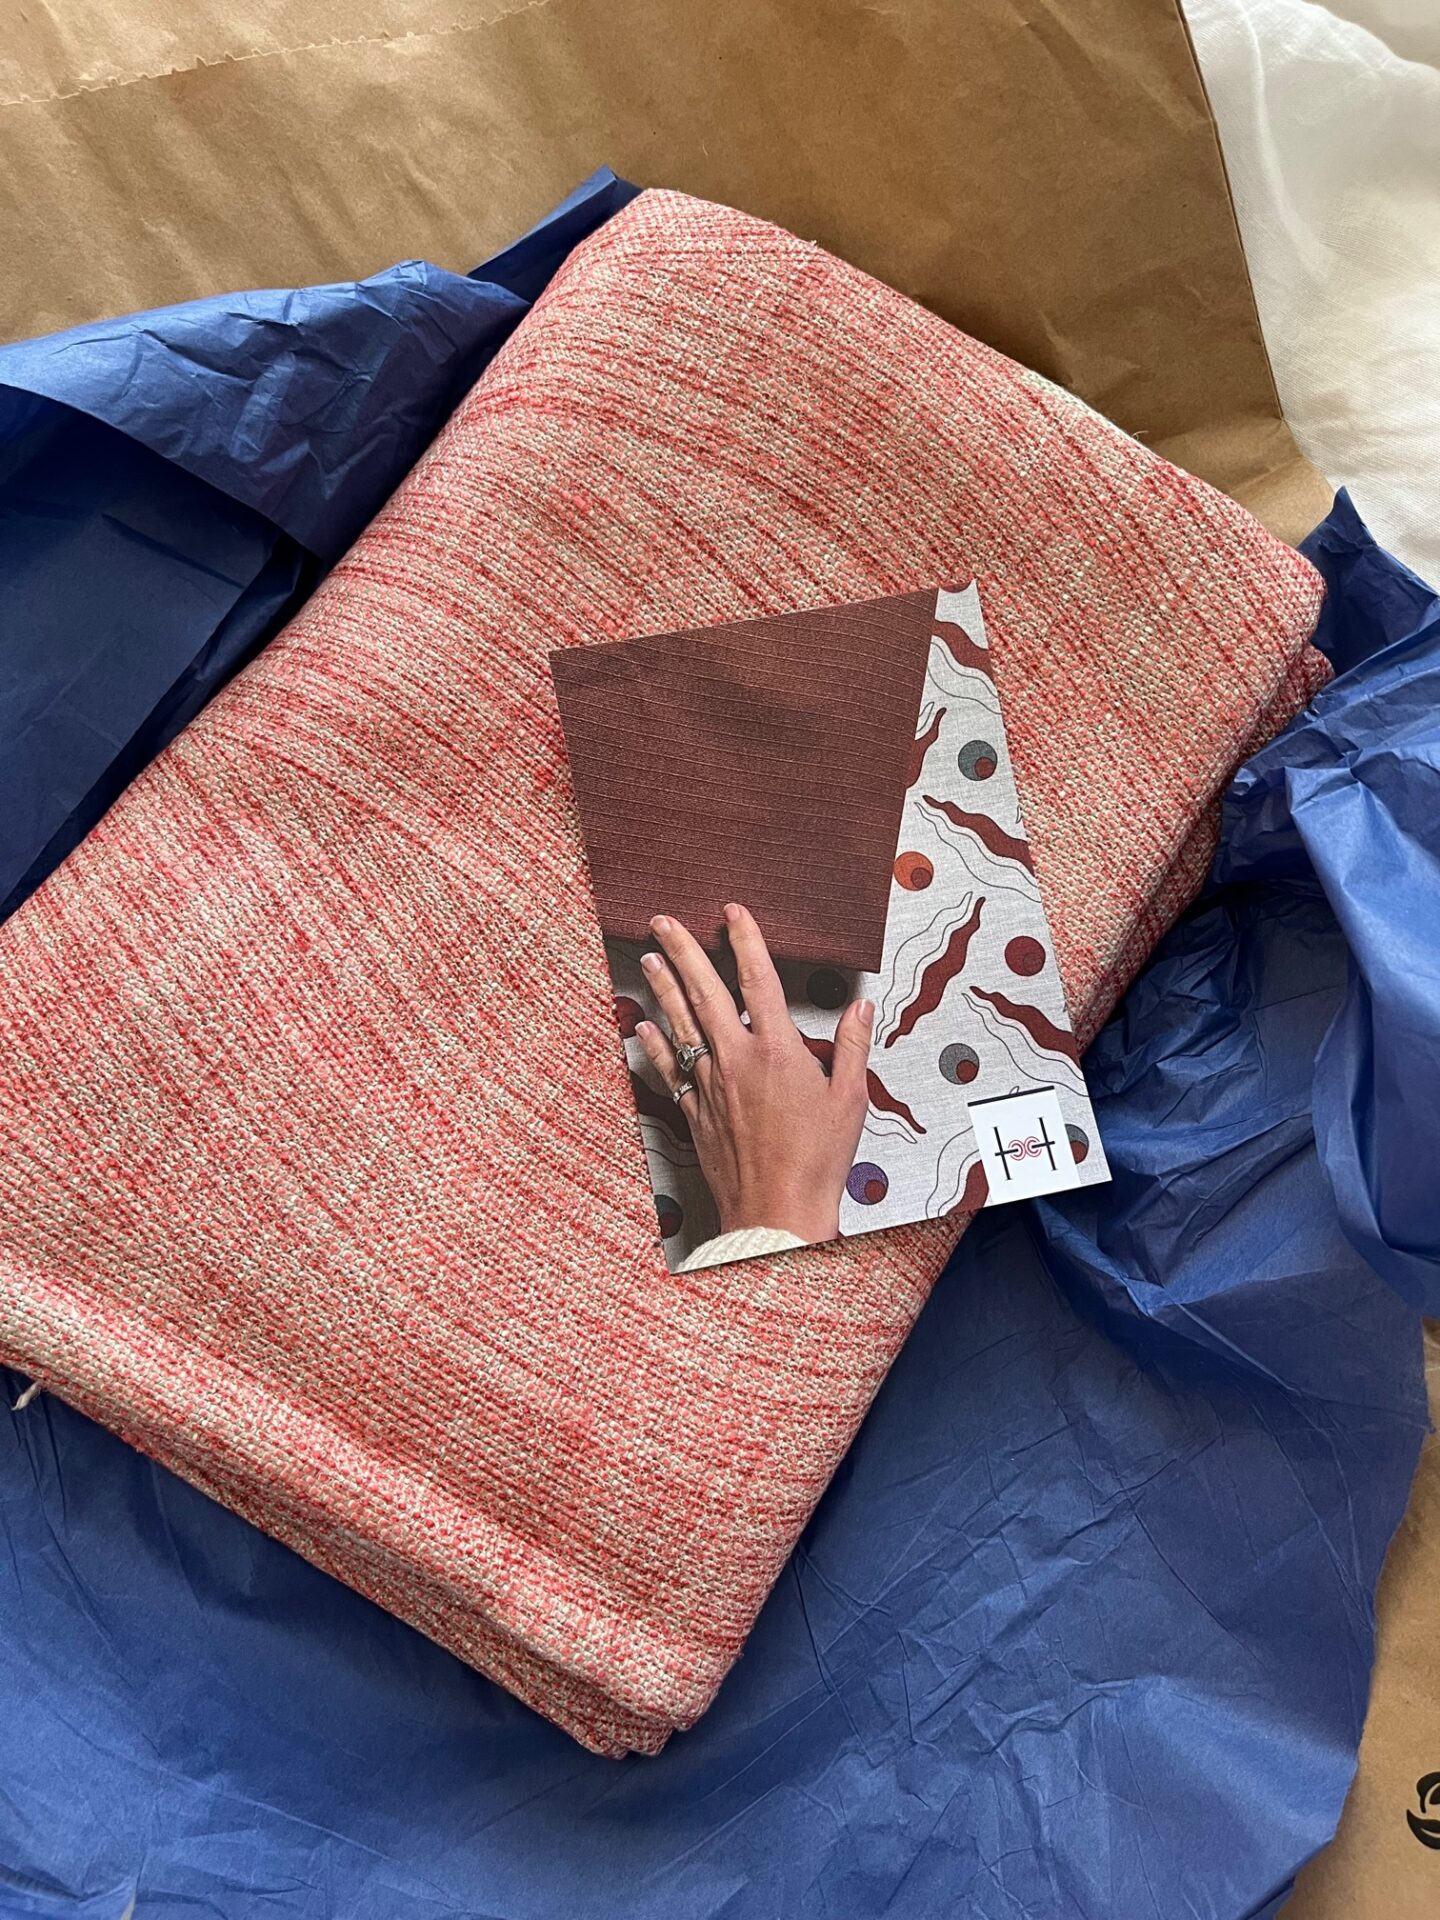
I really wanted a certain fabric but couldn’t find a remnant of it and it was too expensive to buy especially as I needed just over one metre so would have to order two. Therefore, I snapped up a remnant that was the perfect size from the Haines Collection – a company that works really hard to reduce waste in the interiors industry by selling end of roll/ex-display/unwanted fabric that would otherwise end up in landfill – and although it isn’t the perfect colour that I wanted it still works really well and the texture makes it perfect for a room that a big dog walks around.
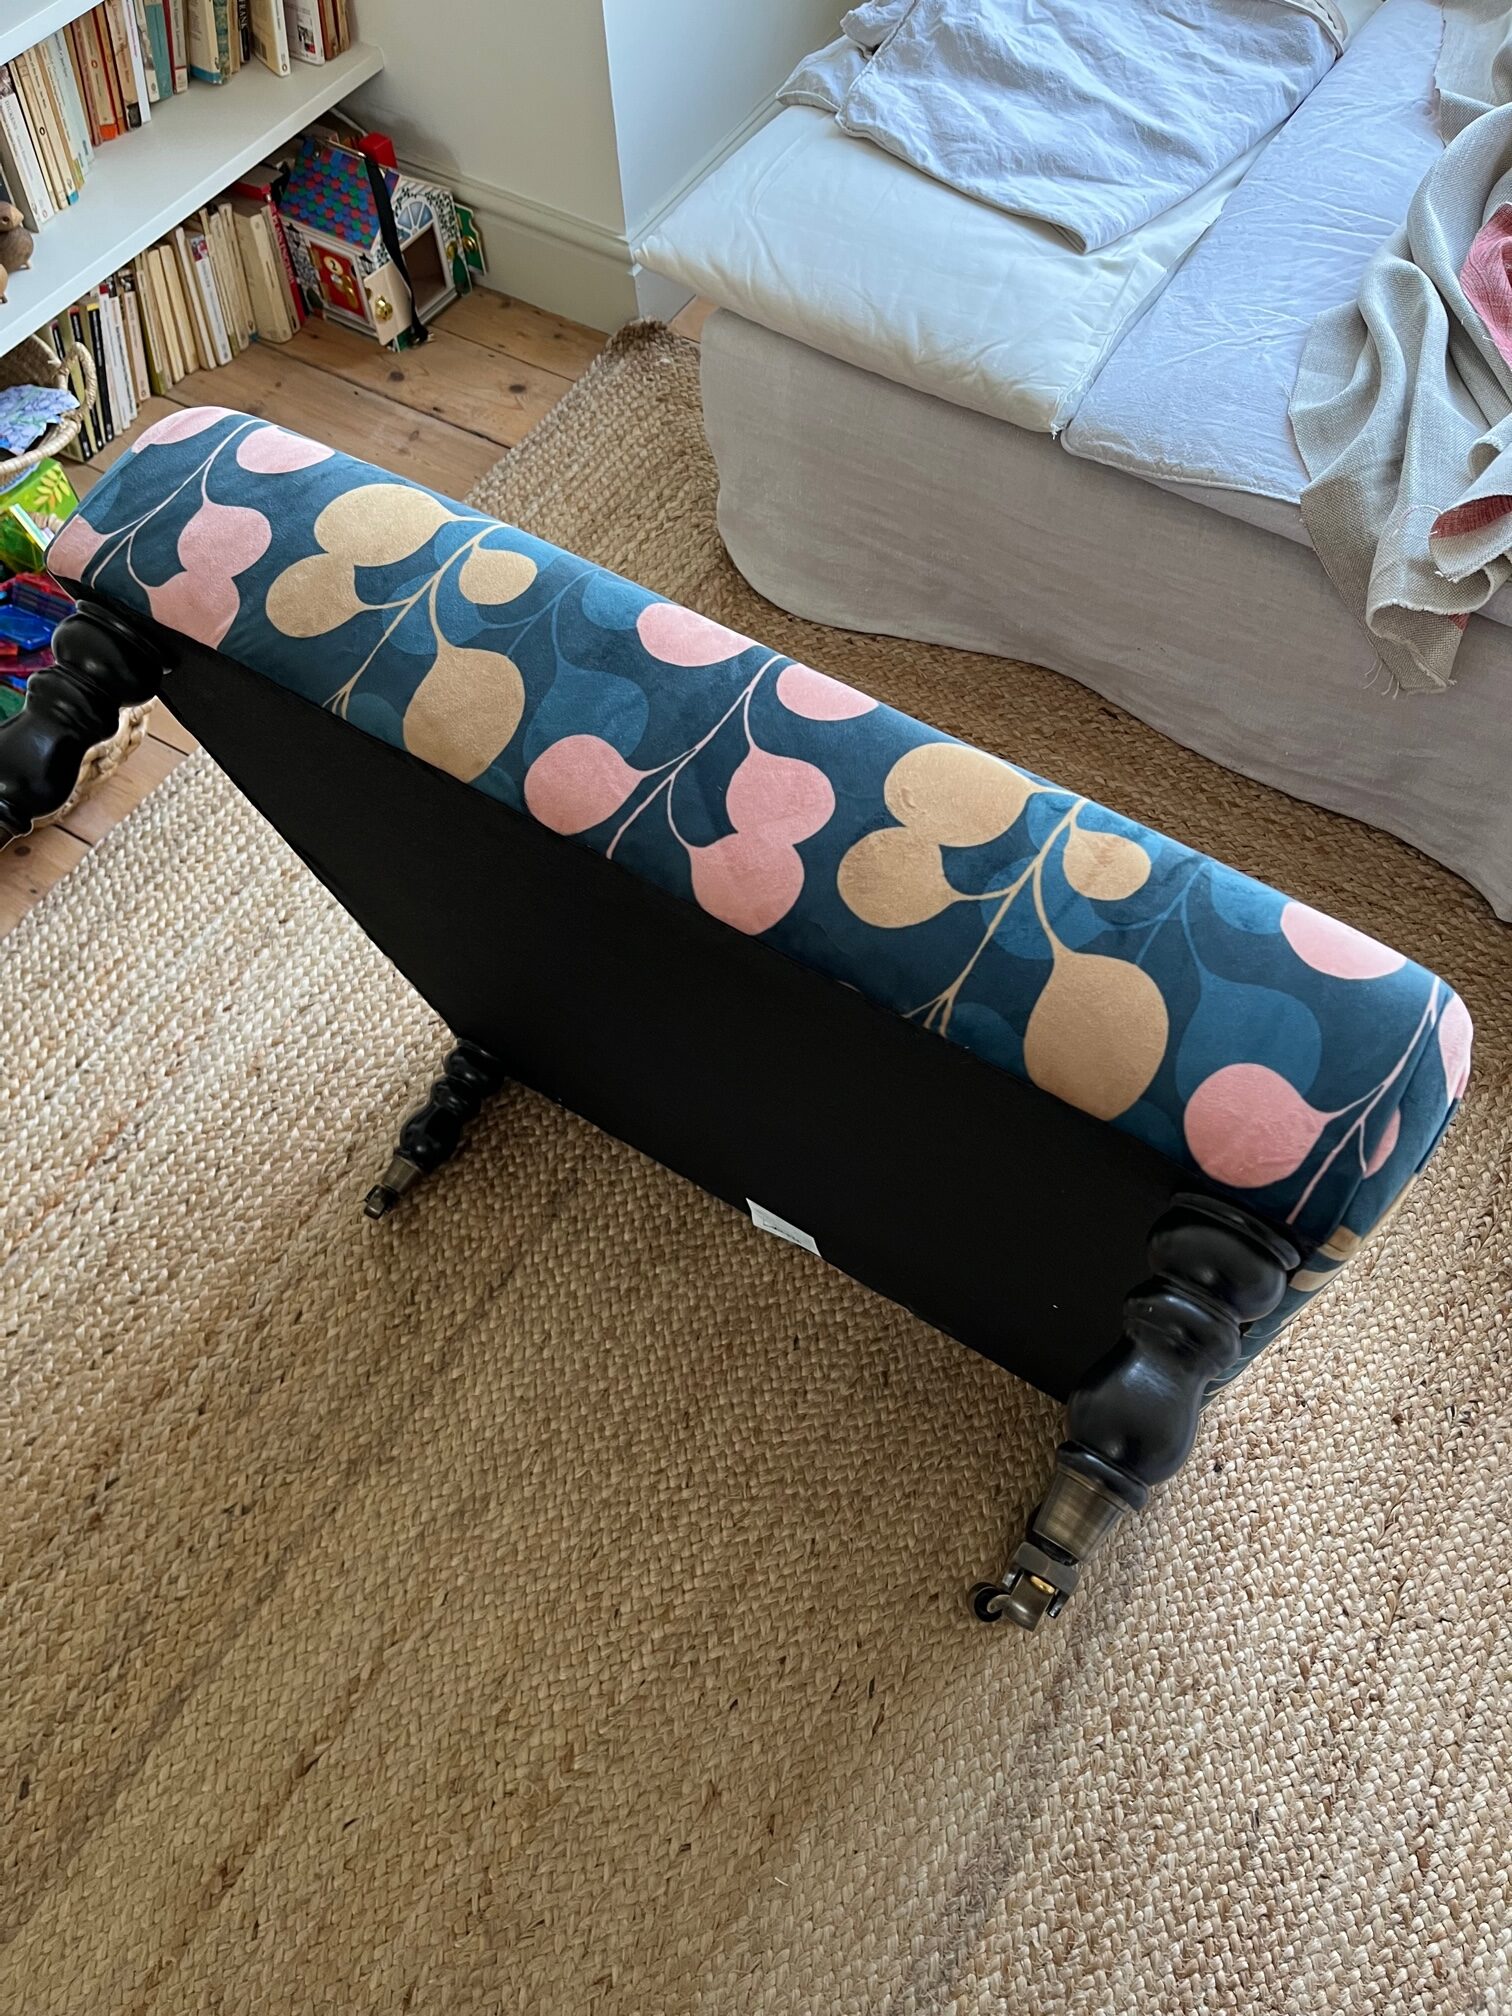
The first job was to remove the old fabric from the ottoman, without ruining or completely removing, the bottom fabric (the black fabric). There was absolutely nothing wrong with the bottom fabric so I could simply reattach it but if you need to buy some you can do so here.
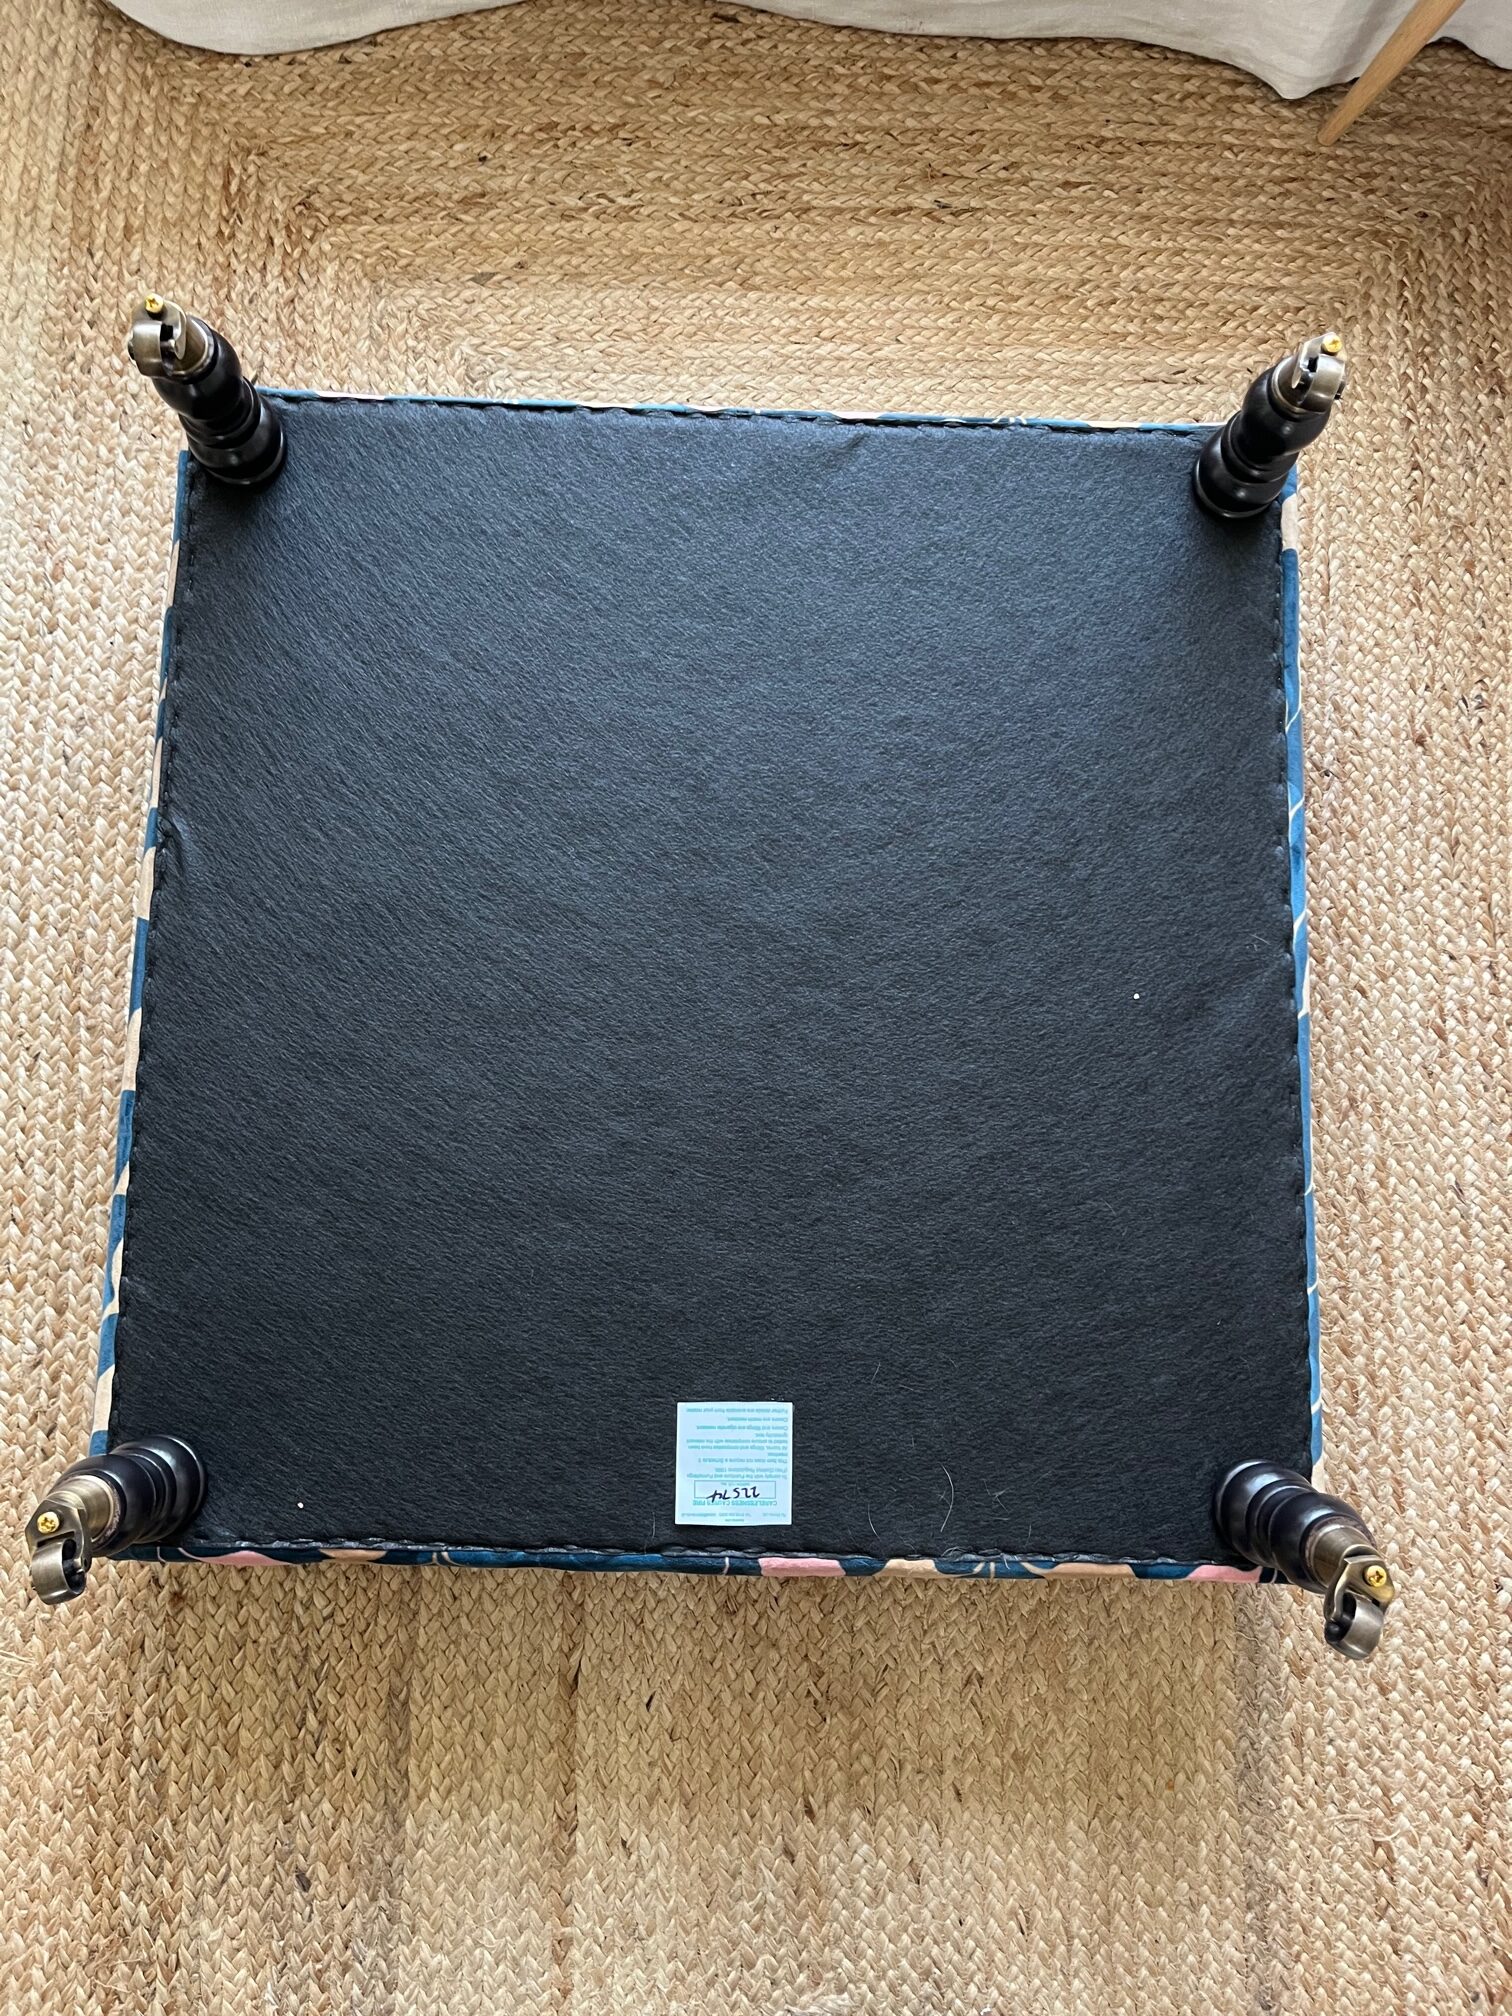
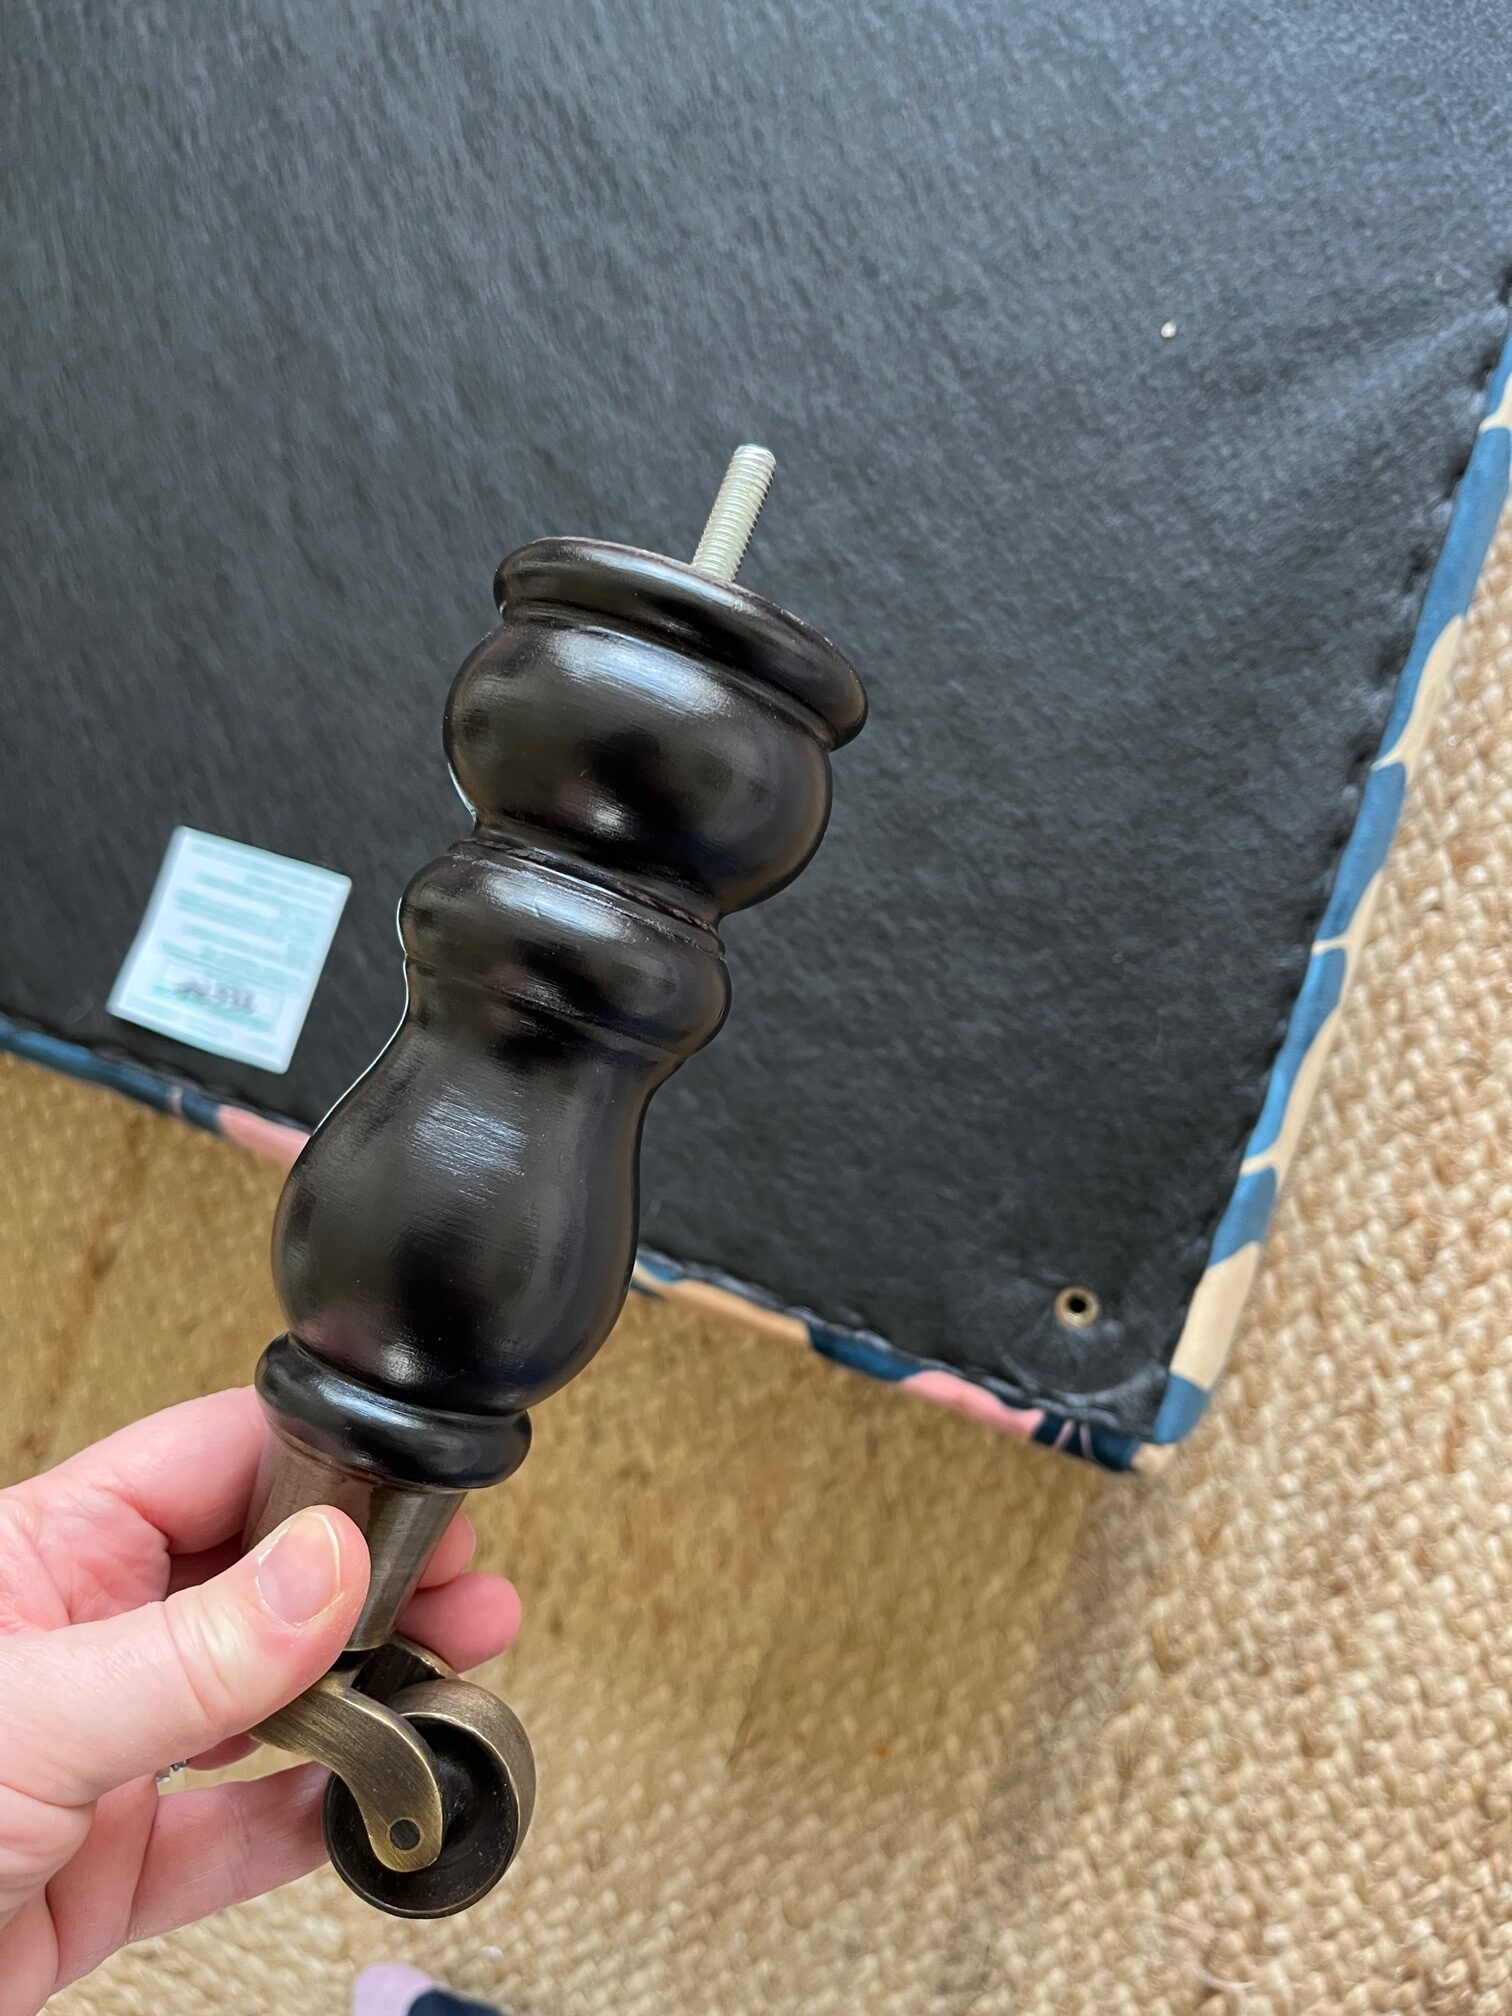
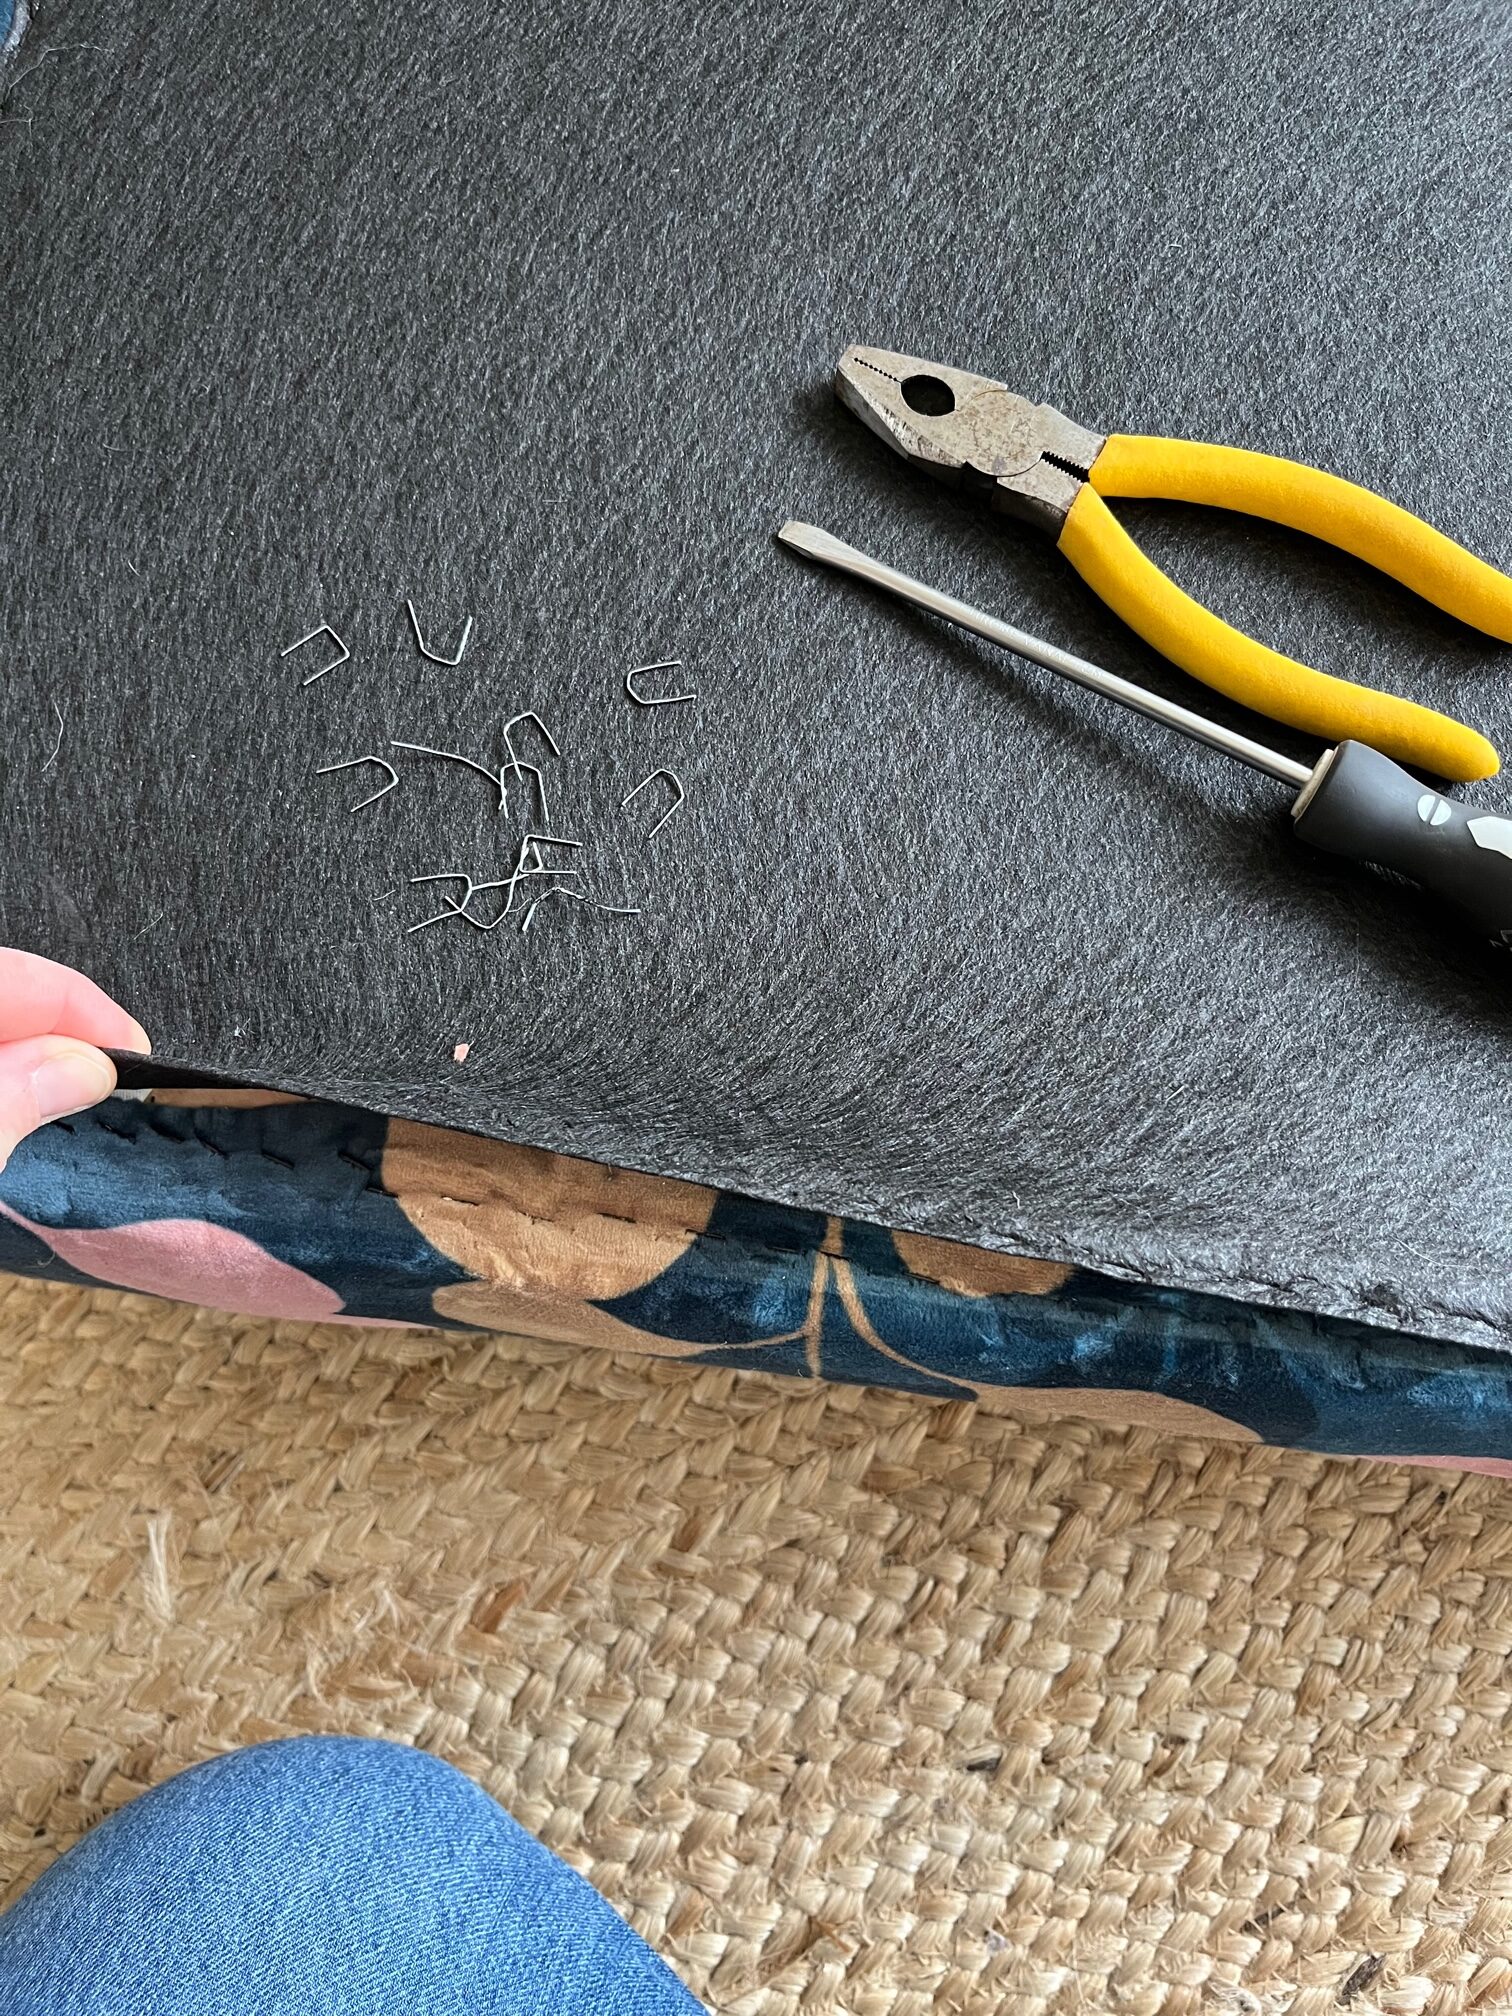
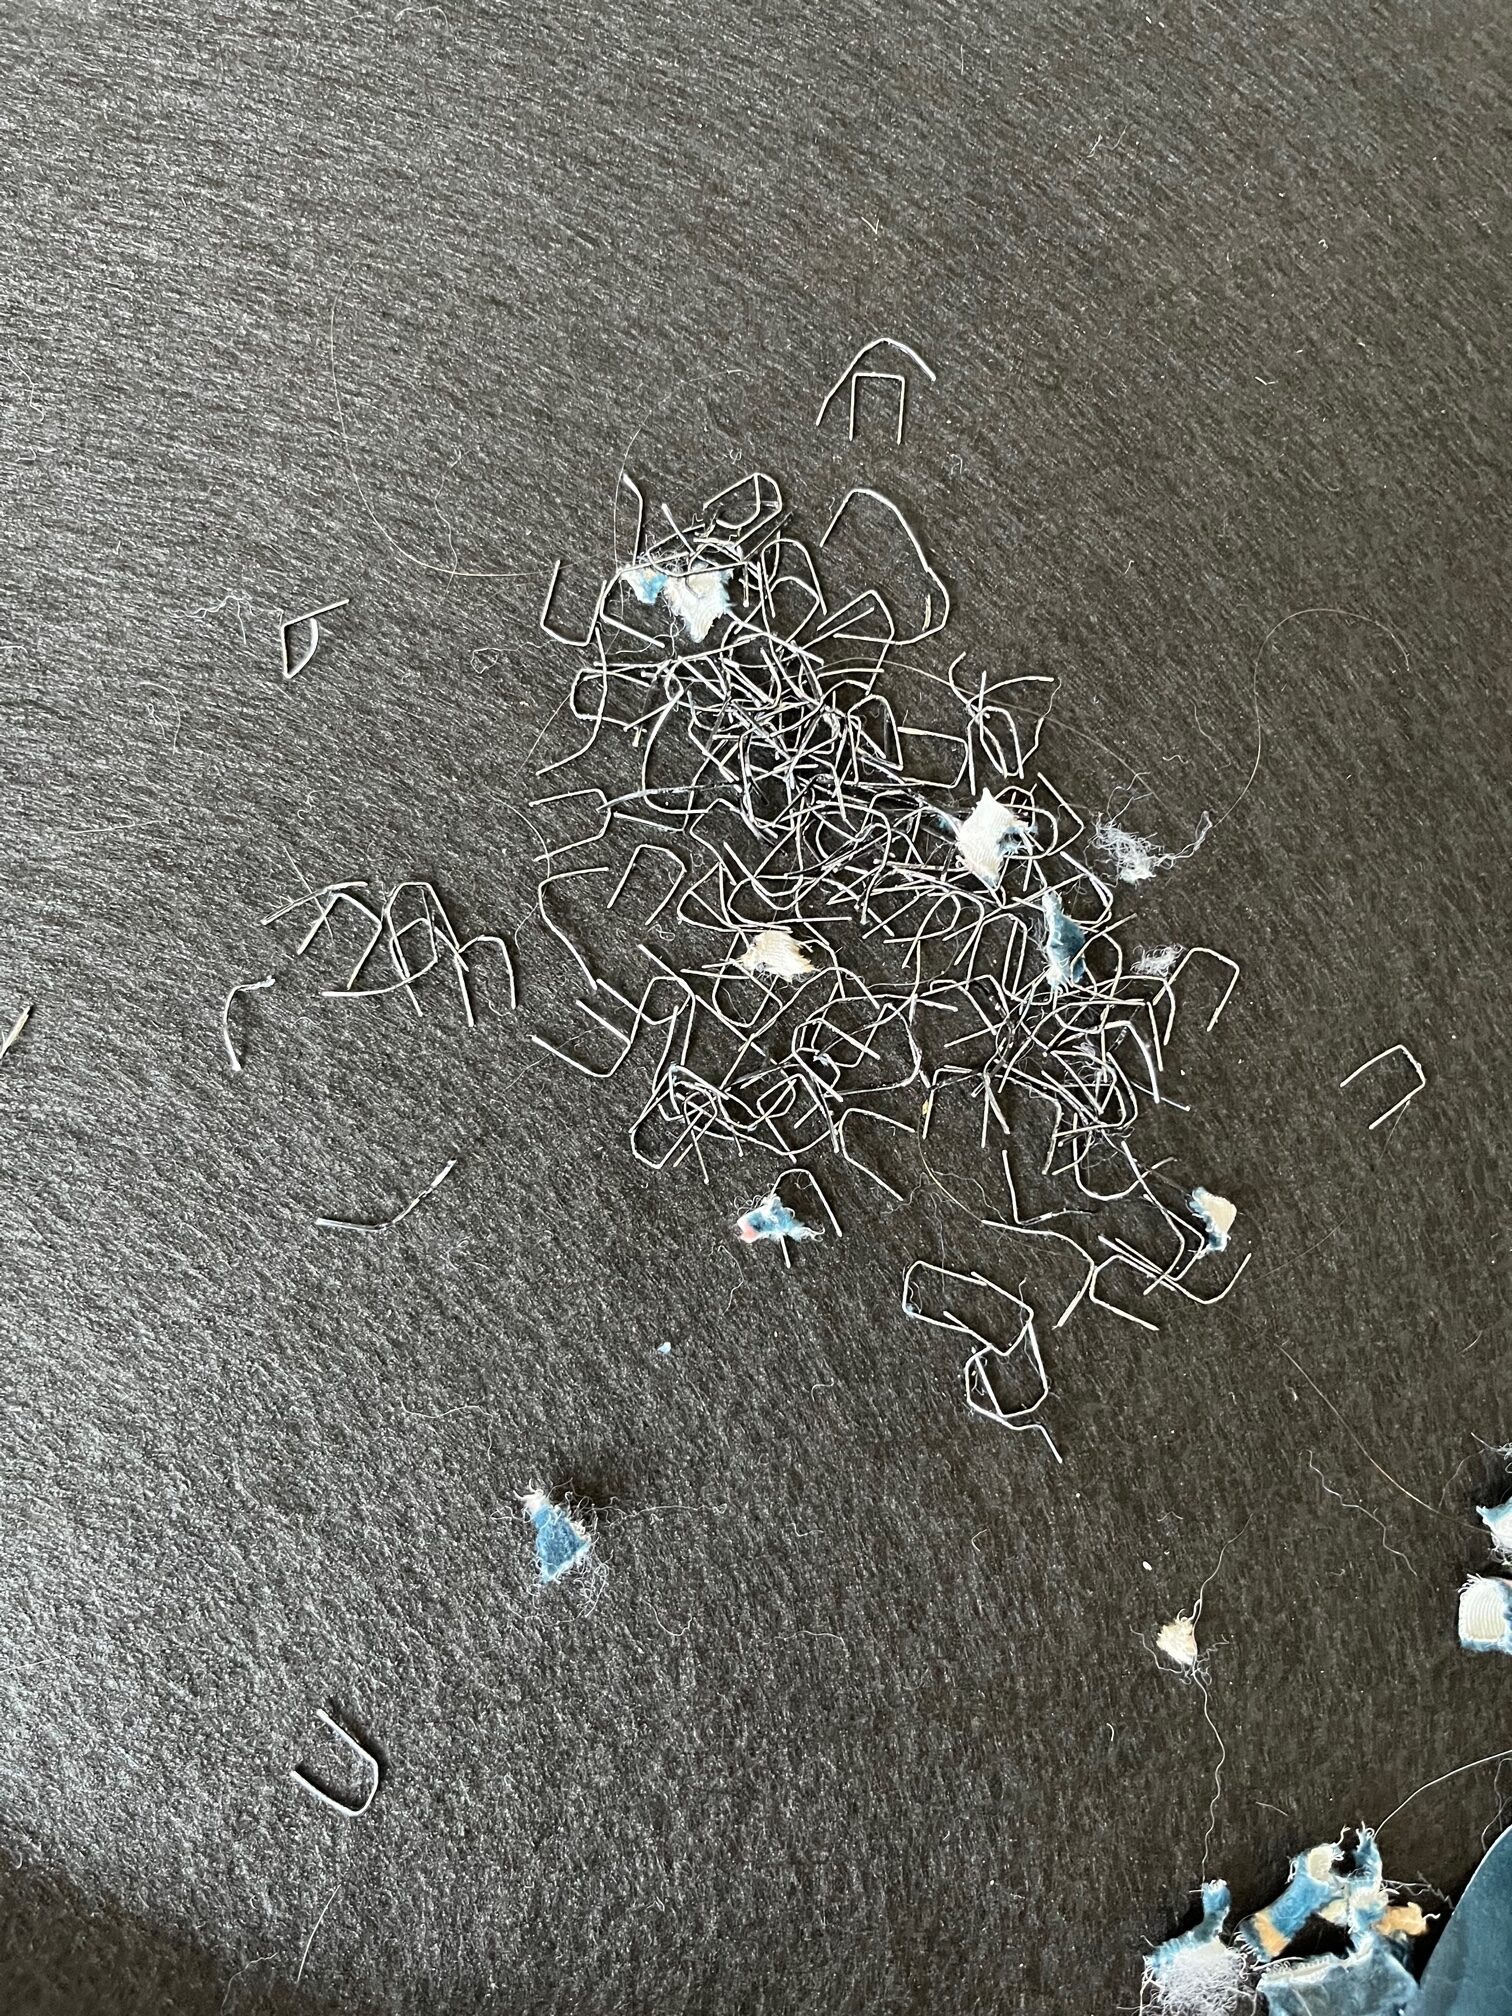
I unscrewed the legs and began removing the staples with a screwdriver and pliers. If you don’t want blisters by the end of it I would recommend a proper staple remover but I really wanted to do this with what I had and it worked.
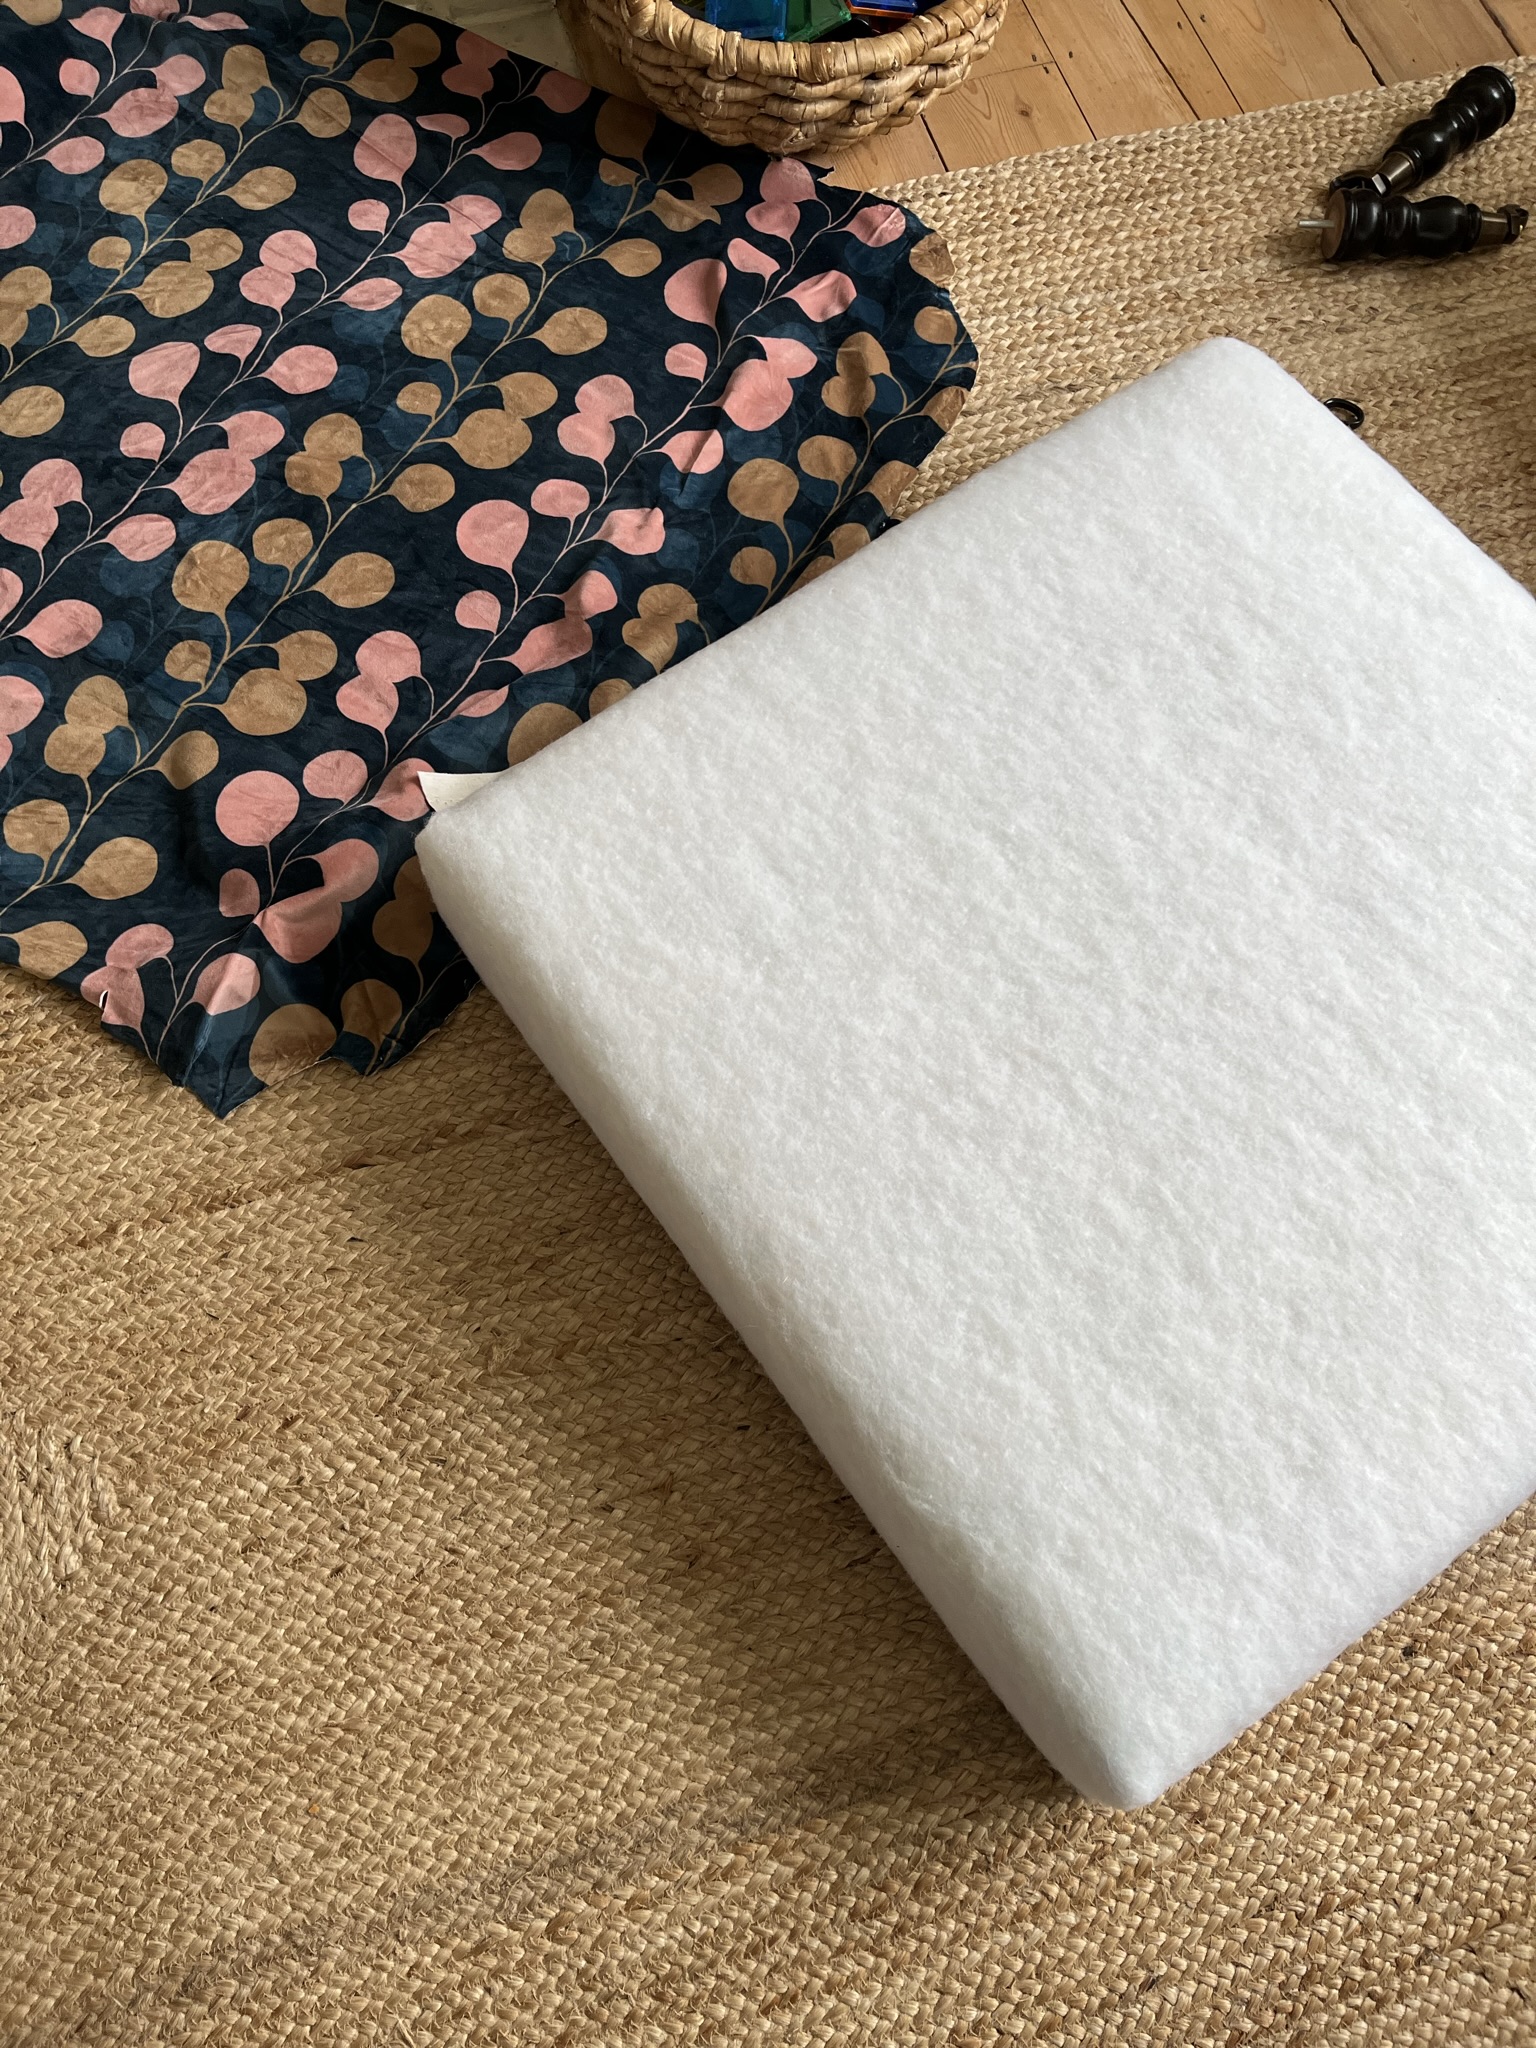
After removing millions of staples I eventually got the black bottom fabric and the top fabric off. The foam and webbing were both in perfect condition so I left those but I would recommend e.foam if you need foam cut to size.
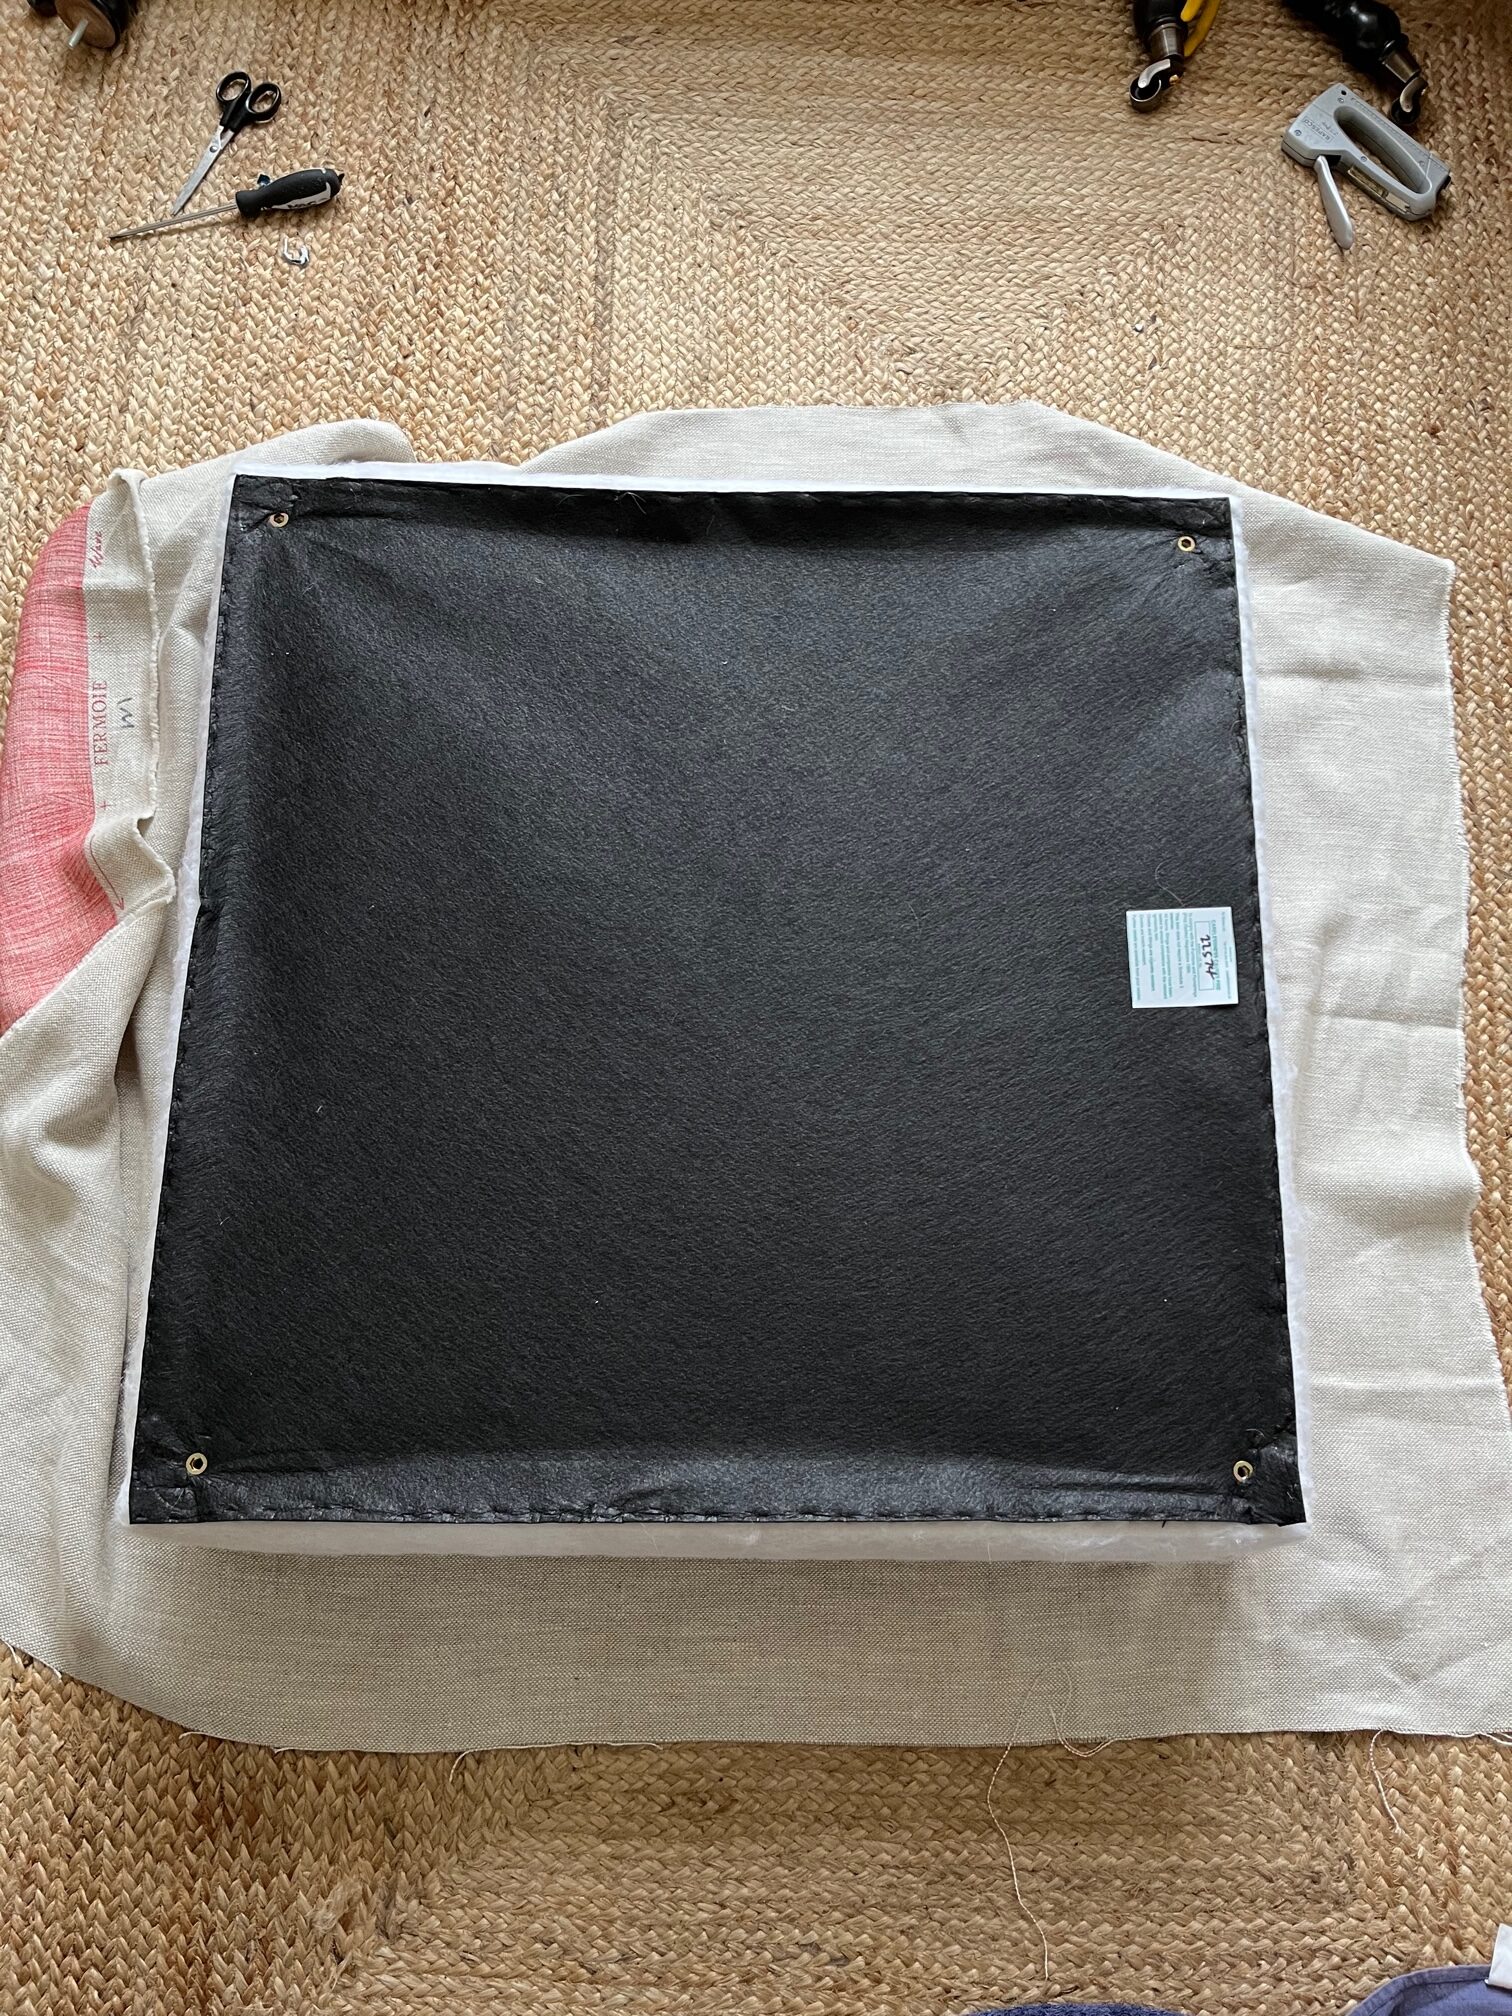
My fabric was basically exactly the right size for this ottoman so I didn’t need to cut much away but I placed the ottoman in the centre of the fabric to help figure out how much did need cutting away and very importantly for different shaped projects/fabrics to figure out which way the pattern would run. You can see the black bottom fabric is still attached but that’s only because the feet were screwed into it so I just worked around it (all the staples had been removed). I stapled the Fermoie fabric in place using just a couple of staples on each side working out from the middle. This helped me figure out whether the fabric was in the correct place and that I wasn’t pulling the fabric too taut or that it was too loose.
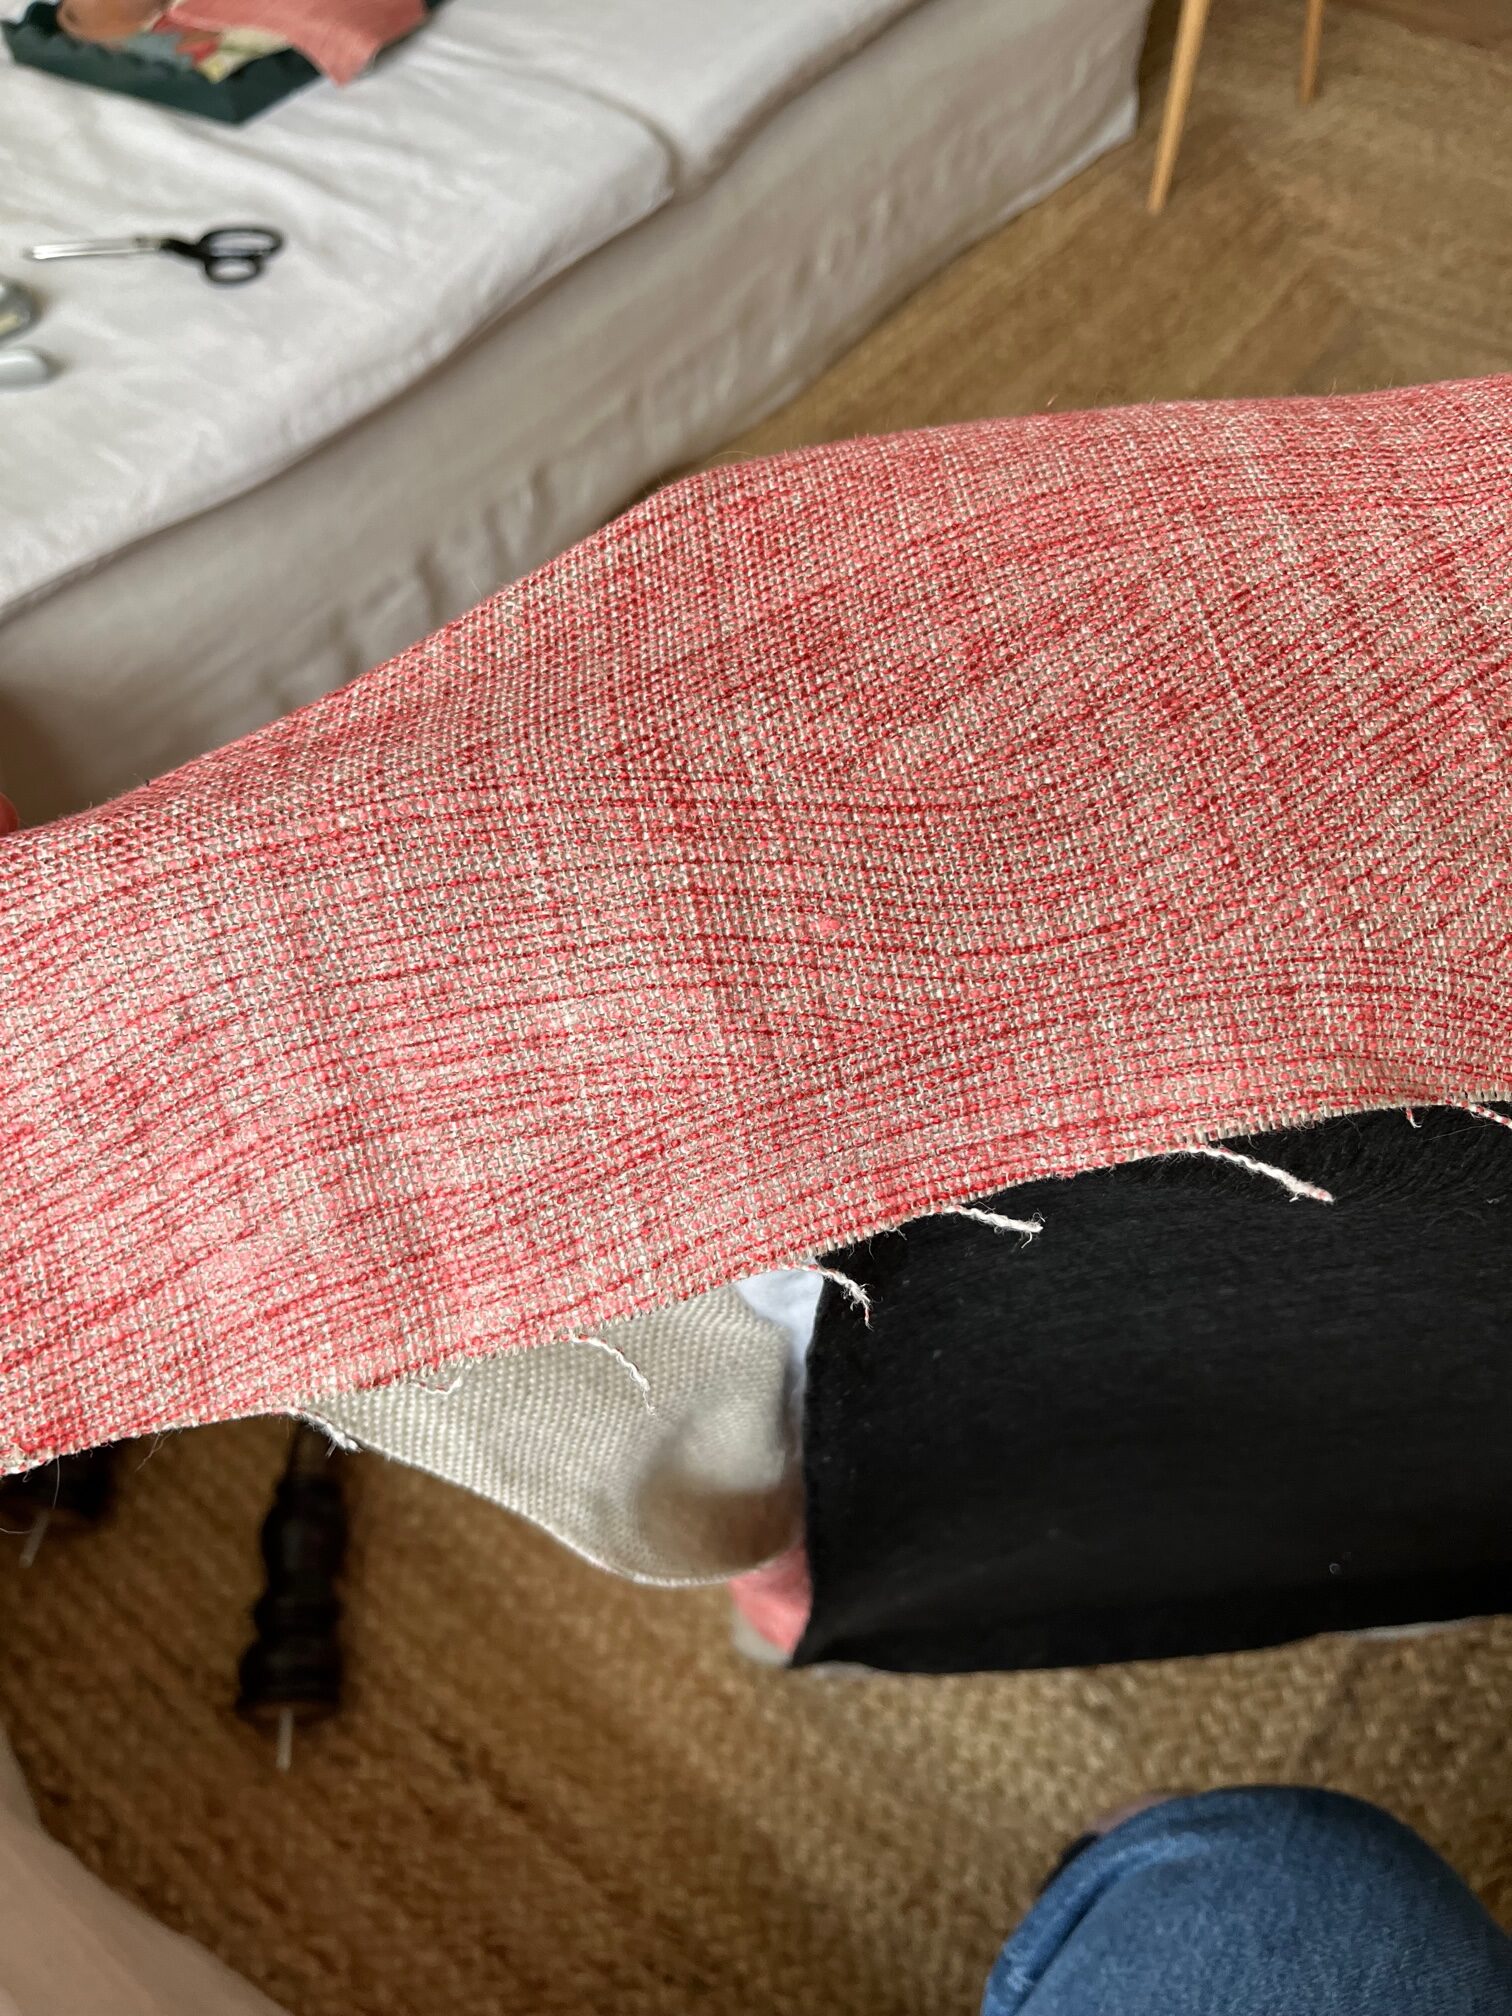

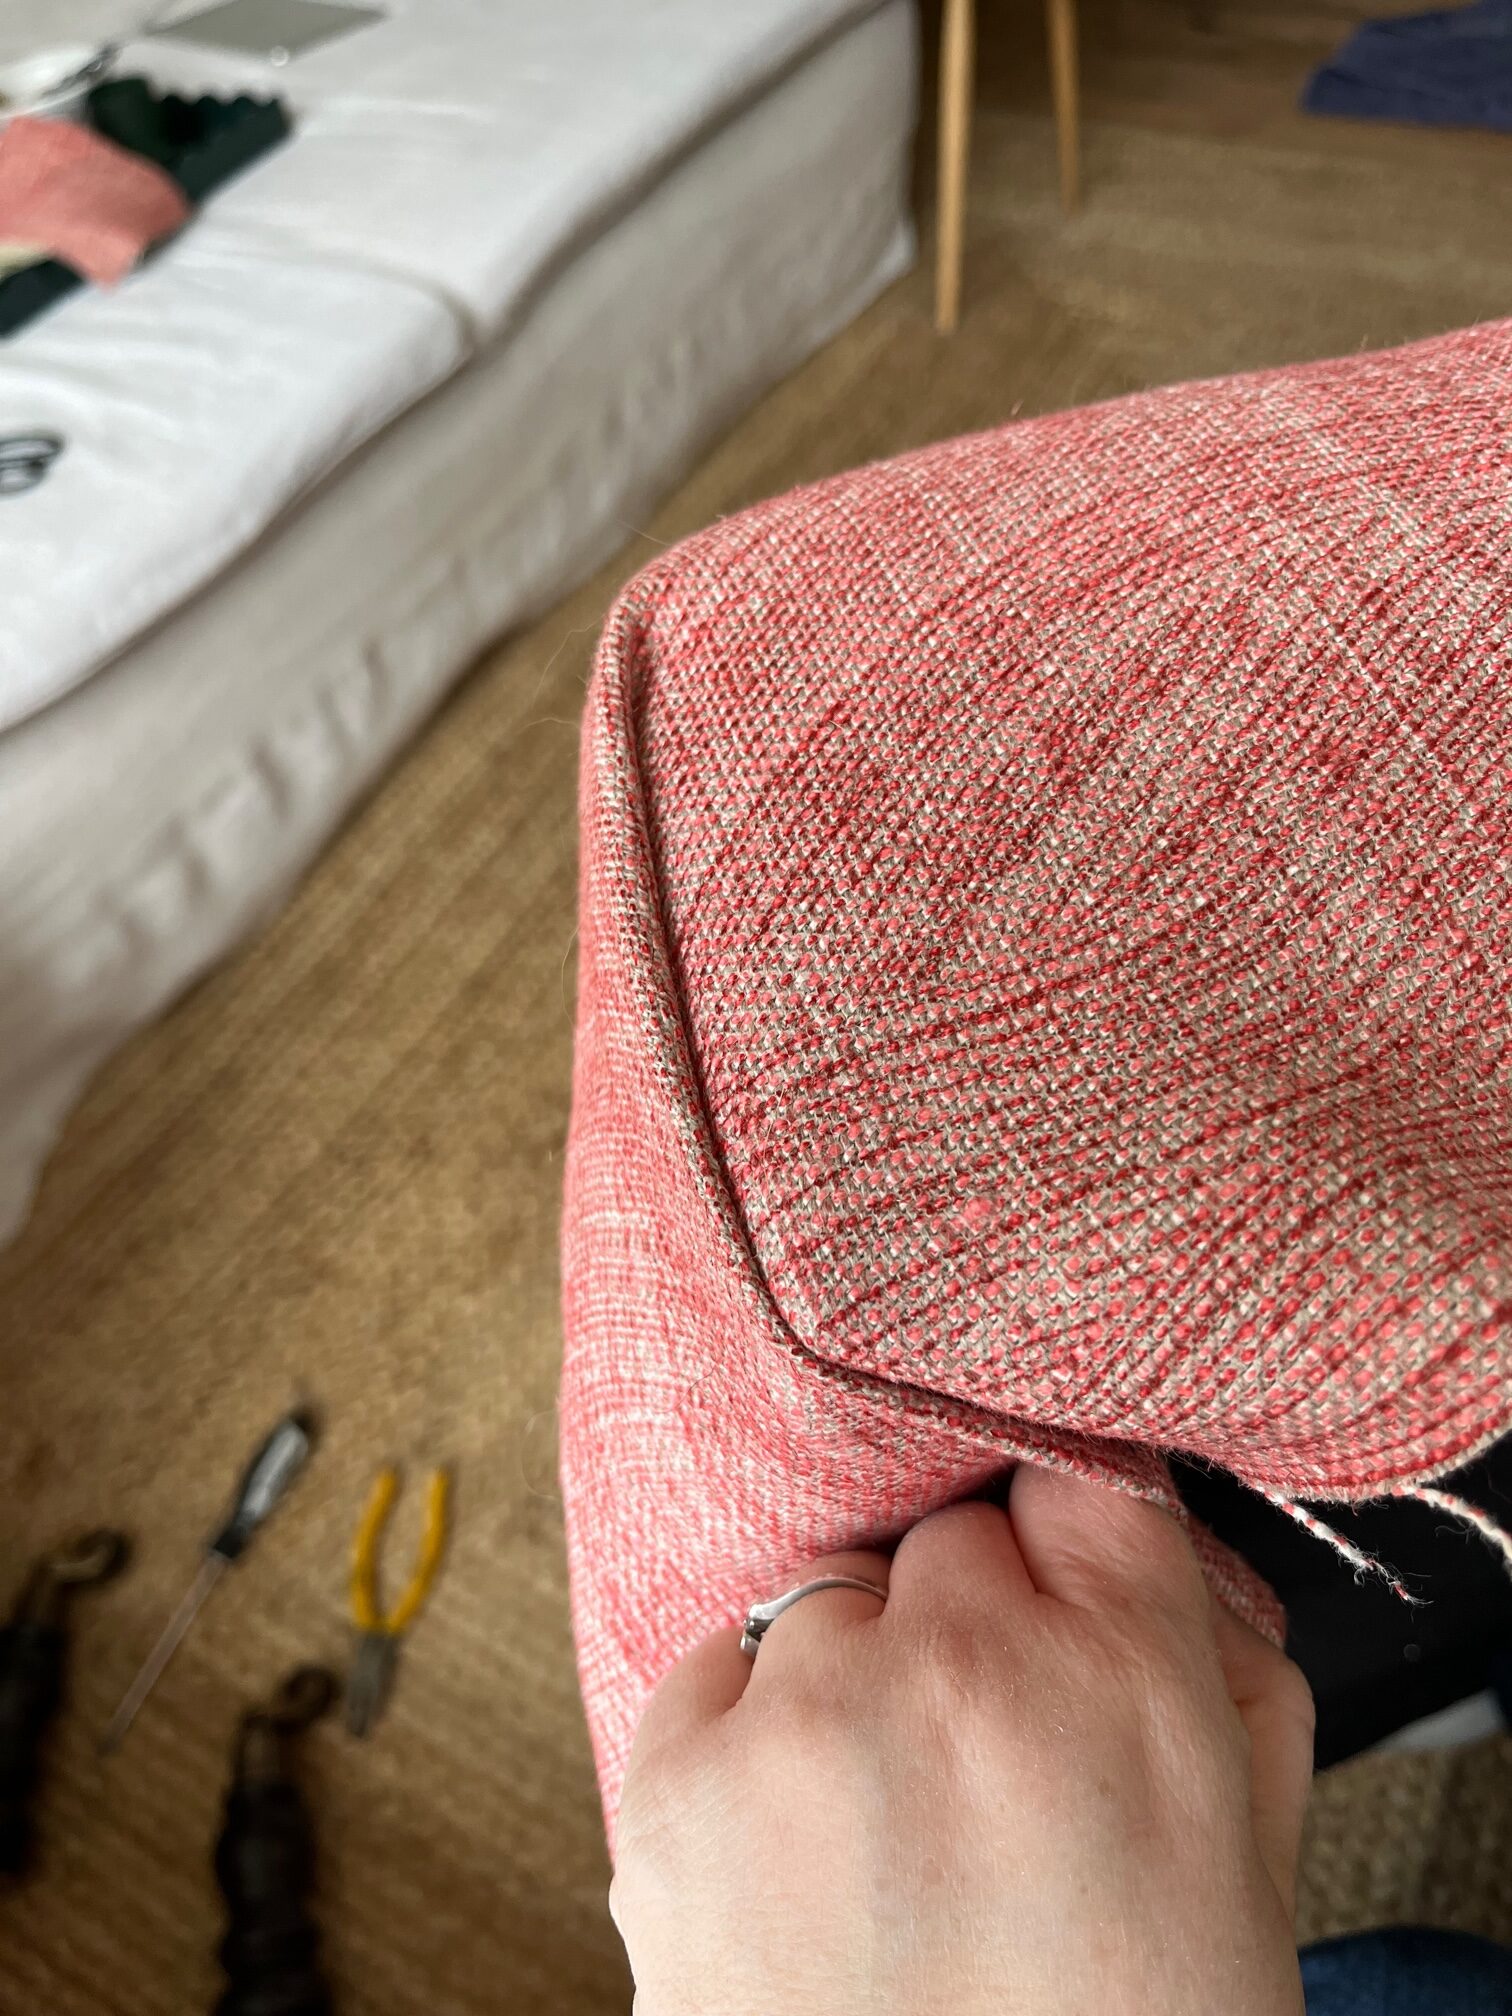
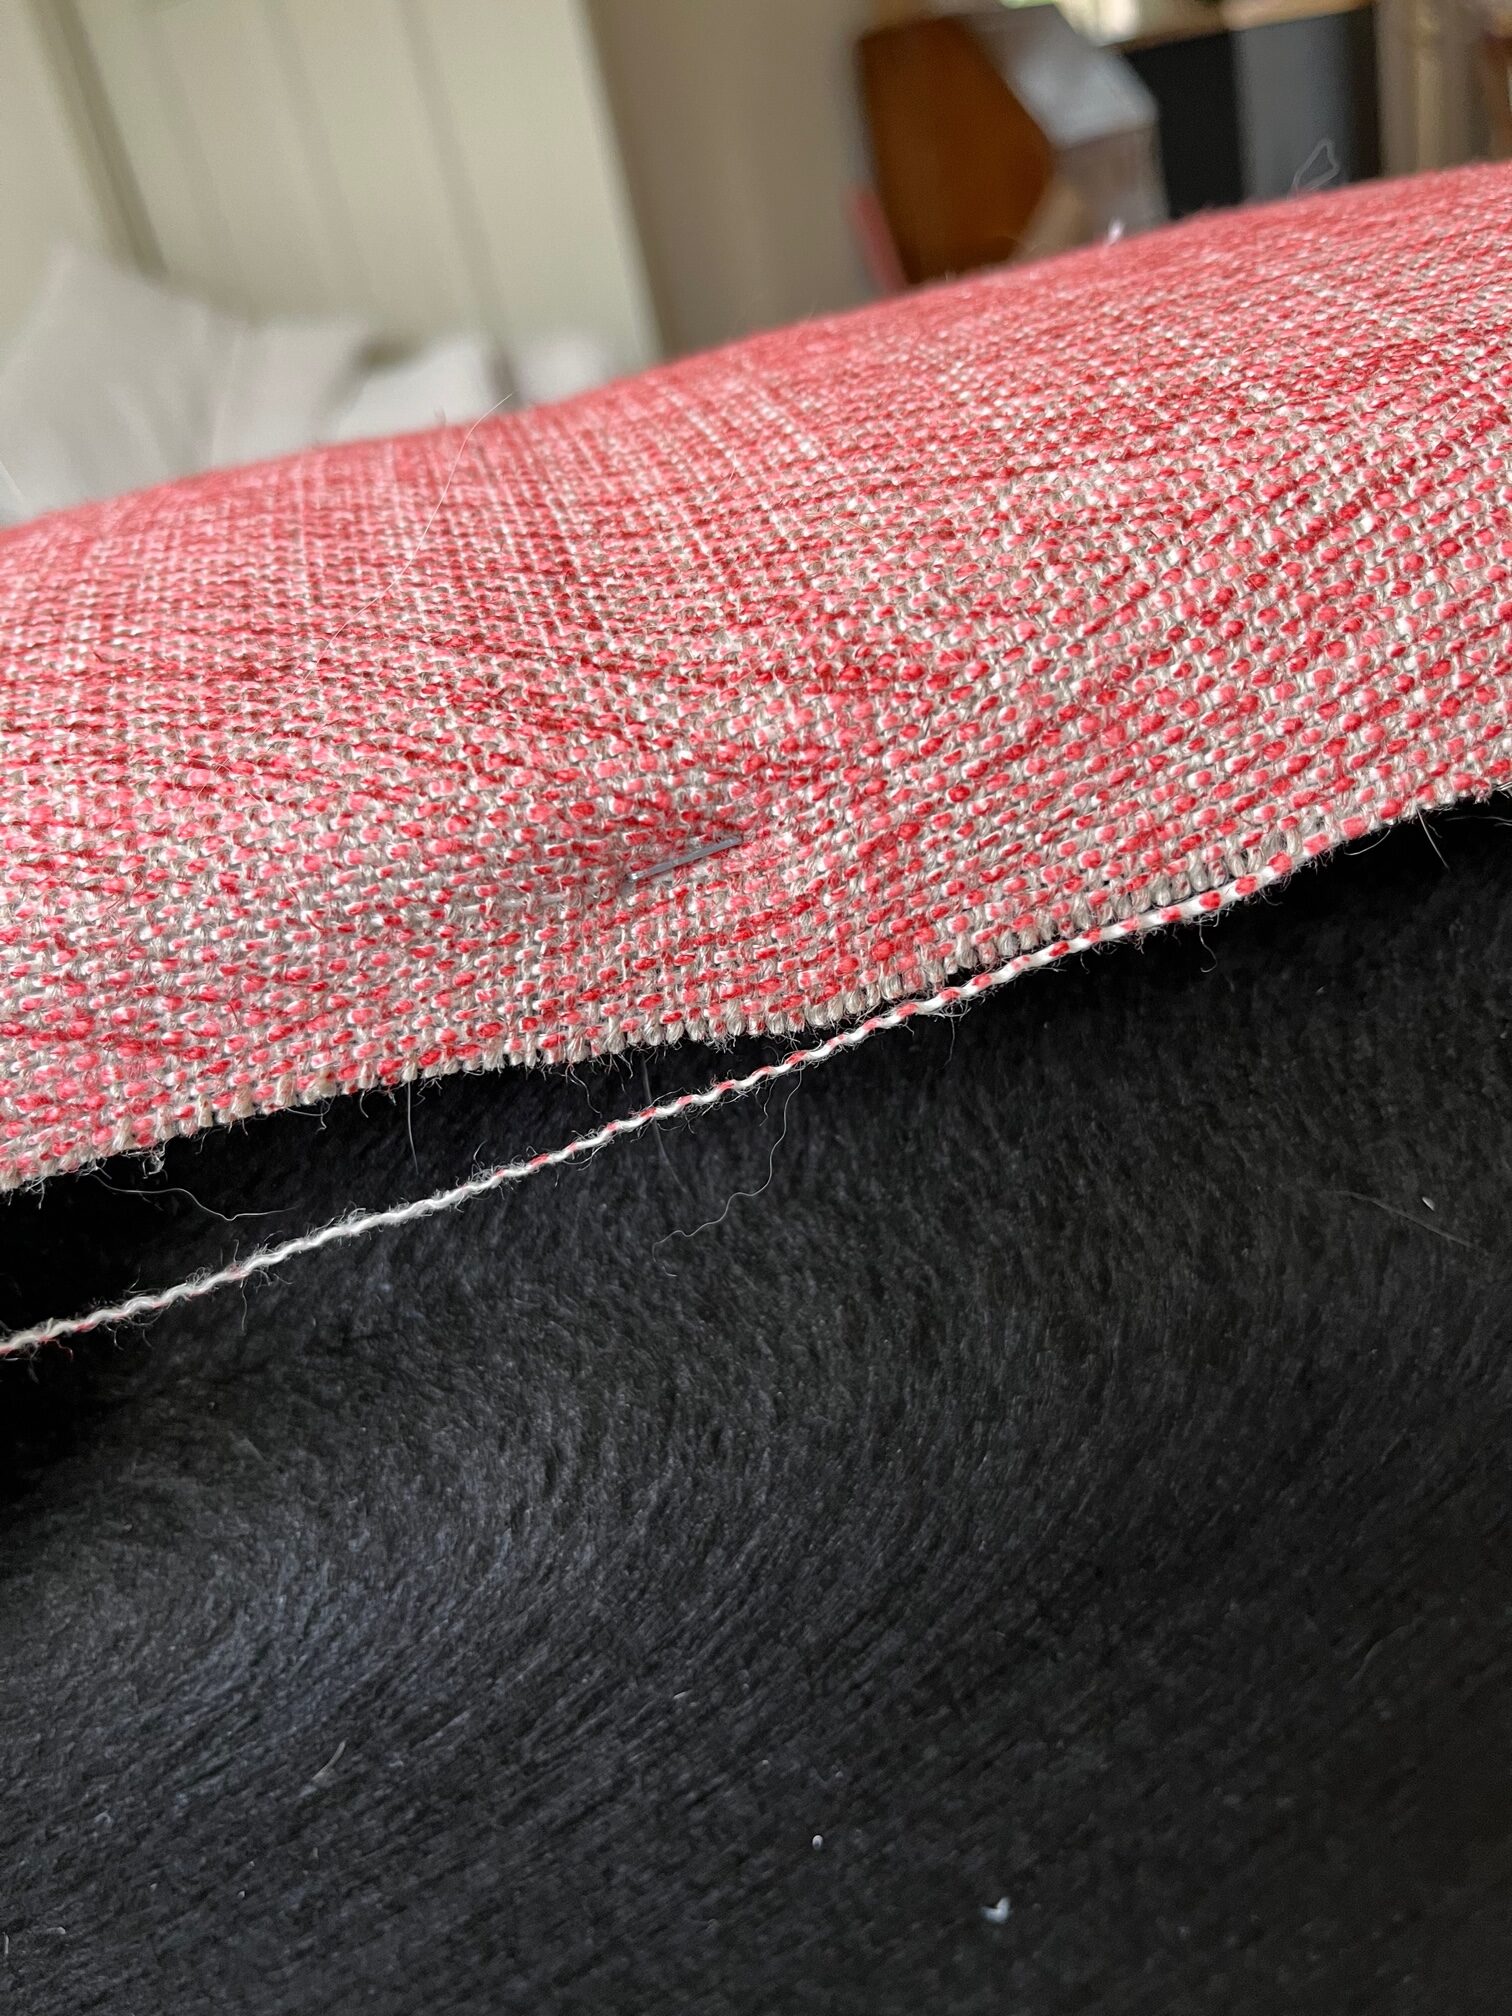
Once I was happy with the tension and placement of the fabric I stapled the fabric in the place working out to the corners. Once at the corners I had two choices: either pull out the fabric and do a straight square corner (as above) or a do a pleat (as below). I prefer the look of a pleat so I chose that way of doing it.
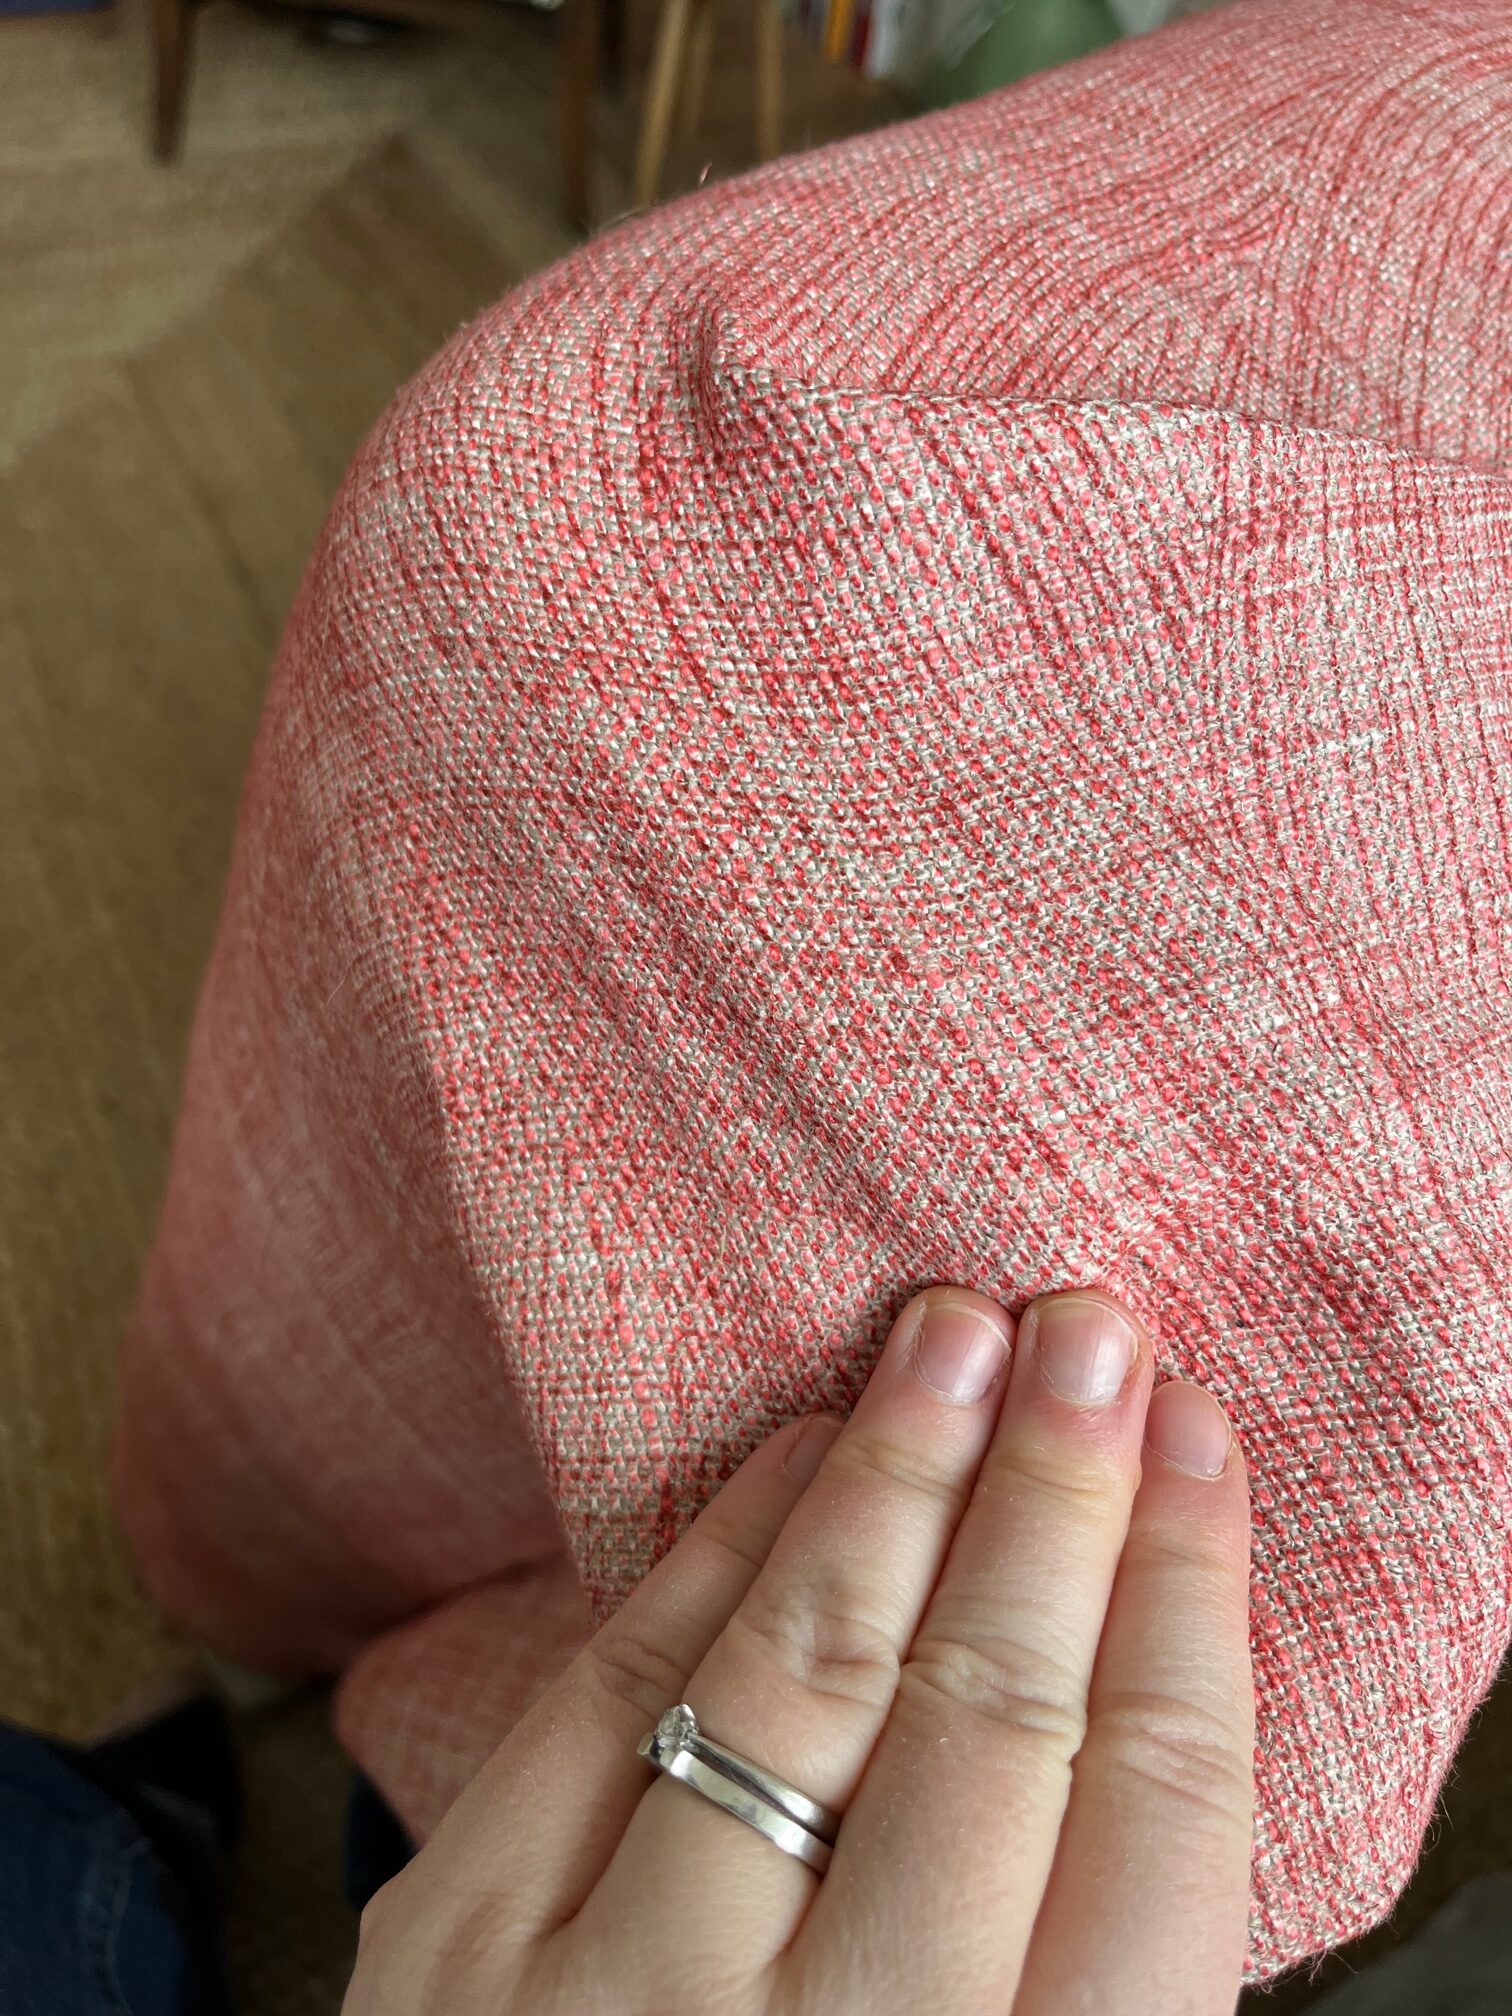
Doing a neat corner is actually much easier than it looks and just takes a bit of trial and error. All you have to do is pull the fabric taut over the corner and fold in either side and attach with staples on the bottom. I did have to cut away some of the fabric from the corners as it became too bulky.
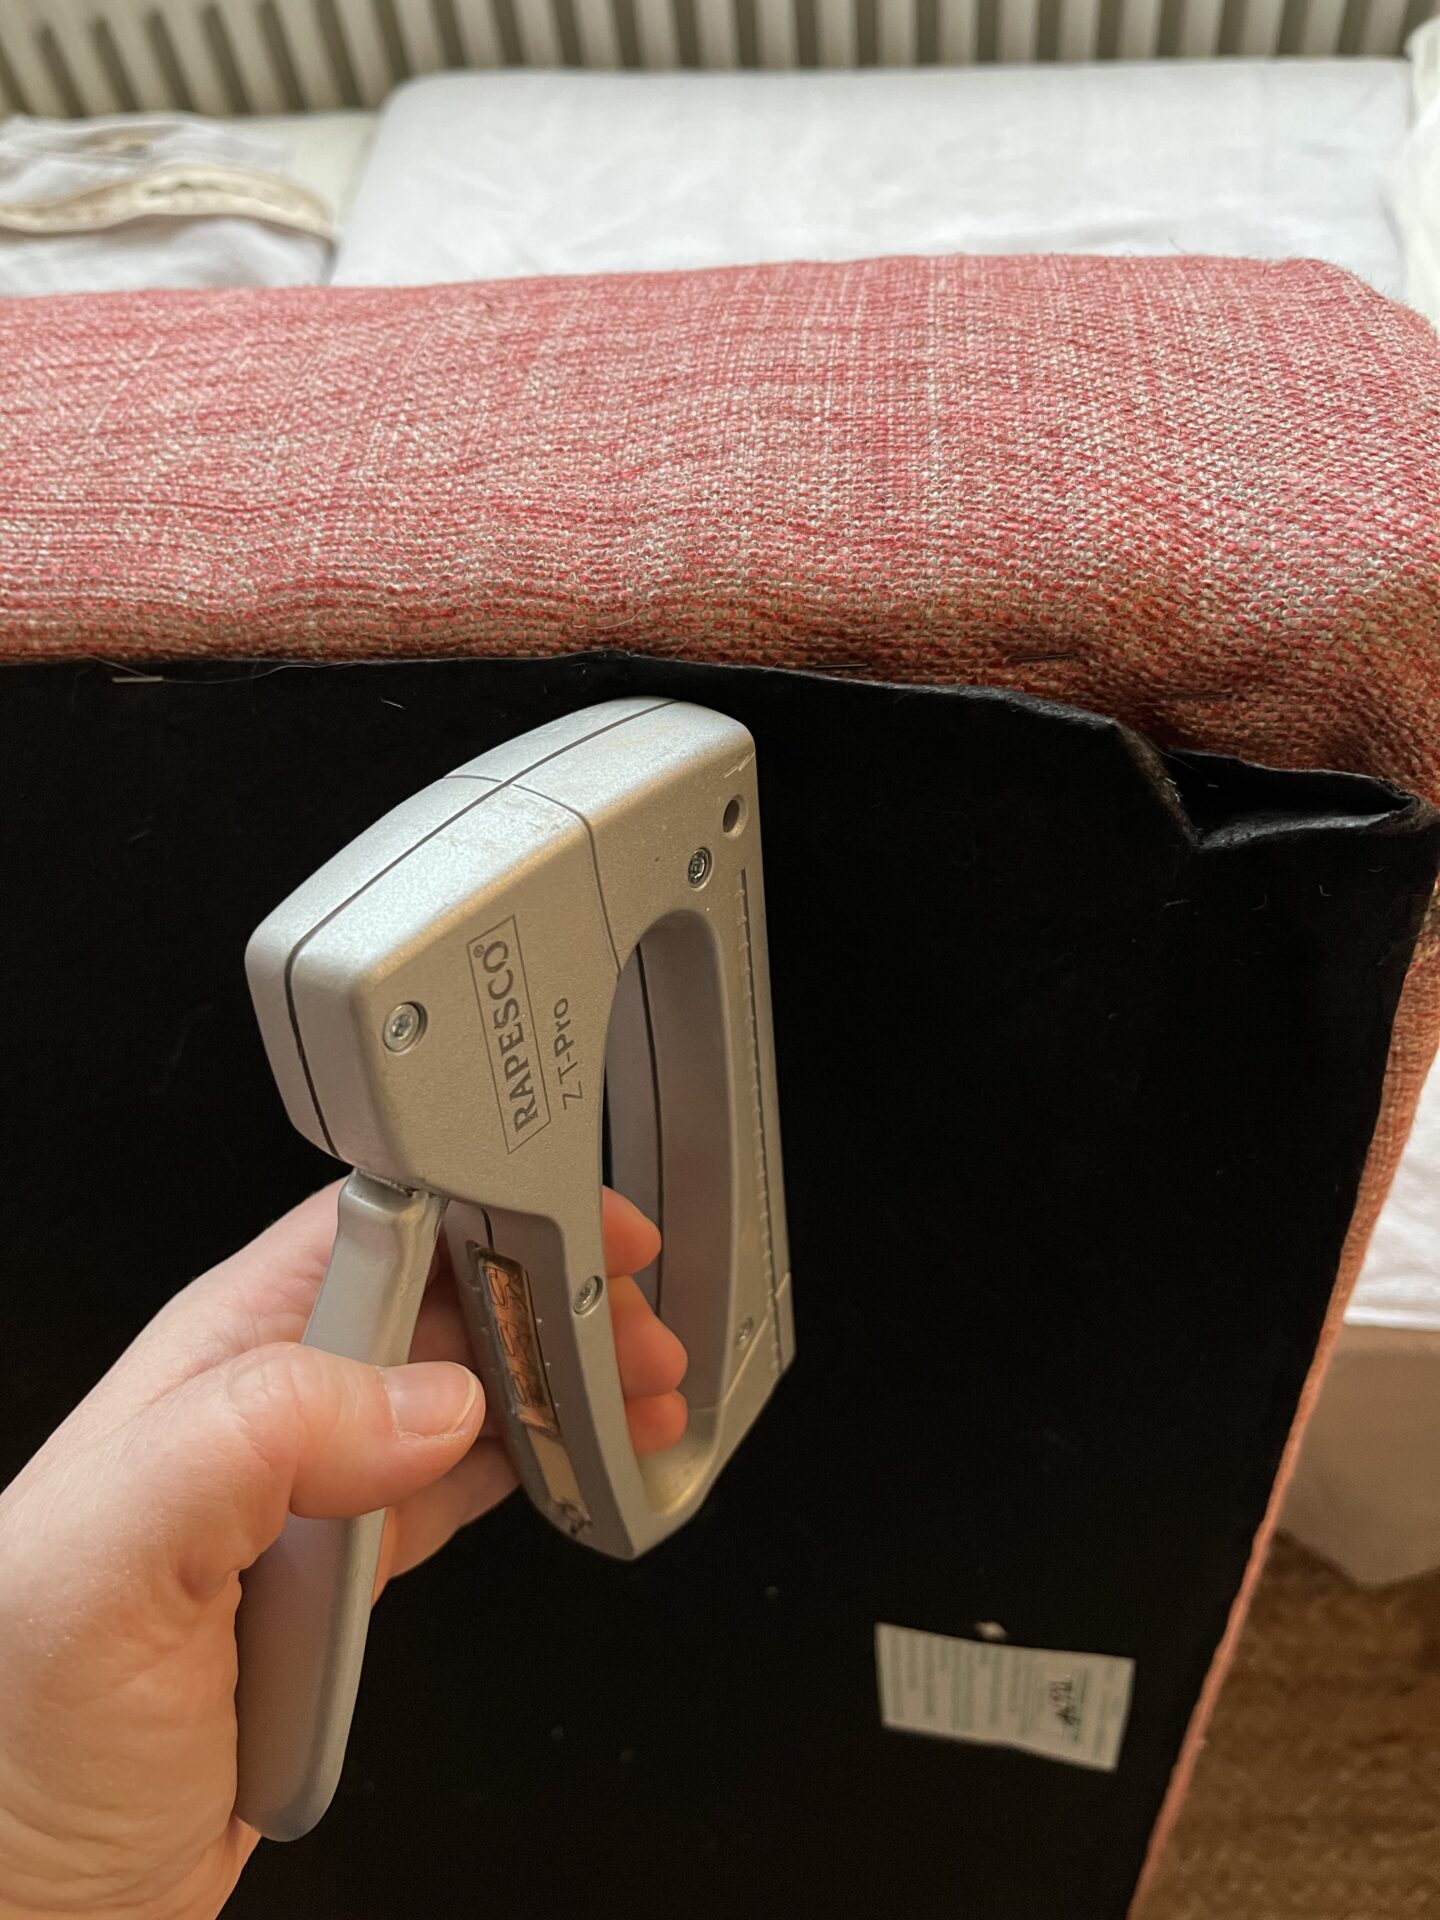
Once I had attached all of the Fermoie fabric into place with my staple gun, I did the same with the bottom fabric, which basically just gives a nice finish and covers all of the tatty edges. I use this Rapesco staple gun, the same one I’ve been using since I was a teacher for my display boards, and I used long staples – 53/8mm – which is important to keep the fabric in place. This isn’t the ideal tool as it isn’t as strong and the staples aren’t as long or tough as the gun a professional would use but this isn’t going to be clambered on etc.
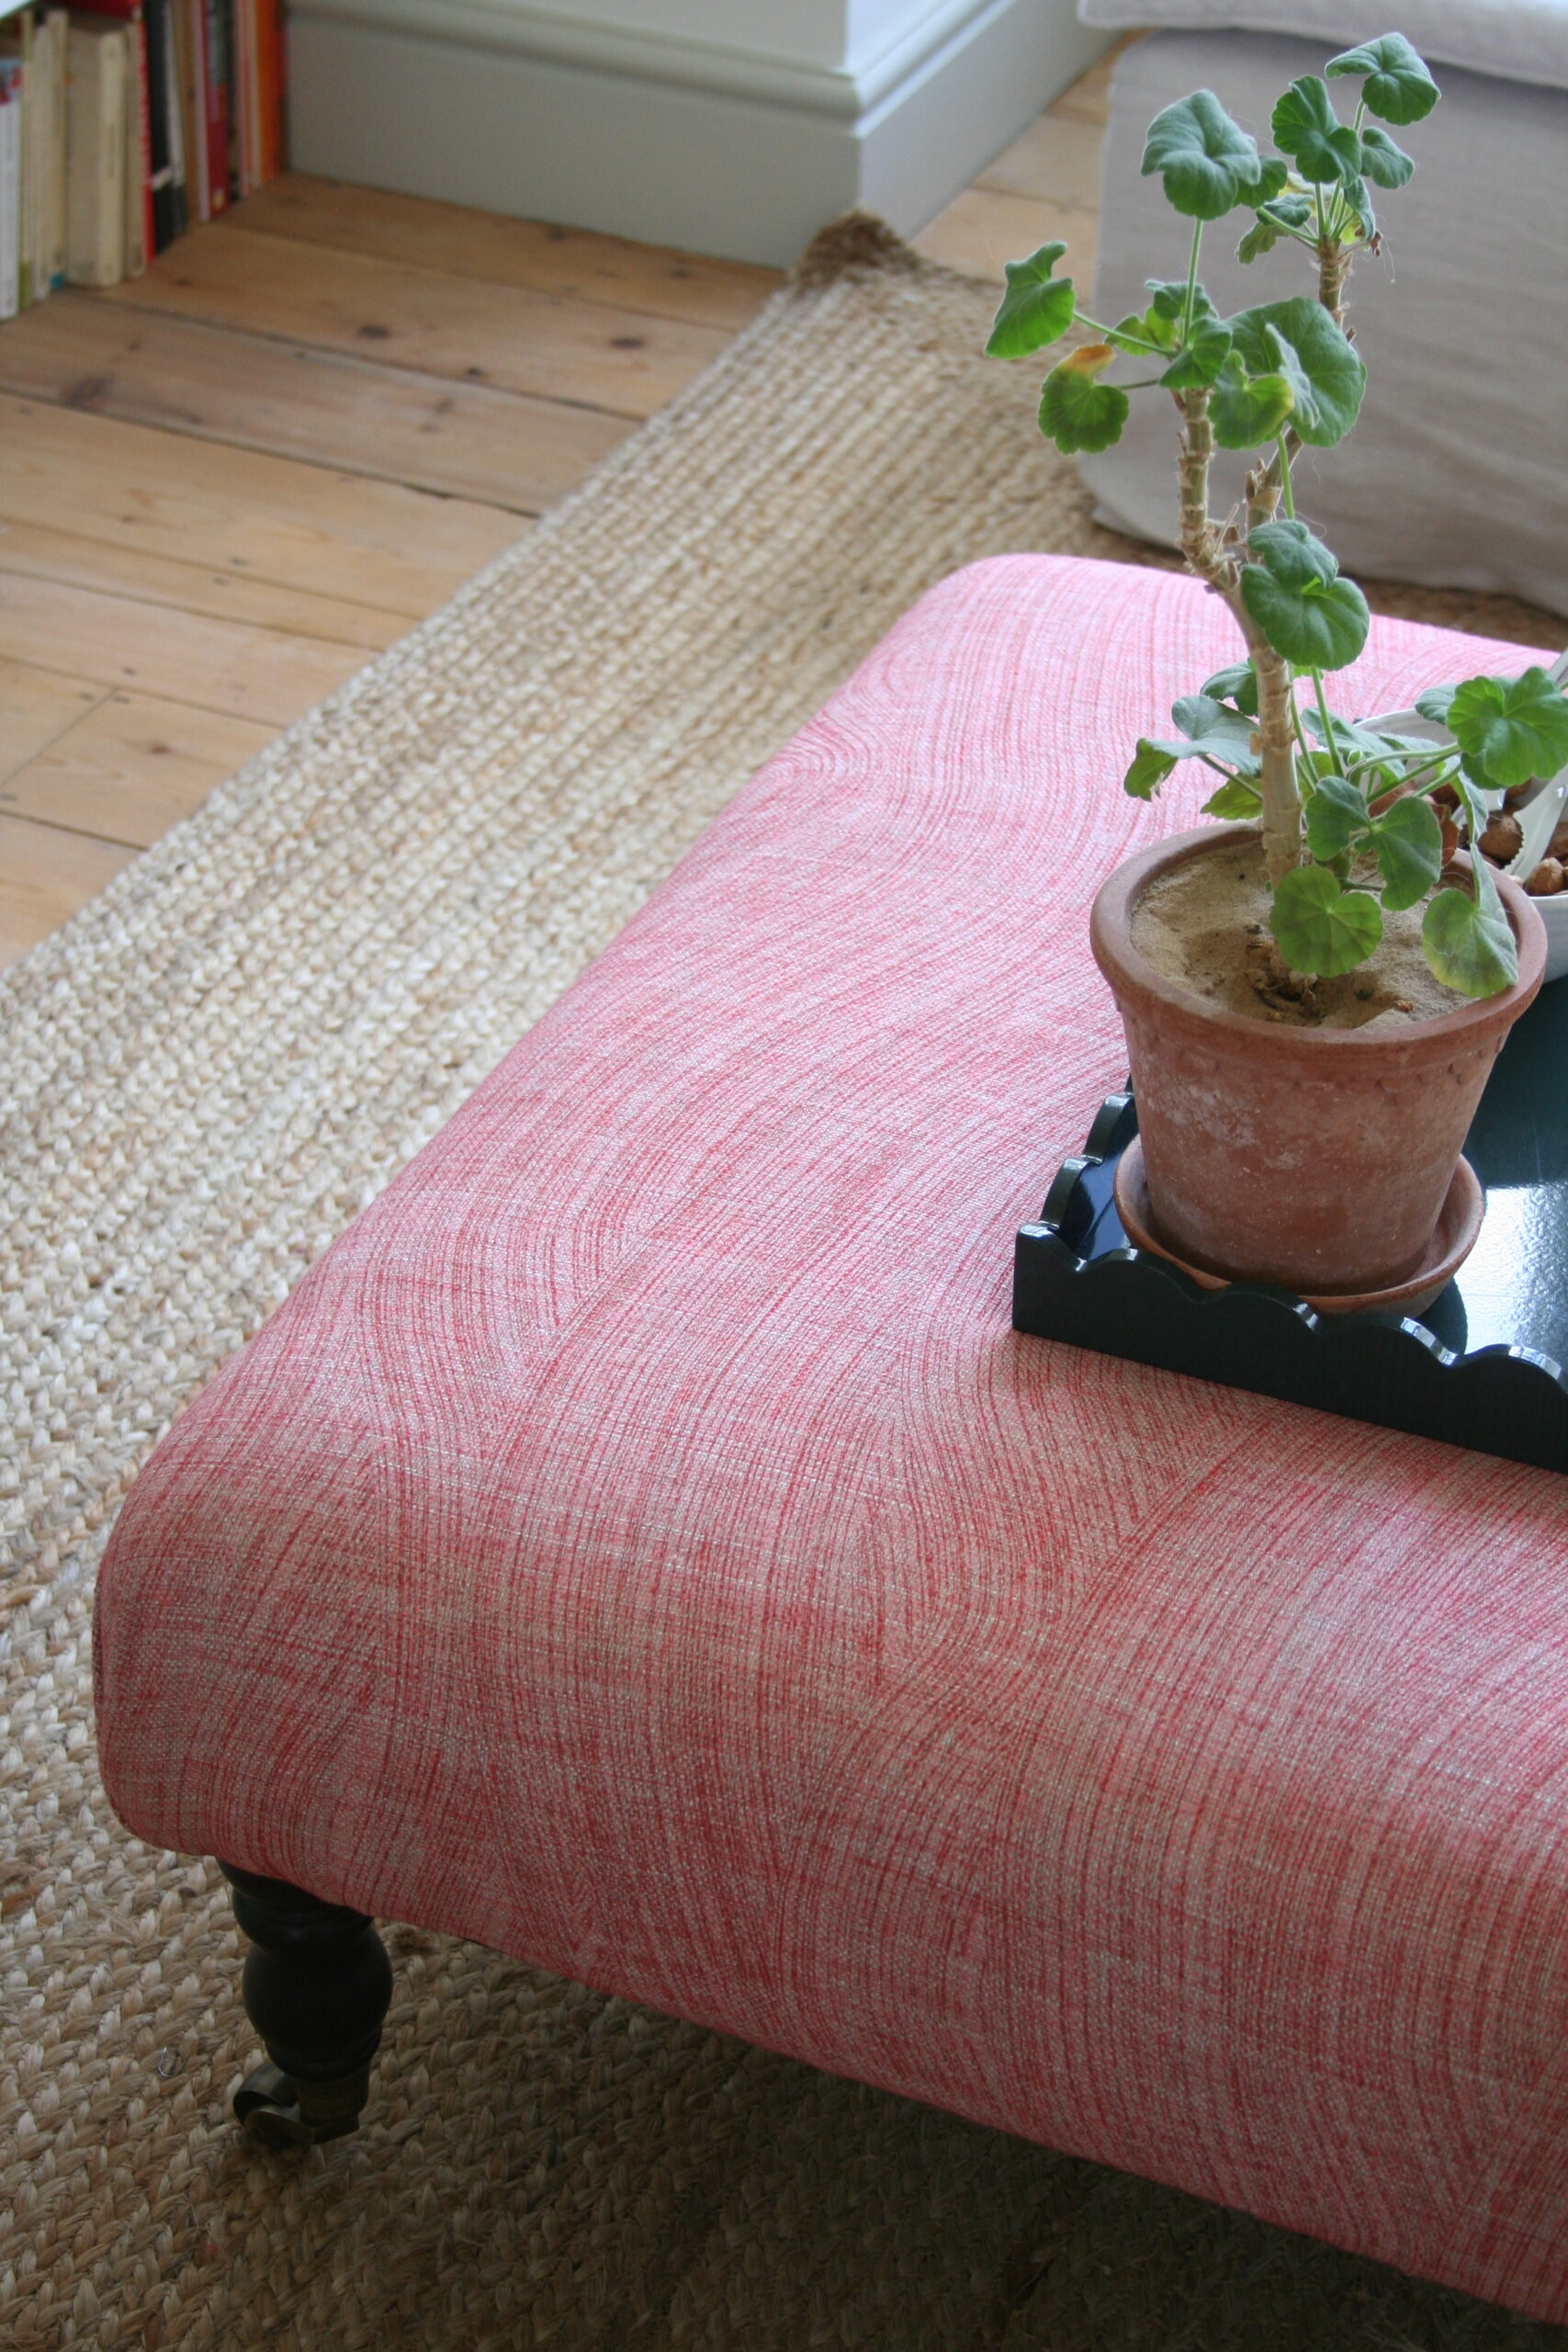
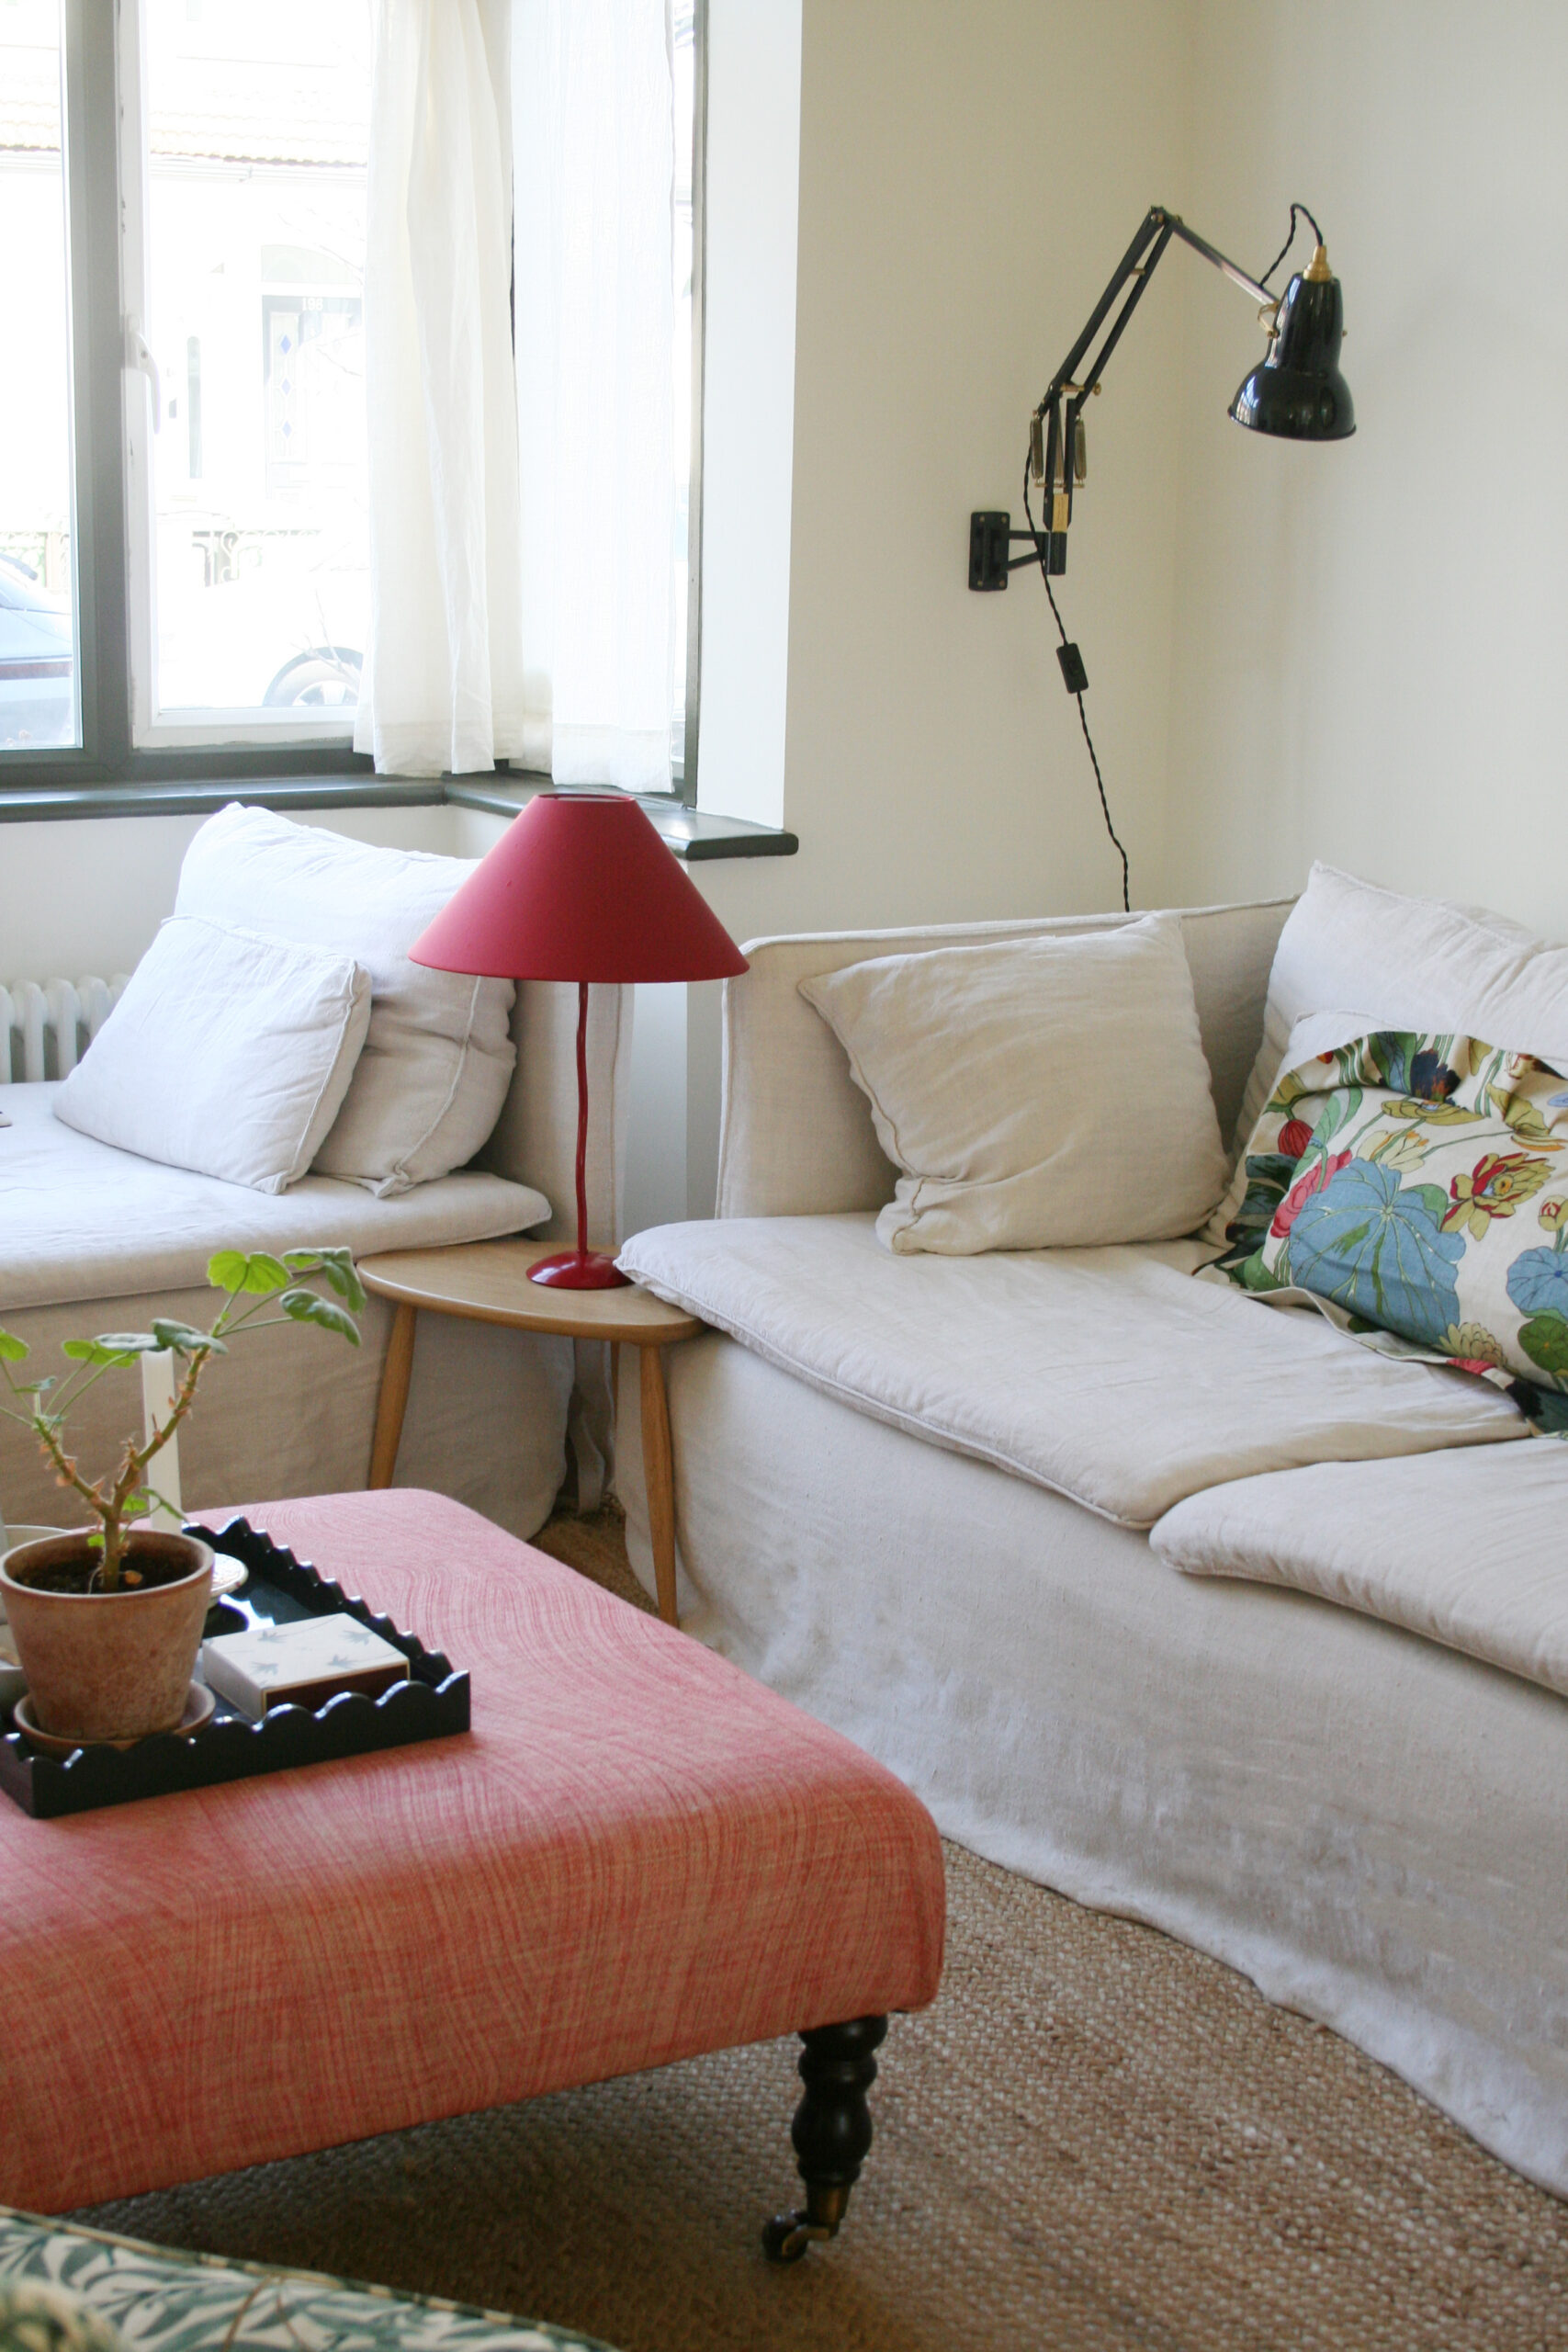
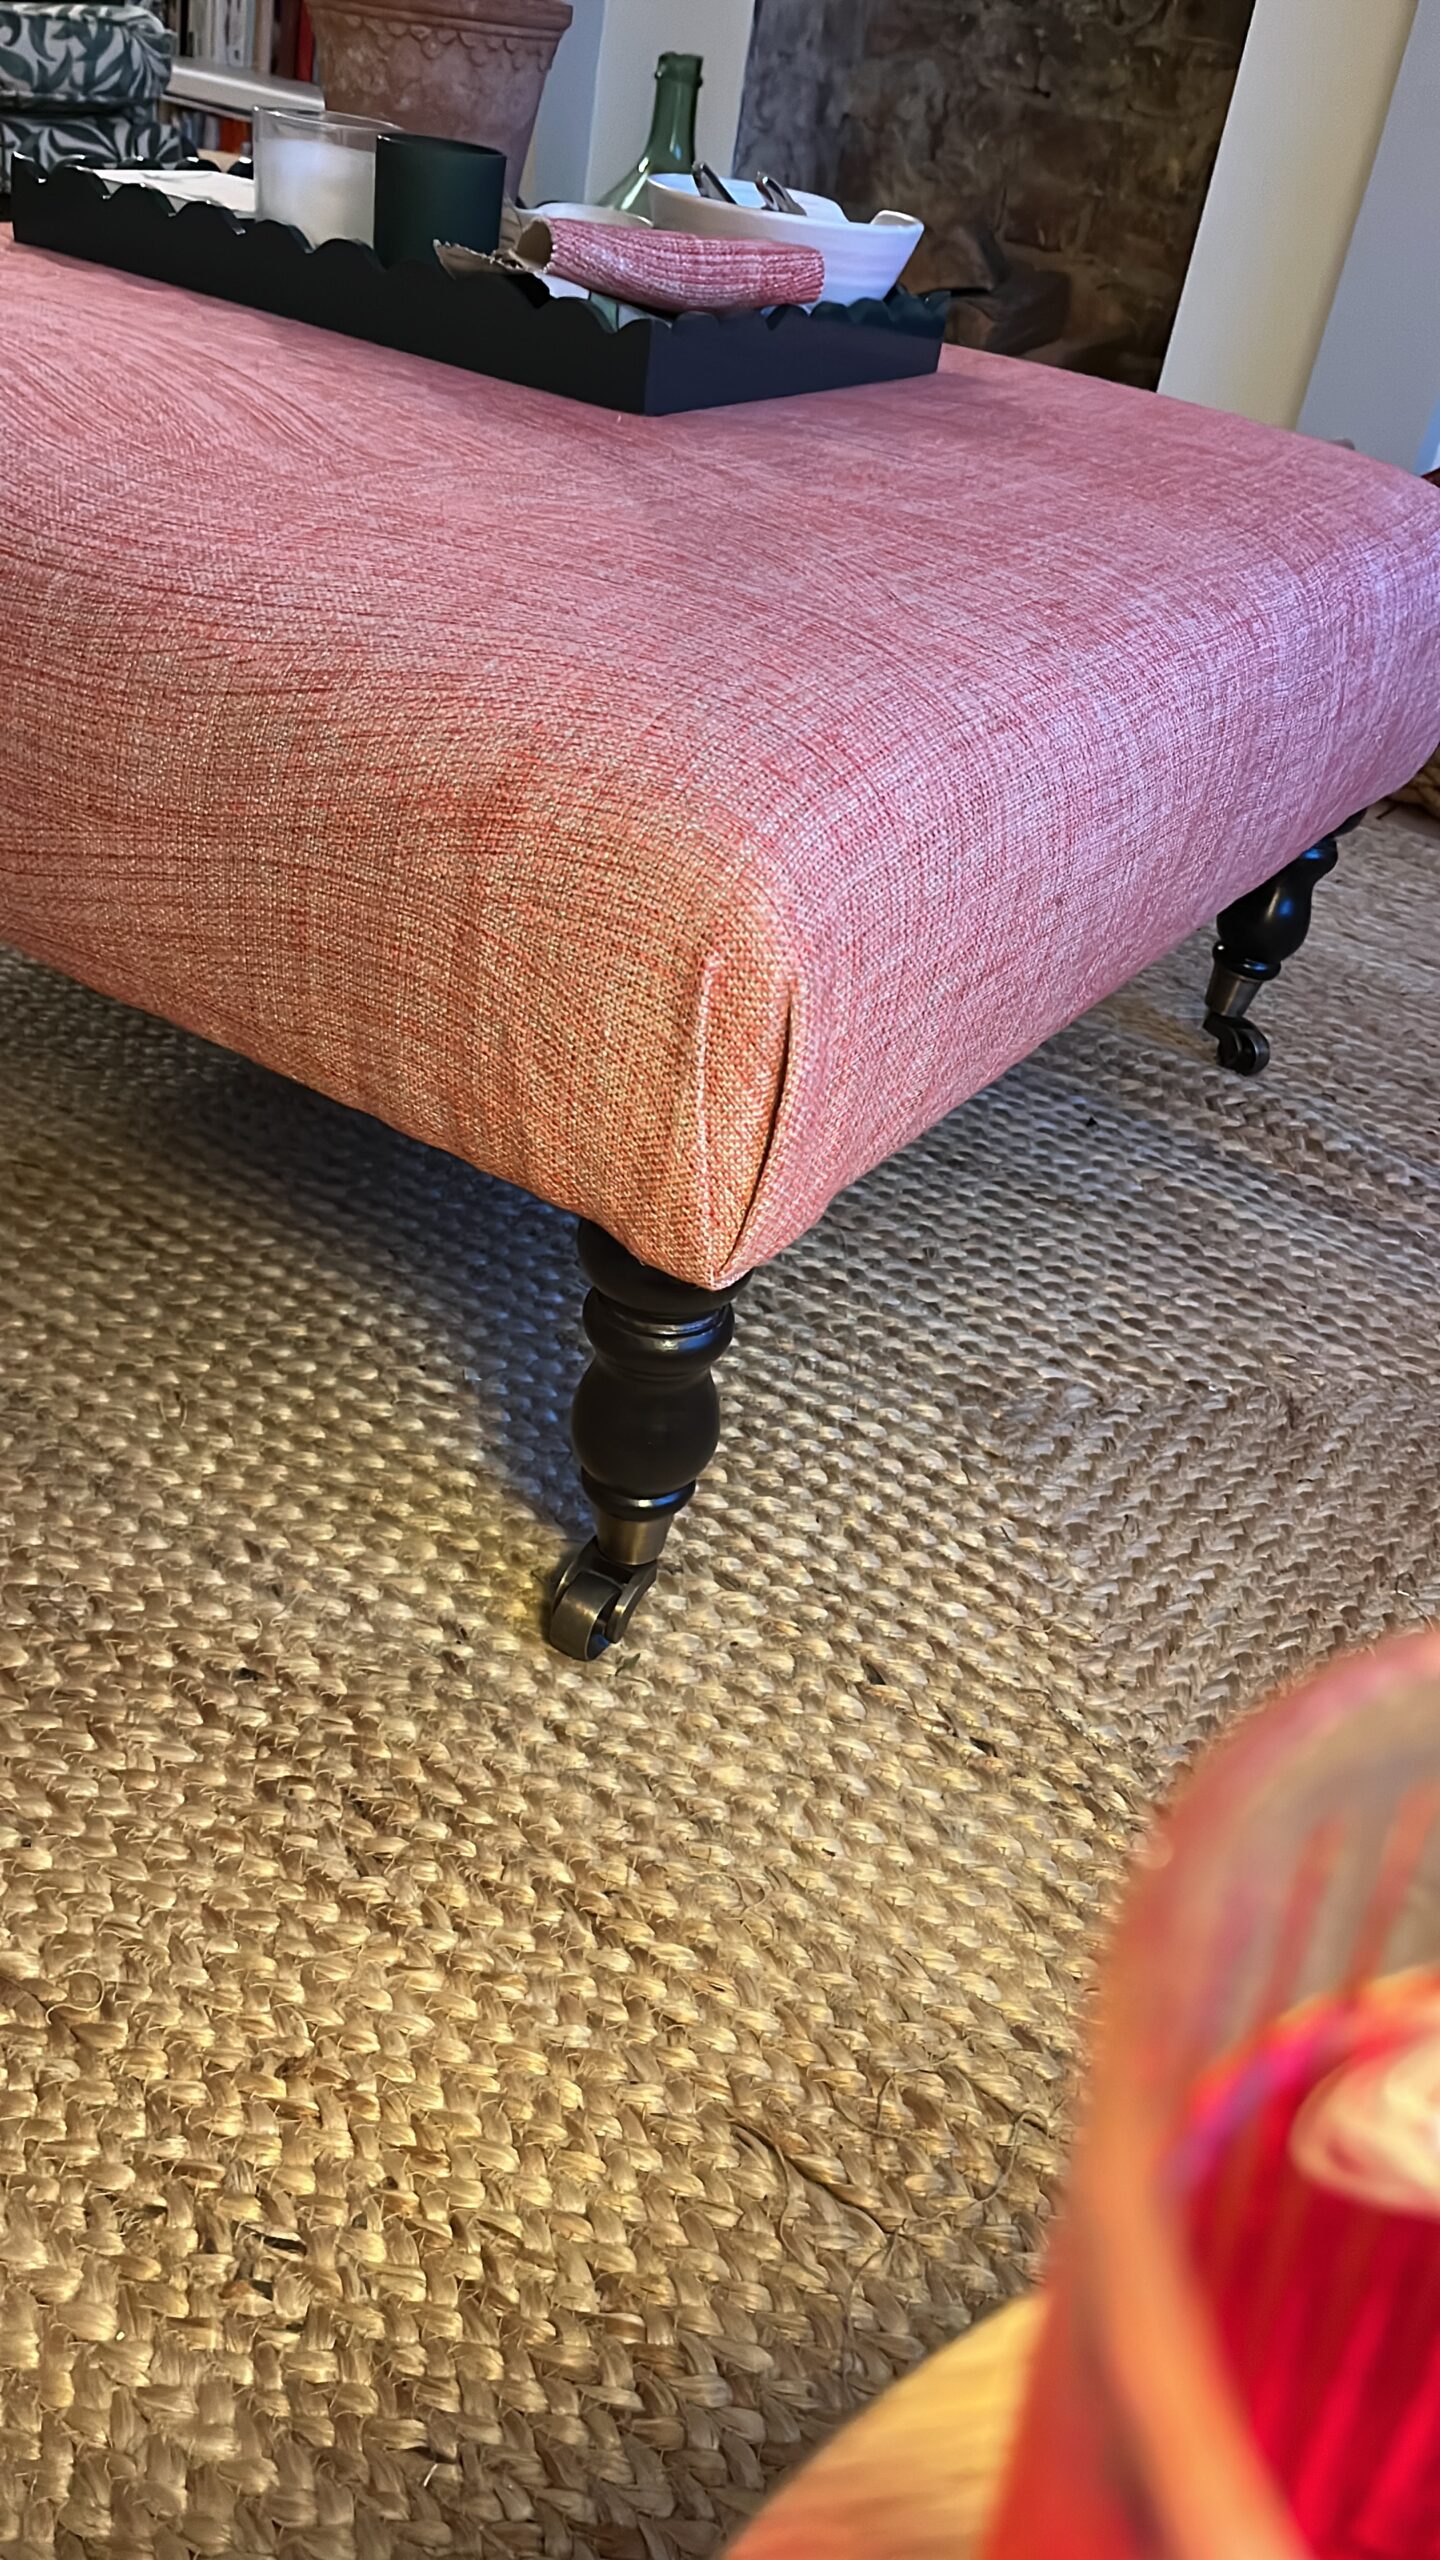
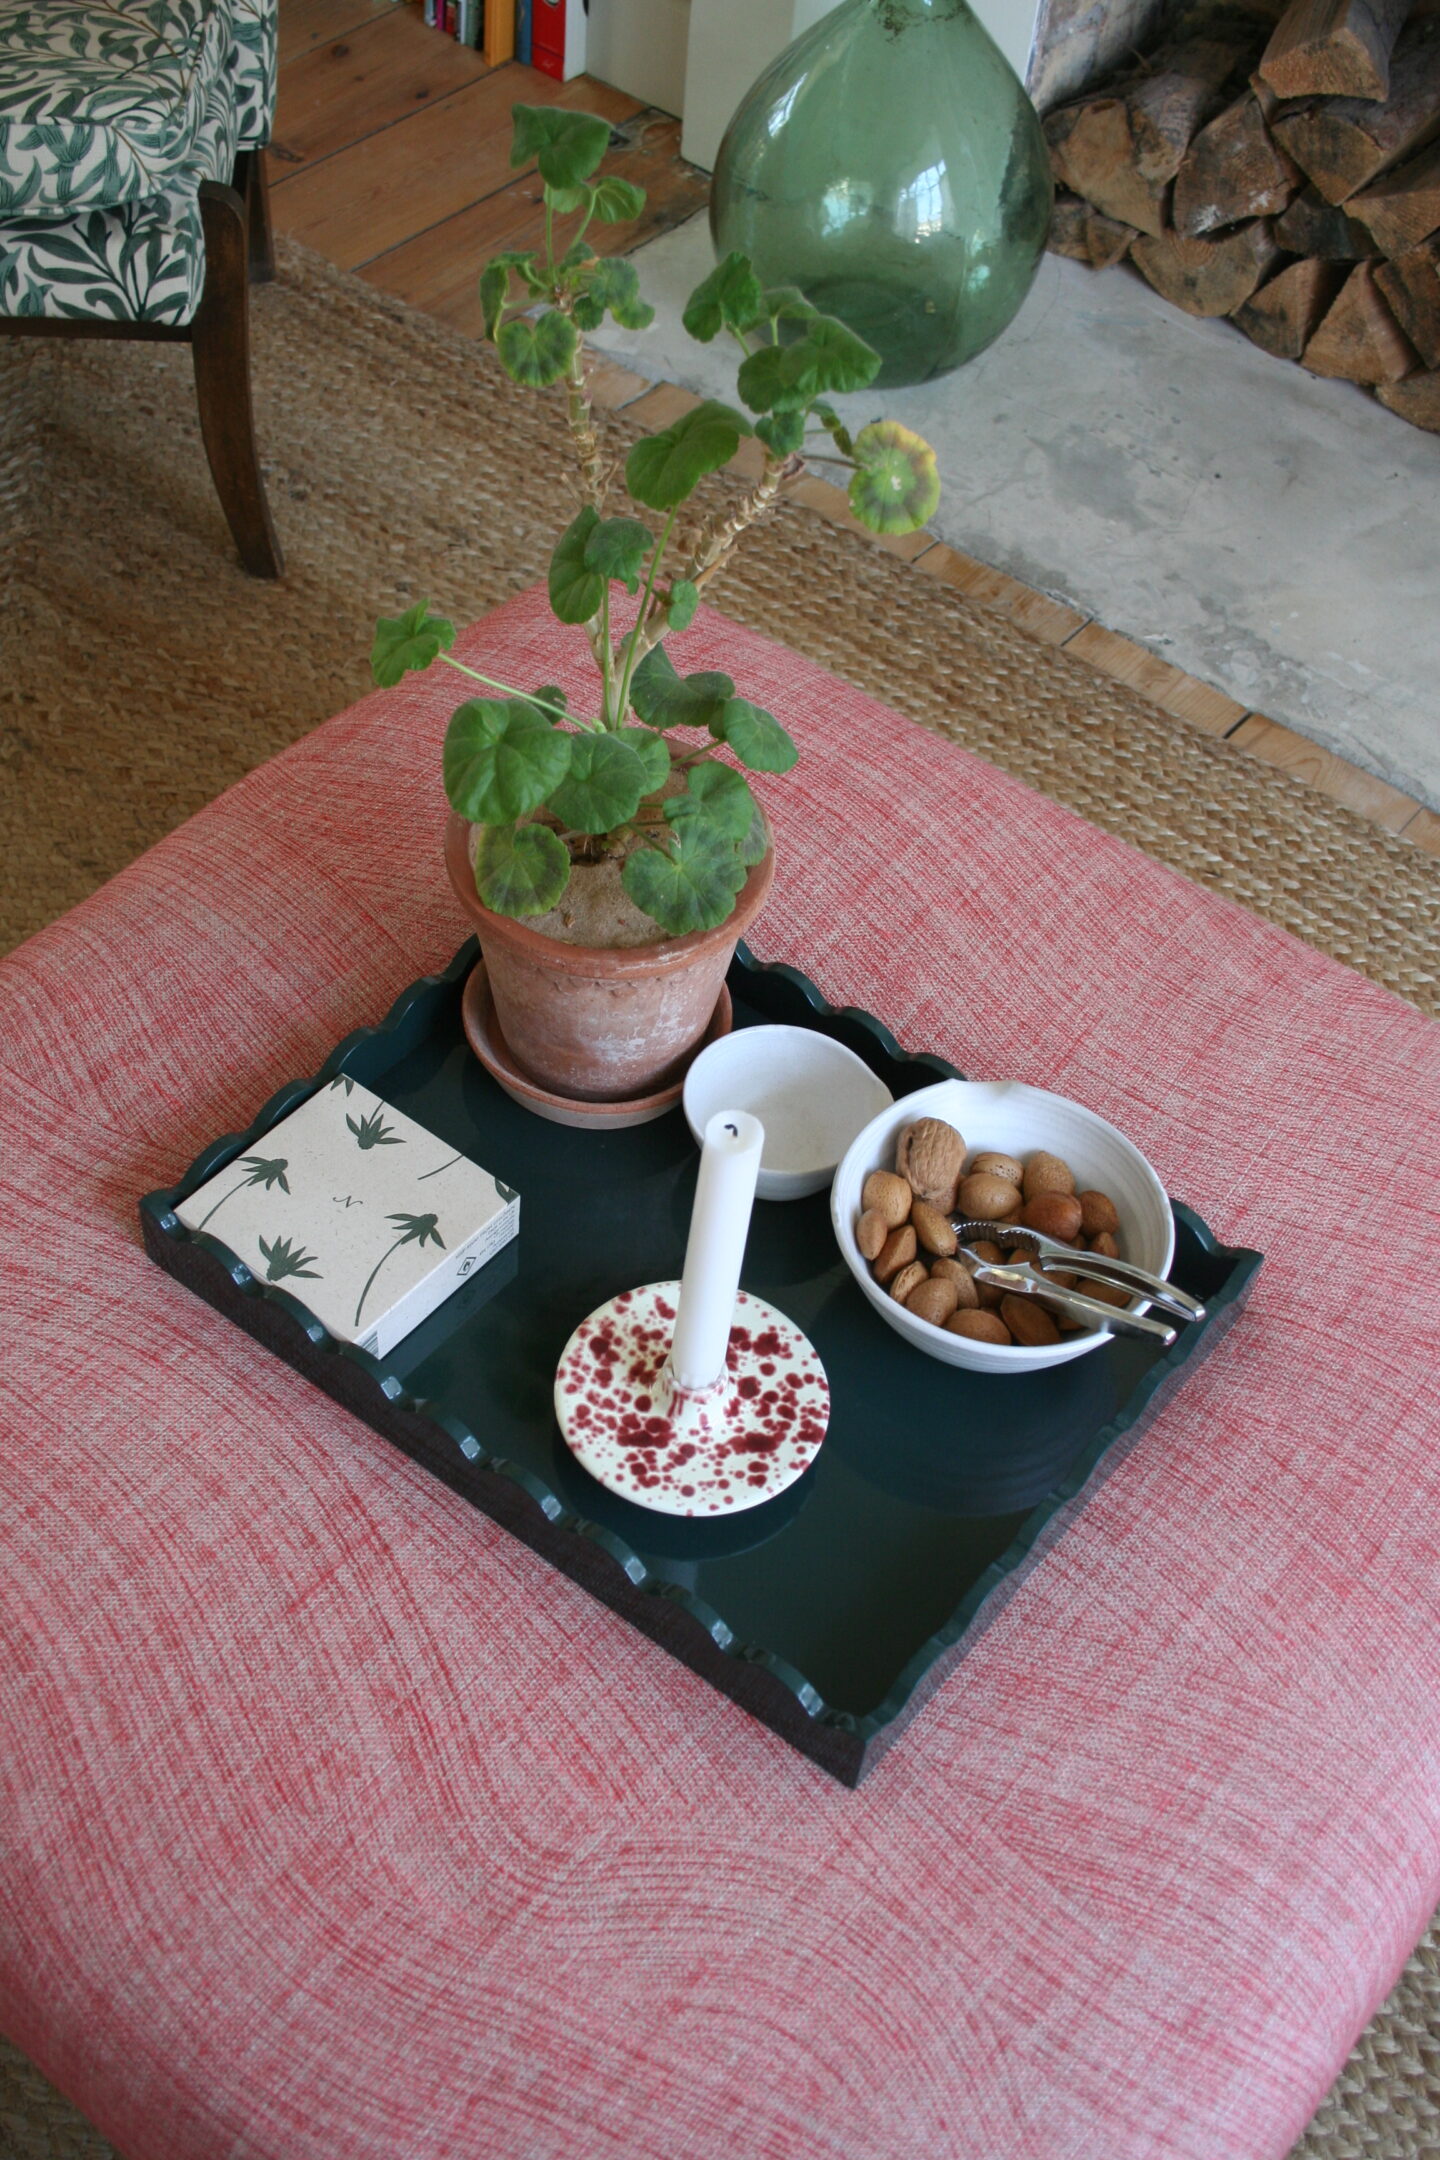
I really love the way the wave form of the print flows over the ottoman – it’s really quite mesmerising to look at.
I hope you like it and that this post is helpful for anyone looking to do the same.
Katy x