Week one: our house renovations

We excitedly rushed down to the new house yesterday morning to see the progress that has been made this week as our contractor started on Monday (you can see how it looked before we bought it here and since we stripped out the plaster here). We plan to visit every Saturday to see how the project is coming along, check that we are keeping up to date with the building schedule (ten weeks and counting) and that we are happy with the work that has been done before we pay the weekly invoice. We then meet our contractor every Monday morning on site to run through how the last week has gone and what decisions need to be made.

You can always see the most drastic change at the start of a project like this as it takes no time to knock down walls and the like. During week one the remaining plaster, coving, skirting and architraves have been removed, the wall between the loo and bathroom has been knocked out, the fireplaces removed, half of the kitchen has been stripped out ready for the wall to be knocked down next week and the loft completely stripped out as there were three redundant water tanks up there. The other major job that has been done is the re-wiring. This is one of those jobs that we had to plan really carefully as it will influence the design and decor a huge amount. For example, deciding where pendant lights go dictates where the dining table will be placed and wall lights in the alcoves downstairs dictate whether or not shelves go in them etc. Also, I would like pendants hanging either side of our bed over bedside tables ( I have chosen these new Anglepoise ceramic pendants) so I have had to decide where the bed will go before being able to see it in the room.

Here are a few pics that I took yesterday…

The small kitchen will have the right hand wall knocked down next week so the cupboards and work top have been removed as has the tiled floor as I would like to extend the floor boards into this space. I have some DIY plans to make the left hand side of the kitchen more ‘me’ and then we will have a temporary kitchen island where the wall was until we have saved enough to do an extension out into the garden, which will house a new kitchen.

The two doorways into the separate loo and bathroom have gone and a new one is being built, which automatically gives the bathroom far more space.

Knocking the wall out between the loo and bathroom has really helped us visualise what this room will be like (I will blog about the details of this room soon).

The loft has been stripped of the redundant water tanks that were up there and we will have a loft ladder fitted and Jules will lay some OSP across the floor joists so that we can use the valuable space for storage. After living in flats with zero storage for the last twelve years I am SO excited about this prospect!

We had to do a clear plan of the power sockets and lighting for the first week of the build in order to rewire the house. This is actually quite tricky as it’s so hard to know what type of lighting and how much you will need until you have lived somewhere so fingers crossed we have got it right! Also, it directly impacts the layout of your furniture and design decisions. This image shows our bedroom and the bed will go in the middle of this wall with two pendants hanging either side over bedside tables.

The fireplaces have been knocked out – sorry to anyone who liked the originals!! We will plaster over the one in the dining area as we need all the space we can get there and then I have bought two small original cast iron fireplaces to be fitted into the bedrooms (I’ll explain more about this in another post).

Love it or hate it?! This is an original fireplace surround that I bought from eBay this week to go in the living area where we plan to have a wood burning stove. We can’t afford to buy the stove or have it fitted yet but I didn’t want to have it plastered over as I knew if that happened we would never get round to doing it.

I will post again in a couple of days with an idea of how I visualise the decor for the house – hopefully you won’t get bored of all this renovation chat anytime soon!

Katy x

iRobot Roomba 966 vacuum review: does it really work?

You may have cottoned on to the fact that I’m a bit obsessed with vacuuming (or rather being aware that our home needs to be vacuumed and constantly moaning about the fact that I am the only one who sees that fact). I have had a cleaner since I bought my first flat and have always seen it as a good investment  – a proper weekly clean really does help to keep a property in a good state. My lovely cleaner has been with me for the last six years or so and she saw the gradual decline of the cleanliness levels of the flat we have just moved out of with the arrival of Otto five years ago and now Mimi. She likes to remind me on an almost weekly basis how nice my flat was before we welcomed a particularly hairy dog who gets covered in mud most days and a baby who is an expert mess maker. Fair enough, to be honest, as the difference was pretty huge.

So, our main issue is keeping the floor clean and hair/dust/mud free. It’s basically an hourly battle with a golden retriever and a hard floor and that really isn’t an exaggeration. I’m sorry if I’m sounding slightly insane but I’m not talking about a few specks of dirt, I’m talking about tumbleweeds of dog hair rolling across the floor and the effect of someone brushing off ten walking boots’ worth of dry mud. We currently run on a two vacuum cleaner system – a big corded vacuum that my cleaner uses once a week and a lightweight cordless vacuum that I use a couple of times a day as and when needed to ‘spot clean’. I also have to do a full house vacuum with my cordless and then mop once or twice a week. For me, this is way too much and it’s driving me potty. I’m pretty sure other people aren’t vacuuming every day and mopping every other day…are you?!

Imagine my delight, therefore, when I was asked to review the iRobot Roomba 966 vacuum. IT WILL VACUUM MY HOUSE FOR ME. The answer to my problems, no? Well, I’ve been trying it out and I’m now ready to tell you whether this is what I have been praying for…

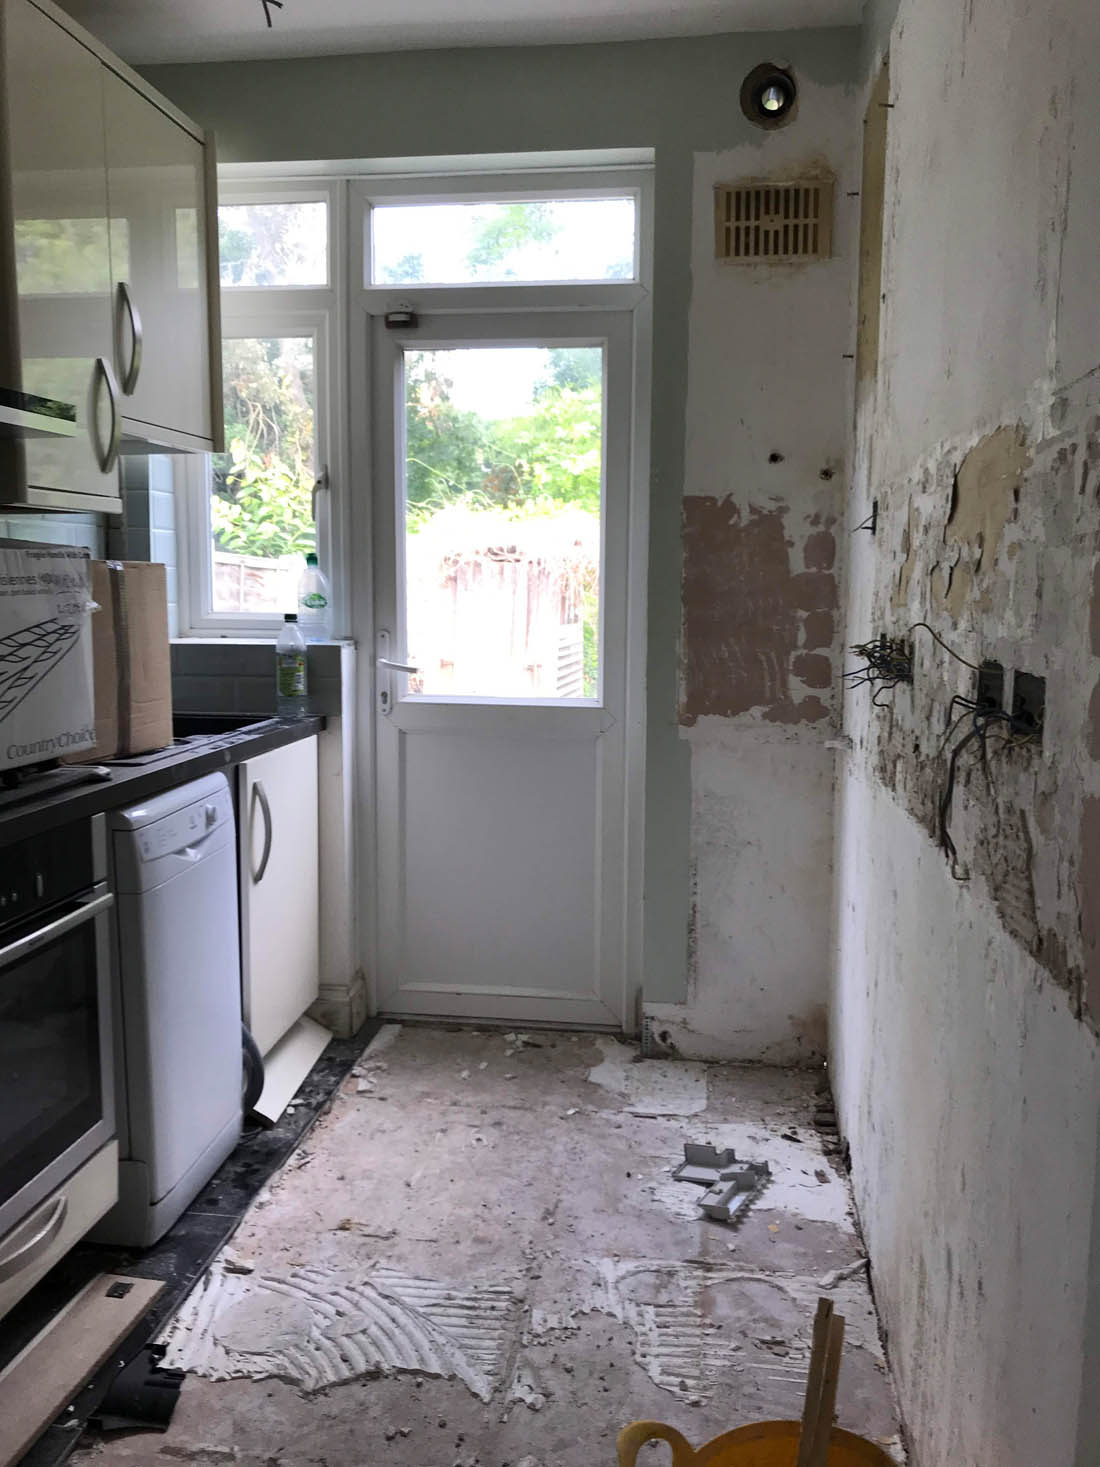
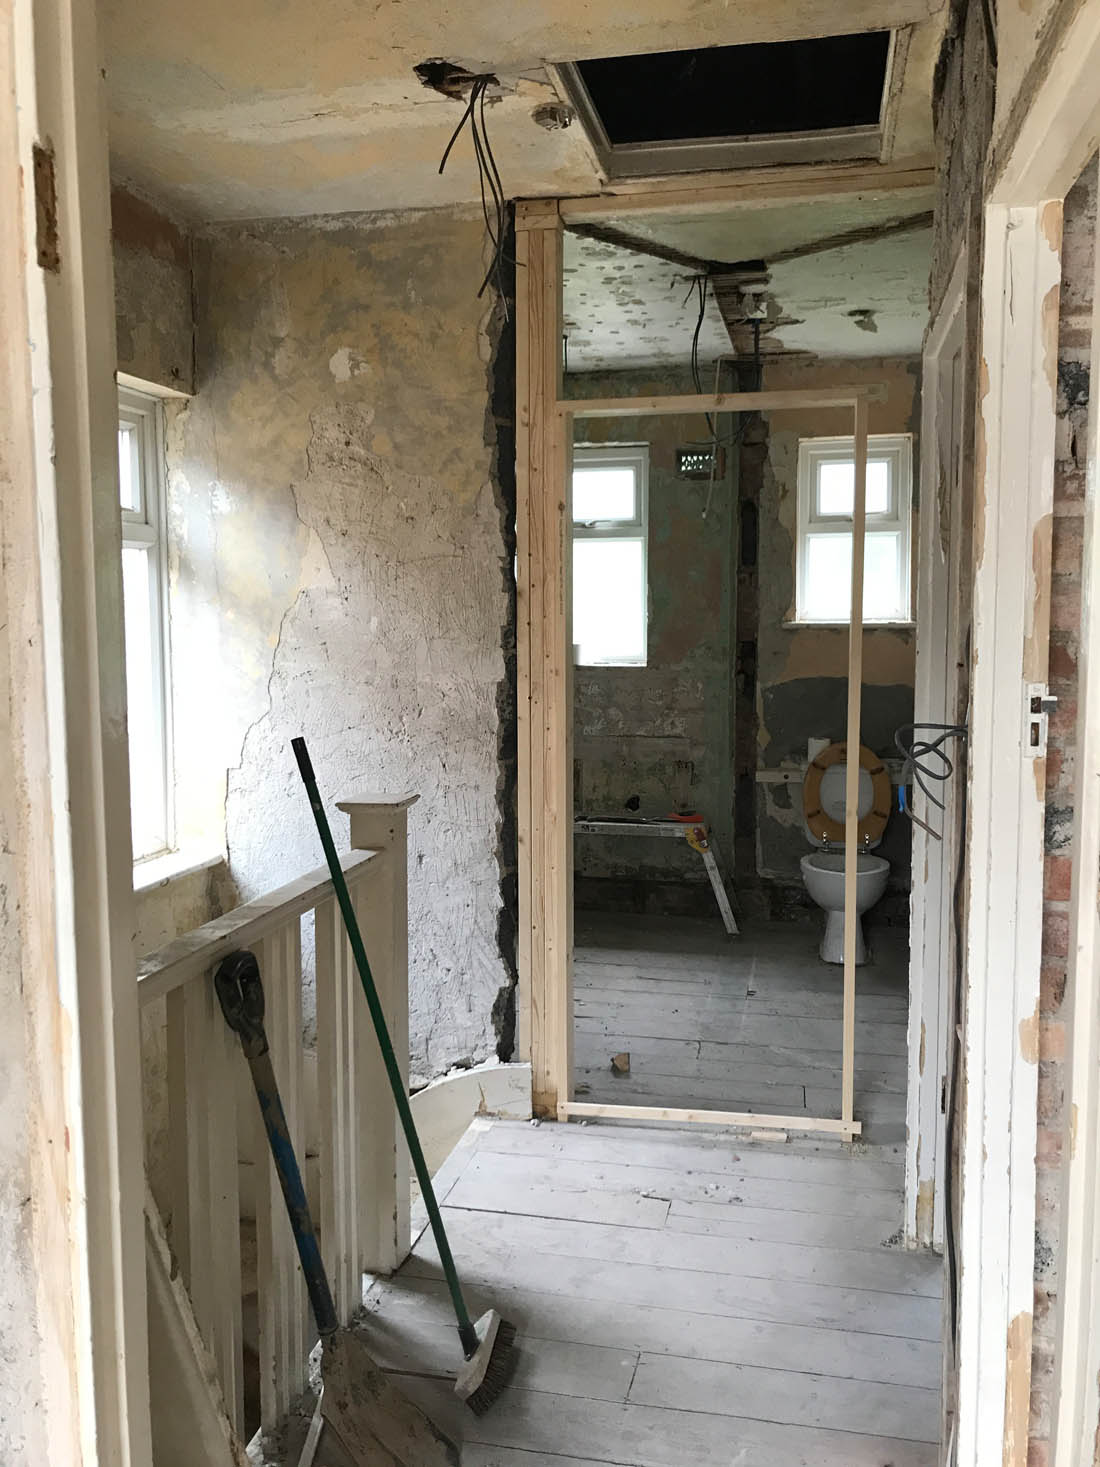
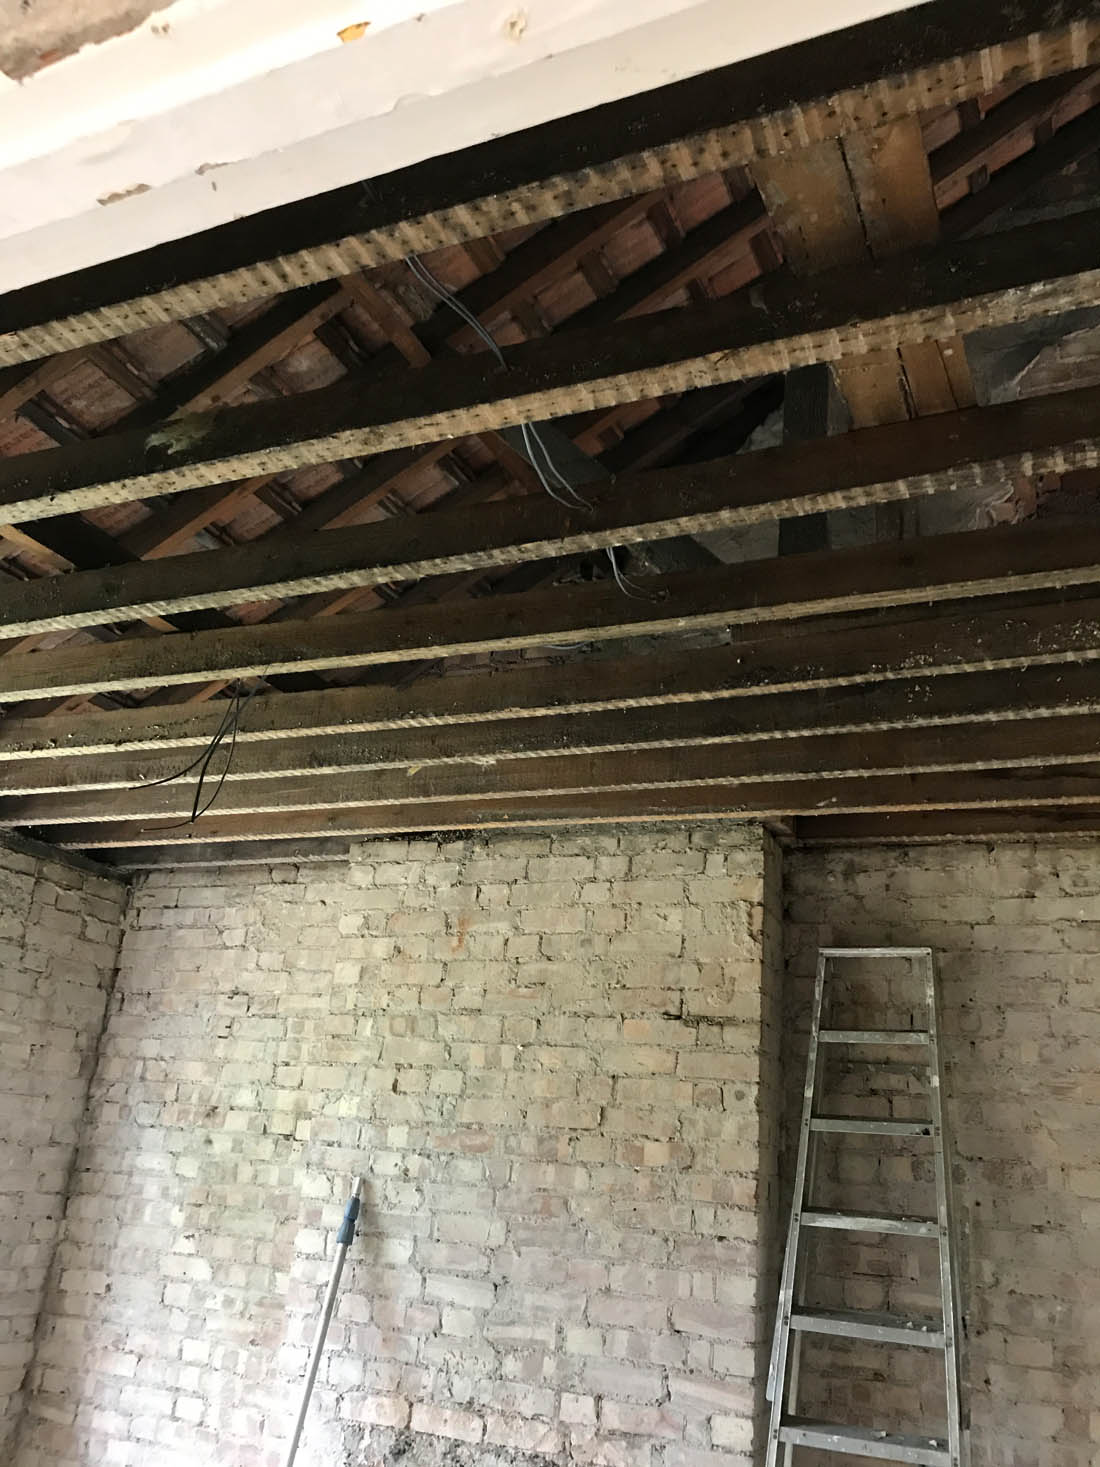
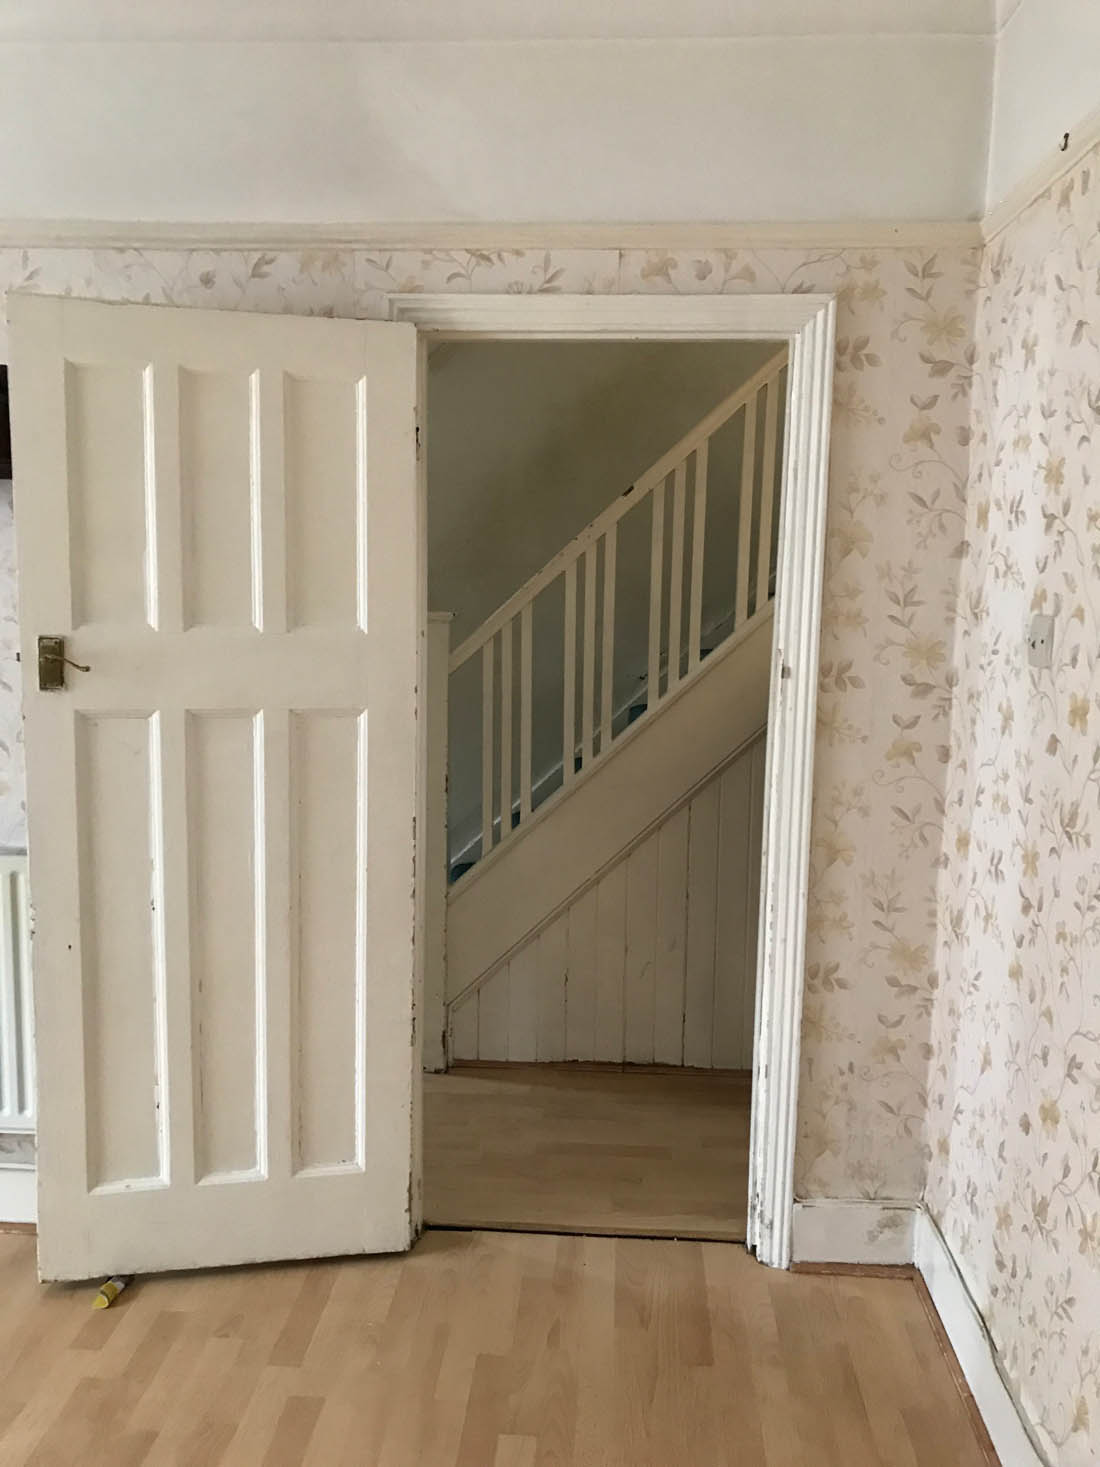
We are staying with family at the moment whilst our new house is renovated so I decided to try the Roomba there.

What does the iRobot do?

Let me begin by giving you a brief rundown of what the Roomba actually is and what it can do. A vacuum robot that uses Smart technology to navigate its way around an entire level of your home cleaning as it goes, the Roomba can vacuum anytime, anywhere. The Roomba 966 model (one down from the top of the range model) can run for up to 75 minutes and can clean any floor surface. It will automatically return to its charging dock to recharge and then resume the job until it is done. It cleverly maps out your home using sensors and knows exactly where it has been and where it needs to go, as well as detecting dirt when it comes across it, and you can use an app on your phone to start the Roomba as well schedule regular cleaning jobs. Well, this all sounds amazing in theory but what about the reality?

The Roomba automatically returns ‘home’ to its small charging dock when it has run out of charge and then resumes its cleaning job. You could keep the charging dock under a piece of furniture like a cabinet, which would make storing the Roomba very discrete.

What does the iRobot do well?

1. It cleans really well. If you are able to give your Roomba enough time and space (in my opinion it really isn’t meant for homes with loads of clutter and stuff all over the floor) it will slowly but surely do as good a clean as a conventional vacuum. It definitely takes longer than a ten minute blast of the vacuum and doesn’t give instant results so it needs a full run to show what it can do. I would say that you need to be organised about the way you use it; schedule regular cleans using the app that it connects to and if you have a house make sure it gets moved between the levels regularly. I think of it as a maintenance tool not a quick fix; if you schedule it to clean every day it does the amount of vacuuming I wish I had the time and energy for so that my home never gets to the point where it looks and feels like it needs a really good vacuum – does that make sense? Basically it maintains a good level of cleanliness and collects the dirt that you don’t even know is there and this is where its real value lies.

2. It navigates its way around furniture very effectively. Sometimes I like to just sit and watch my Roomba and how clever it is, to be honest! The Smart technology maps the Roomba’s route and over time it learns the layout of your home as well as the obstacles so it becomes more and more efficient. It can make its way around the legs of furniture, as well as going under furniture if it can fit (it is very slim). It cleans edges and around corners and it will ‘spot clean’ if it detects a problem area so it goes over and over the same spot until it is clean. However, there are always spots that it can’t get to for example, behind doors, the dust that collects around cables, around piles of clutter etc.

The Roomba learns its route around your home and navigates furniture so effectively. It can clean around the feet and legs of furniture and fit underneath pieces but make sure there is no way it will get stuck.

3. The app that connects to the vacuum is brilliant – it gives a really clear record of where the Roomba has cleaned and how long it has cleaned for. You can set the Roomba to clean at specific times on specific days or set up a regular cleaning schedule so you don’t even have to think about. However, it can get a little disconcerting when you get an alert on your phone whilst you’re out that the Roomba has got “stuck near a cliff” or “help, I’m stuck!” – ha! As I said, you do need to make sure that there aren’t little bits everywhere (toys, for example) if you want the Roomba to do an effective clean. We had a tipi tent set up for Mimi that was full of her toys and the Roomba kept on going in there and getting wound up in all her pull along toys so we learnt that we needed to make that a no go zone.

4. You can set up an invisible boundary line with a ‘virtual wall barrier’, which was the perfect solution to the tipi tent issue. This is an accessory (you get one with the Roomba but you can order more if you need them) that has two modes: Virtual Wall Mode keeps your robot in the rooms you want cleaned and out of the ones you don’t and Halo Mode keeps your robot away from items you want to protect. All you have to do is position the virtual wall barrier in front of the object you are protecting or at a doorway if you want to keep the Roomba in one particular room. One thing to note is that the Roomba will not fall down stairs; it detects the stairs as it approaches them and will turn around when it needs to. Therefore, you do not need to worry about that if you leave the Roomba to clean by itself.

The virtual wall barrier can either mark a straight line that you don’t want the Roomba to cross or create a halo around an object you don’t want it to go near.

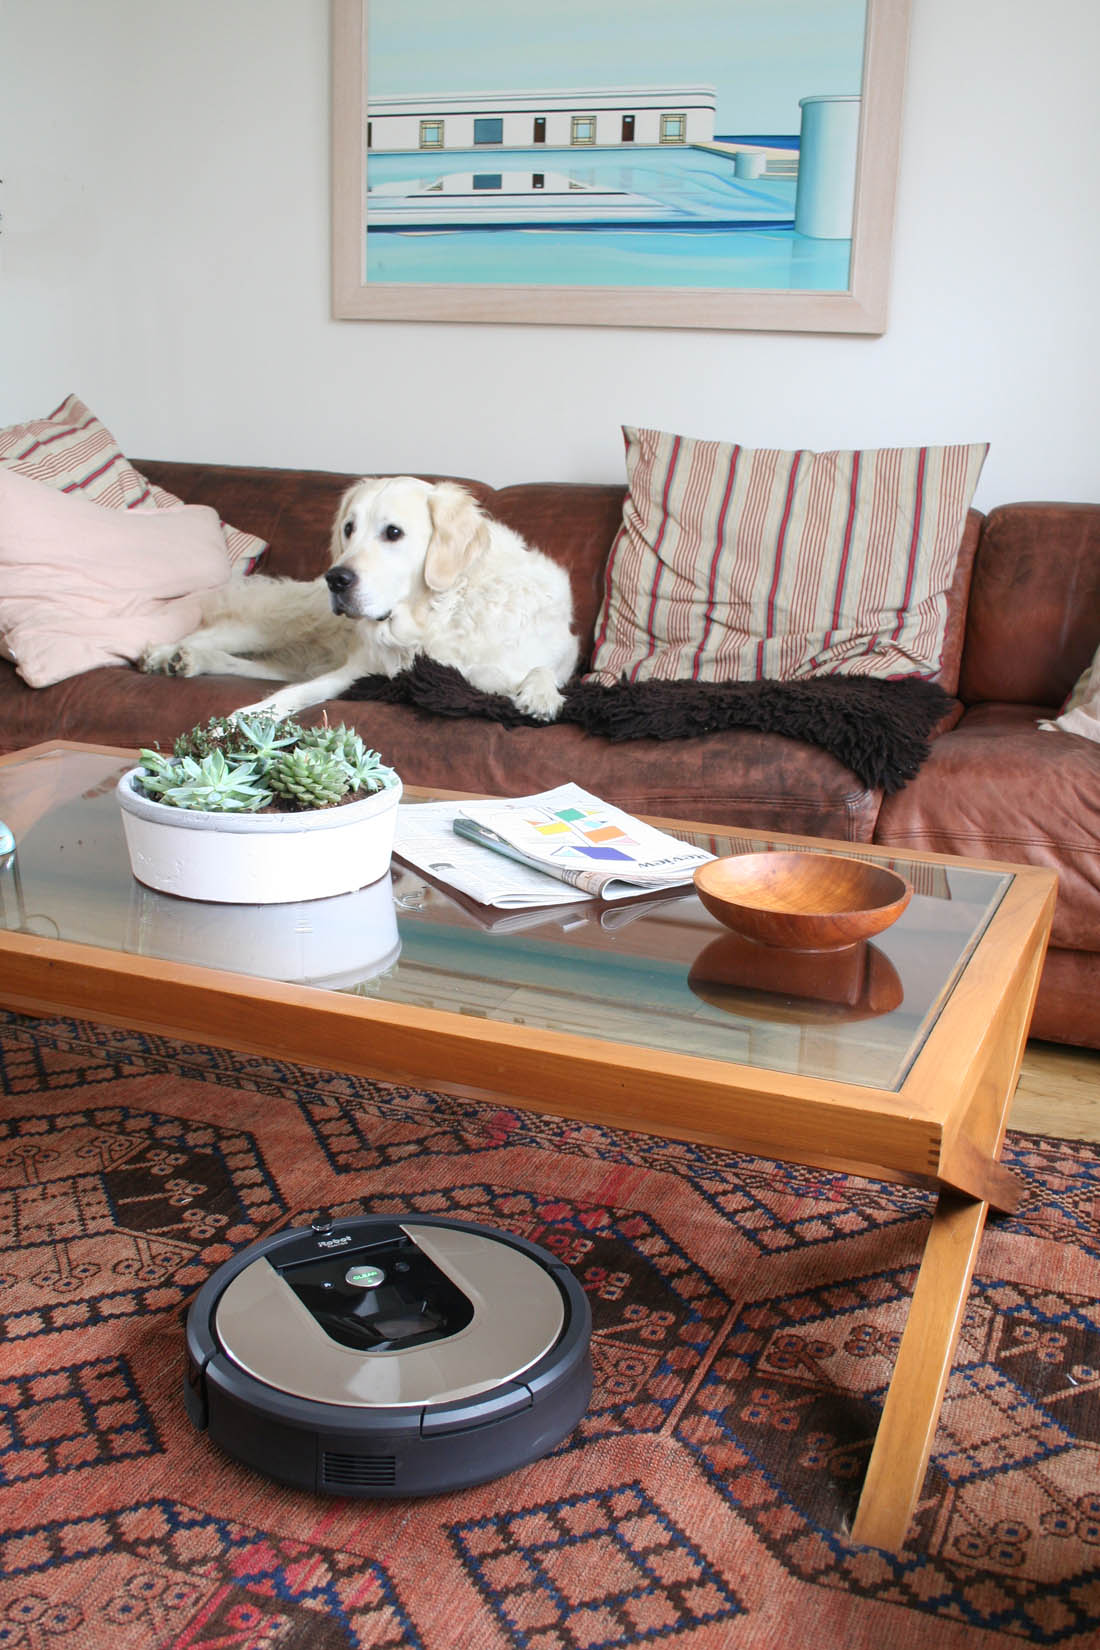
5. I was particularly impressed at how well the Roomba travels from one surface to another. There are lots of rugs on hard floor where we are staying and that will be the same case in our new house so I was worried that the Roomba would get stuck every time it came across a rug. However, it travels seamlessly between carpet, rug and hard floor, which is really important if you want to leave it to clean whilst you are out. Also, you don’t have to mess around with different settings for different types of flooring; it will clean any floor type as well as the next.

6. One thing that frustrates me about my cordless vacuum is how short the battery life is but this is definitely not an issue with the Roomba. It will clean for up to 75 minutes and it will charge itself when the battery does run out. 75 minutes of non-stop cleaning is a very thorough clean but depending how dirty your floors are you will probably have to empty the cartridge where the dust collects during that time. The Roomba will also dock itself by going ‘home’ when it has run out of battery and carry on its clean once it has charged.

What does the iRobot not do well?

1. It is noisier than I expected it to be. I don’t know why, but I had the idea that it would be super quiet and I could have it on whilst I was doing other stuff and not be disturbed by the noise. However, it is pretty noisy – quieter than conventional vacuums – but definitely not something you could have running in the background whilst you watch TV in the evening.

2. If it gets trapped whilst you’re out you won’t be able to rescue it so the clean stops, which can be frustrating. It is really important to learn the obstacles in your home and make sure those are clear so that you can avoid it getting trapped at all.

3. The cartridge where the dust collects is pretty small so in our home it always needs emptying after about 40 minutes so we can’t just set it off to clean all day when we’re out.

4. The Roomba can’t do stairs, skirting boards or tricky spots around clutter so I think I would always want to do one clean a week with my conventional vacuum for those spots. Plus, there are times when there are spillages or you need to get rid of dirt really quickly so my cordless cleaner is best for that.

Otto hiding from the Roomba as he knows it turns around as soon as it reaches the stairs – ha!

In summary, I am really impressed by how thorough the Roomba is if you take the time to set up a regular schedule for it to clean and ensure that it is not going to get stuck around loads of clutter. I am also delighted that the regular maintenance of keeping our floors clean no longer falls on my shoulders and that the floors never get to that stage anymore where they look horrifically dirty. It is completely ideal for a pet owner like me as the Roomba is so effective at picking up pet hair every day so it never builds up into a horrid mess. Could I keep the floors clean with the Roomba alone? In short, no. I do think we need a cordless vacuum as well as the Roomba for spillages that we need to quickly get rid of, the stairs and to get into corners where there is clutter. Can I get rid of our massive conventional vacuum? Yes! To be able to hand over the main bulk of vacuuming to the Roomba is just wonderful and makes it 100% worth the money in my opinion (if cleanliness is important to you). I can’t wait to set it up in our new house once we move in as the downstairs is going to be all open plan and we will have carpet upstairs so I’m thinking it’s going to have a lot of cleaning on its hands!

Do ask me any questions I haven’t answered for you in the post. Just pop them in the comments below.

Katy x

*This post was written in collaboration with iRobot.

Stripping the house out

It’s been a few weeks since we completed on the house and even though our contractor doesn’t start until the end of May we wanted to get a head start by stripping out the floor and plaster from the house so that we can get the electrics and plumbing redone. For various reasons we have been forced to remove most of the plasterwork (rather than just skimming over what was there) so even though brand new electrics and plumbing aren’t completely essential it makes a lot of sense to get it all done at this point whilst the house is stripped back.

This is what will be Mimi’s bedroom with the nice surprise of another original door in the loft.

The cost of paying for a skip and someone to strip the plaster has been cheaper than the quote to remove the wallpaper throughout the house so we decided not to do it ourselves – there’s just no way we could have juggled it with looking after Mimi especially as there will be so many other DIY jobs to be done along the way.

As a result of removing the plaster we will have to reinstate all the coving and picture rails but I’m very much looking forward to lovely smooth walls and perfectly positioned light switches, power points, radiators and the assurance of a brand new boiler. Apart from anything I just love being able to see the bare bones of the building and discovering original doors stashed in the loft!

Here is how the house looks now…

Downstairs

The carpet has been ripped off the stairs and I’m still not decided yet as to whether we will re-carpet them. I’m a bit worried that a carpet on the stairs will get very dirty with a dog so I’m going to think about it a bit longer. The laminate has also gone from all the floors downstairs. I am very, very pleased that the floorboards are in such a good condition as that will save us a fortune on new flooring (although a little sad I can’t justify herringbone parquet).

We are actually going to keep this side of the kitchen as it is until we have the budget to completely re-do it and push it out into an extension. This is a big compromise but I’d much rather have a brand new bathroom and make do with the kitchen as it is for a while (I know a lot of people will disagree with that preference!).

The back reception has had a lot of its plaster removed and floor stripped – we just need to get rid of the fireplace now.

The plaster in the front reception has been partially stripped as it wasn’t in too bad a condition and again we need to get rid of the fireplace although some who have seen it rather like it…what do you think?! I would like to have a wood burning stove in this side of the room if budget allows.

Upstairs

All of the ceilings upstairs have been taken down as they were plastered so long ago they need updating. Therefore we can now see right up into the loft space, which is quite amazing. We also found an original hearth in the front bedroom, which will be our room. It’s a shame that the tiles are so cracked. I think we will carpet upstairs so these will get covered up again unless I can get Jules to agree to adding a fireplace to our room. It would be purely for aesthetics but I think it would be so nice to add a bit of character back to the house.

The small bedroom has also been stripped out and it will eventually become a small guest room.

It feels very exciting to see changes happening to the house already and so much easier to visualise the space now that the previous owner’s stuff has all gone. I’ll keep you updated!

Katy x

The Firepod pizza oven

I have LOVED this week – what a difference all this sun and heat makes! Pure, pure joy. We are lucky enough to be able to use my mum’s garden and being able to let Mimi loose there is a bit of a lifesaver as she has so much energy. I can not tell you how much I am looking forward to having our own garden soon; it’s probably what I am most excited about when we move in to the new house. With that in mind I was really excited to be approached by the small team behind the Firepod who have very recently launched their amazing outdoor pizza oven. I met up with the inventor of the oven who talked me through the sleek design that not only looks great but makes the most delicious pizzas.

We decided to gather at lunchtime this week when it was boiling hot and we brought the pizza oven up onto the balcony in my mum’s garden. Mimi was in and out of the paddling pool and I made pizzas for her and the grandparents. They were so impressed! Mimi got a special rainbow veggie one – I like being able to make my own pizza for her as I can control the salt levels and pile it up with vegetables that she is more than happy to eat as they are combined with cheese and the pizza base.

I love the simple, Scandi-looking design (available in a few different colours); it’s very compact and easy to transport, especially because you can remove the tall legs and add short legs so ideal to take on camping trips, for example. It is also very, very easy to use – on our first go at making pizzas we were blown away by how good they were! We made our own dough, which was also much easier than we thought, and it really is as simple as heating up the oven (you need a gas canister, which are sold in hardware and DIY shops), placing the pizza in the oven using a pizza peel that is included and removing it when it is ready. They are honestly delicious – I’d go as far as saying that they are better than most pizza restaurants I’ve been to.

The flavour combo that I have discovered is the best thing ever is a thin layer of tomato sauce, artichokes, roquito chilli peppers (the small sweet ones that you get in jars), black olives, buffalo mozzarella and grated mozzarella. BEST THING EVER.

Mimi had a great time, gobbled up most of her pizza but also fed a fair bit to the dogs, natch. We have now made pizzas twice and tried out loads of different flavour combos. They always come out perfectly as long as you roll the dough out thinly enough and don’t overcook them.

The brilliant thing about the oven is that you can replace the pizza stone with a griddle set that you buy separately so we can cook outdoors very easily using gas. This really appeals to me as I absolutely hate smelly cooking so cooking steak, for example, is my worst nightmare. This way Jules can happily cook meat outdoors without filling the house with smells and smoke. The griddle also has a flat side so you can do eggs and pancakes and the like on it – perfect camping breakfasts.

We are really looking forward to holding pizza parties over the summer and we already have one booked in when my little sister comes to stay with her new baby at the end of next month. It is such a lovely sociable thing to cook for friends as everyone can chip in and add their own toppings. The prep and washing up is also minimal, which is a winner in my book.

You can buy a Firepod direct from their site and you can also support their crowdfunding (as it is a new product that they want to develop) and the link to their Indiegogo page is here. I really wish them lots of luck for the future of their company as we think the Firepod is a brilliant product and can’t wait to use it more.

Katy x

*This post was written in collaboration with Firepod.

Children’s bedroom inspiration with Coming Kids

I want to start off by saying a big thank you to everyone who messaged me or left a comment on my last blog post to wish us well in our new house. I was really touched by the number of people who took the time to contact me and it has made me even more excited for the upcoming project.

We plan to give Mimi the back bedroom in the new house (you can see the floor plan in my last post). Friends and family who have seen the house have been surprised that we aren’t going to make the small bedroom her nursery leaving the bigger room as a guest room. However, it doesn’t make sense to me to squeeze her into a tiny bedroom that won’t have enough storage for her clothes and toys and will be used day in day out yet leave the bigger room unused for 95% of the time except for the odd visit from guests. In our flat we used her nursery so much from day one and I don’t see that changing – if anything I think she will use her room more and more as she gets older.

When I planned her nursery before she was born I had no idea how we would use the room so it feels nice to be able to plan a new room for her now that we know her inside and out. I came across the online shop Cuckooland a few weeks back as I saw one of their products on Facebook (it was this mud kitchen that I am SO excited about getting for our garden). Coincidentally they got in touch me not long afterwards and asked me to share my favourite products from a new brand that they stock called Coming Kids. As soon as I saw the products I agreed as they are right up my street and actually really remind me of the vibe of Mimi’s old nursery and the sort of look I want to create in her new room. Designed in the Netherlands I love the brand’s clean minimal feel and the mint, grey and white colour schemes with touches of black combined with natural materials like wood and leather. These are my top picks from the range…

It was actually the vintage looking wardrobe that caught my eye first as we don’t have one and even though genuine vintage is so nice I know that this brand new wardrobe would be super practical but it still has the character that I want from furniture. I also love that colour! I really like the more modern looking wardrobe with leather handles – nursery furniture does not need to be boring or twee, which is what I find most of the nursery furniture sets that I find tend to be.

When I was a child I was obsessed with the idea of having a raised bed with a desk or secret cubby hole underneath so I LOVE the cabin bed and the playpen is brilliant as it adjusts to grow with your child – have a look here to see how it transforms. One of the pieces that we bought for Mimi’s nursery in the flat was a daybed and I felt grateful for it every single day as it proved so, so useful for feeding, stories before bed, dressing her, cuddles in the night when she was sick and it provided lots of storage. Honestly, you need one if you can fit it in. I wish I had bought this one as it looks much nicer than the one we bought and it is actually white instead of off white, which I was never keen on against white walls.

I look forward to when Mimi is old enough for a desk in her room as the little writing bureau that I was given by my parents on my seventh birthday was so special to me. I really like the desks by Coming Kids and the shelving unit with the fold down desk seems like a brilliant piece to me.

What do you think? Do pop over and have a look at the full range by Coming Kids and let me know what your favourite pieces are. I’ll show you plans for Mimi’s new room soon!

Katy x

*This post was written in collaboration with Cuckooland.