Ask Apartment Apothecary – decorating a blank canvas

You’re probably thinking what on earth has the image above got to do with decorating a room. Don’t worry, all will become clear. Tia recently asked me over on my Facebook page whether I had any advice on how and where to start when decorating a completely blank canvas. At the time I told her that I usually begin with one object that I really love, like a print, a particular fabric or a piece of furntire to help me plan a colour scheme. However, that can be tricky when you pop down to the paint shop and end up with what you think is a perfect match for the colours that you love but they actually end up being way off. I have found a solution to that problem!

A few weeks ago I was lucky enough to be invited by the Amara Interior Blog Awards team to their first blogger masterclass at the KLC School of Design. When I was still teaching I used to look at Interior Design courses on offer at KLC and dream about what could be so it was a real treat to be given this opportunity.

Established over 30 years ago by Jenny Gibbs, one of the 2015 IBA expert judges, KLC is one of the most highly acclaimed design schools in the UK and the masterclass was held by the school’s Deputy Director of Studies, Julia Begbie, focusing on colour and pattern.

Julia did a great presentation for us and then we did a hands on task that I thought would be a really useful thing to share with you here as it is an invaluable tool for building up a colour scheme for a room.

Julia gave us a range of ‘concept images’ and she had used the software Color Explorer to draw out the constituent colours from these images. So, for example, I was really drawn to the image below from my Pinterest account but if I were to think about creating a colour scheme using that image as inspiration I would only identify light pink and mint green. However, this programme is much cleverer than that and extracts a range of colours and their RGB and Hex codes (the way computers display colours).

Using a concept image to create a colour scheme for decorating a room | Apartment Apothecary

You can then use this rgb.to programme to convert the RGB number or Hex code to a RAL number, which you can take to paint shops and have paint mixed to that specific colour. Colour scheme created!

Using a concept image to create a colour scheme for decorating a room | Apartment Apothecary

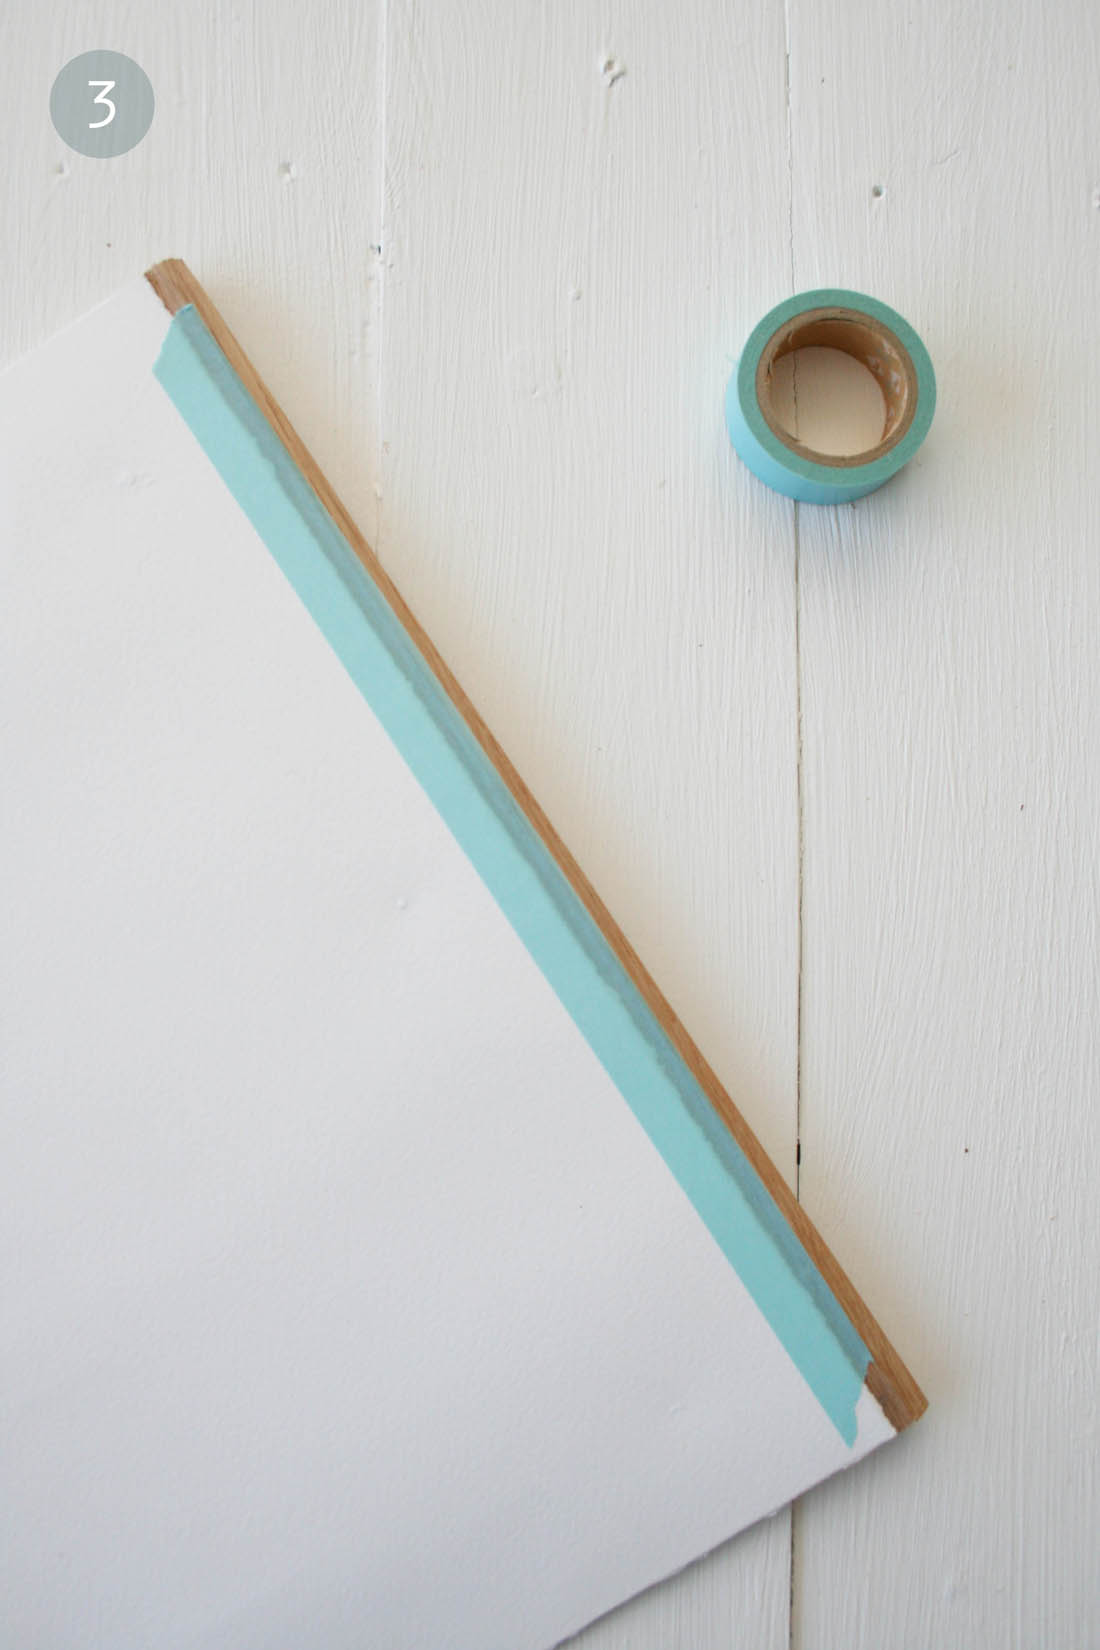
You can then begin to think about where you would like to use those colours – walls, wood work, floors, fabrics, furniture and so on. Julia gave us a black and white copy of a room that we stuck in the middle of a large piece of paper. We then cut out the colours from our concept image and placed them around the picture to help us work out where to use the colours.

Using a concept image to create a colour scheme for decorating a room | Apartment Apothecary

Hope you find this useful. If you are interested in doing a one day class or even a full course at KLC yourself, pop over and take a look at the courses they offer.

Thank you again to KLC and the IBA team for such a great day.

Katy x


Tongue and groove panelling

I have always had a thing for tongue and groove wall panelling. I love the texture, the warmth and how much character it brings to a room. Having lived in new build flats since I bought my first flat at the age of 25, ten years down the line I am craving period features. Therefore, I am more and more drawn to this simple way of injecting character into any room. All that being said I am definitely not about to knock up some wall panelling in my flat as it would look totally ridiculous in such modern surroundings but it would be one of the first things I would do when moving somewhere new.

Not only do I like the way tongue and groove panelling looks but it is also a very practical way of covering up bad plasterwork and it can be a wipe clean hardy surface to withstand a lot of wear and tear. Have a look at these examples of where it has been used for a bit of inspiration…

Kitchen

Whether you create a splash back or panel a whole wall I love how much more personal this panelling makes a kitchen feel.

Tongue and groove wall panelling | Apartment Apothecary

Image via Skonahem

Dining room

Laying the panelling horizontally gives it a completely different feel.

Panelling half way up the wall is a very practical way of protecting the bottom half of a wall from scuffing – especially useful when you have chair being pulled out against a wall on a regular basis.

Tongue and groove wall panelling | Apartment Apothecary

Image via Stadshem

Painting the panelling a bold colour that ties in with the rest of the woodwork is a good way of bringing colour into a room.

Tongue and groove wall panelling | Apartment Apothecary

Hallway

A very practical way of protecting walls in your hallway is using tongue and groove panelling. Adding shaker peg hooks along the top of the panelling looks great, too.

Tongue and groove wall panelling | Apartment Apothecary

Image via Rhubarb Garden tumblr

Tongue and groove wall panelling | Apartment Apothecary

Image via Etno and Retro

Living room

Panel whole walls in a living space to add character and texture.

Bedroom

I love how the panelling can look so quant and traditional at the same as working with more modern elements like the light fixture.

Tongue and groove wall panelling | Apartment Apothecary

Image via Decor8

Bathroom

One of the easiest places to start with tongue and groove is in the bathroom. Maybe a bath panel would be something I could add to my home…

Tongue and groove wall panelling | Apartment Apothecary

Image via Remodelista

What do you think? Love it or hate it?

Katy x


Tips for choosing the right sofa

I was on the precipice of buying a new sofa a couple of weeks ago. I couldn’t have been closer to hitting the ‘buy it’ button. Jules then caught sight of what I was doing and gave me a good talking to and I had to admit he had a point that we do have a lot of big costs at the moment and our current sofa, though ruined by Otto, will do for another few months. Boring!

To get to that point though, I had gone through a thorough decision making process to ensure I had chosen the right sofa for us so I’d like to share my top tips here today.

Firstly, you need to know where to look for your perfect sofa. I have recently discovered Darlings of Chelsea, which is a great place to start as you will find such a wide range of different styles. Find your nearest store and you MUST try out your sofa before you buy.

1. How will you use the sofa?

This is the first thing I thought about when considering what style of sofa to buy. I know that our main use for a sofa is full-on lounging. I always like to have my feet up and usually lie on the sofa whilst watching TV. Both of us (as well as Otto) like to be on the sofa at the same, too. Therefore, I was looking for a long sofa, at least 2m long and with a good seat depth. Ideally, I wanted a chaise sofa so that we could both be on it at the same time and lie down but we don’t have enough space for that.

Some things you may need to think about: how do you sit on a sofa? Do you need a sofa bed for guests? How many people need to be able to sit on it at the same time?

2. Seat depth

If you want an occasional ‘seat’ rather than a ‘loungey’ sofa you need to pay particular attention to the seat depth. A seat depth of anything less than 1m is more a seat rather than somewhere to put up your feet and sink into. I would never buy a sofa with a seat depth of less than 1m otherwise you can’t lie down comfortably.

3. Cushion type

Again, depending on what you want from your sofa, you need to pay attention to the type of cushions on the seat and back of the sofa. If you want ultimate comfort I think it’s best to get fibre wrapped feather filled cushions, which don’t require plumping. From my experience, don’t be fooled into thinking 100% feather filled cushions are wonderful because they are not; they are hard, solid and require daily, if not hourly, plumping. Be mindful about a hard backed sofa, with no back cushions, as this feels very different.

4. Feet

Have a good look at the feet of your chosen sofa as these can affect the whole look and style of the sofa. Think about whether you want a skirt or feet. Personally, I prefer feet as I think this has a positive impact on how spacious a room feels. I currently have a sofa that is basically a big block and has no feet so it feels heavy and bulky. Just be careful that the feet match or complement the style of your room.

5. Style of room

I know it may seem obvious but it is important not to get swept away by the beautiful design of a sofa even though it doesn’t work in your living room. You don’t want to end up having to completely overhaul your decor to work wth the sofa (although that sounds quite fun to me!).

6. Height of sofa

My mum made a huge mistake when she bought her sofa, which is a very cool retro leather low sofa. It is fine when she wants to sink into it and watch TV but she entertains a lot and none of her guests can get in or out of the sofa as it is so low. They all avoid it and end up with nowhere to sit! When deciding on the height of your sofa also think about the heght of your ceiling. A room with a high ceiling needs a high sofa and a room with a low ceiling benefits from a lower sofa to achieve balance.

7. Arms

Think about the arms of your sofa as these can really affect how comfortable it is. Do you want large, square arms useful for resting books/remote/delicately balanced drinks on? Or do you want low arms, which are better for lying out on? High arms can make the sofa feel more imposing, which is better for larger rooms.

8. Fabric choice

And lastly, once you have decided on the style of your sofa you can think about the fabric choice. This is going to depend on who you live with (children? pets?) and the style of your room. When I chose my sofa, that I didn’t end up buying, I ordered a sample of the fabric and not just a teeny, tiny square, a whole metre. Small squares are never representative of what the fabric will look like and it is really important to lay it out on your sofa and watch how it changes in the different light throughout the day and evening. I also put the fabric on Otto’s bed (I took the whole sofa buying thing really seriosuly!!) and let him sleep on it. This helped me figure out how it would cope with his fur and drool (gross, sorry!). My point is don’t choose fabric on the spot, you need to consider it seriously as it will make a big difference to your room whether it be a pattern, light, dark, leather, wool, cotton, velvet. From my own experince of a velvet loveseat, be very mindful that velvet marks like you wouldn’t believe. It is the one piece of furniture in our home that Otto is not allowed anywhere near. However, it still has marks all over it from friends’ babies who have drooled over it.

Hope these tips are helpful – do you have any good ones? I’m just going to go back to dreaming about the sofa of my dreams…

Katy x

*This post was written in collaboration with Darlings of Chelsea


DIY poster hanger

I have been wanting to make one of these poster hangers for AGES but have put it off because I couldn’t find a proper tutorial that explained it well enough. Therefore, I had to do a bit of experimenting that ended up in me throwing pieces of wood across the room, yelling at Jules because he wouldn’t help me and spending all day getting it wrong only to finally find a solution at 6pm, hence the rather murky and rushed photos in this post. Ha!

Anyhoo, I have this wondrous Double Merrick print that was the colour inpsiration for my home office (see his AMAZING French home here; we visited him there a couple of years ago and I’m just waiting for my next invitation – hint, hint, Merrick). The print has been in a white frame that is a bit blah and I thought it would suit a poster hanger much more because a lot of Merrick’s prints are inspired by vintage French educational charts. So, here’s how I made it…

How to make a DIY poster hanger | Cheap and easy ways to hang art | Vintage style school wall chart | Apartment Apothecary

You will need:

– Four strips of half round moulding the length of your print (I chose oak rather than pine as it looks so much nicer)

– Hacksaw to cut the strips to length

– Sand paper

– Low tack tape (I used washi tape)

– Four small nails

– Hammer (yes, I use a Cath Kidston hammer!!)

– Twine

How to make a DIY poster hanger | Cheap and easy ways to hang art | Vintage style school wall chart | Apartment Apothecary

Step by step:

1. Cut four lengths of wood to the exact width of your print.

How to make a DIY poster hanger | Cheap and easy ways to hang art | Vintage style school wall chart | Apartment Apothecary

2. Use the sand paper to smooth the ends of the strips of oak.

How to make a DIY poster hanger | Cheap and easy ways to hang art | Vintage style school wall chart | Apartment Apothecary

3. Use low tack tape (because it won’t ruin your print) to stick the top and bottom of your print to the strips of wood. Stick the print half way up the wood strip so that when you nail the strips together you don’t have to go through the print.

How to make a DIY poster hanger | Cheap and easy ways to hang art | Vintage style school wall chart | Apartment Apothecary

4. Place the back strip on top of the front strip, sandwiching the print between them. Ask someone to help you hold it in place or use a clamp as you are going to nail it together at either end. Measure where you want the twine to hang from and this is where you will nail the two strips together – make sure you measure it accurately otherwise it won’t hang straight. You are going to nail the two strips together from the back. Place the nail fairly near the top of the wood strip so you won’t go through the print. Hammer it in so it goes completely through the back and into the front strip but not through to the front of the strip as you don’t want to be able to see it at the front. Once the two strips are secured together, bash your nail so it bends flat against the wood strip (you will hang the twine from these). Repeat this step on the other side of the print.

You will need to nail the bottom strips of wood together too, but use shorter nails that won’t need to be bent over as you won’t need to hang twine from these.

How to make a DIY poster hanger | Cheap and easy ways to hang art | Vintage style school wall chart | Apartment Apothecary

5. Tie your twine to the bent nails at the top of your print.

How to make a DIY poster hanger | Cheap and easy ways to hang art | Vintage style school wall chart | Apartment Apothecary

And hang your print! Mine isn’t going to stay on these hooks but I’m just waiting to move a chalk board that I will be selling at our vintage jumble sale and it will be replaced with my print.

How to make a DIY poster hanger | Cheap and easy ways to hang art | Vintage style school wall chart | Apartment Apothecary

Now, let me tell you about how this DIY went wrong. Firstly, I wanted to make it simpler by making the wood strips a couple of centimentres longer than the width of the print. I then bolted them together at the ends so that you could easily swap prints in and out. However, it didn’t look great because my print is only A3 size so it all looked a bit bulky. I think this would be a good solution for larger posters.

My new idea is to embed magnets in the back of one strip of wood and use self-adhesive magnetic strip on the other strip. This would make it really easy to swap posters in and out without damaging the print. Watch this space for that.

If you want to use this idea with beautiful wrapping paper, just glue it to a piece of card first to weight it and give it extra strength. Although, it’s quite important to use as little glue as possible wth wrapping paper as it wrinkles so easily – spray glue or spray mount is the best bet.

Hope this is a useful tutorial; it’s definitely much cheaper than framing prints!

Katy x

Cafe curtain tutorial

Last week’s Ask Apartment Apothecary was about blending a work space within a guest bedroom. One of the things I suggested was hanging a cafe curtain at the window. I have done exactly this in my home office as it is perfect to diffuse direct sunlight, which can be a real problem on a computer screen whilst I work. It also adds a soft, yet minimalist, touch to a work space. Most importantly, it costs very little (I used an old sheet!) and is a very, very quick sewing project.

Here’s how…

Cafe curtain tutorial | Apartment Apothecary

You will need:

Lightweight fabric at least 2 cm wider and taller than the part of window you want to cover.

Lightweight fabric for the curtain tabs – each one needs to be 4 x 12 cm and you will need one for every 10 cm of fabric along the top of your curtain panel.

Contrasting or matching thread, fabric scissors, pins, chalk and a tape measure

You can also add a trim to the bottom of your curtain panel if you fancy (why not try lace, pom poms, crochet) or add some pretty embroidery.

Cafe curtain tutorial | Apartment Apothecary

Step by step

Step 1 – Measure your window and cut a piece of fabric allowing for a 2 cm seam allowance all round the panel. Press a double hem on all four sides of the panel – fold over 1 cm, press, then fold over 1 cm again to hide the raw edge and press. Pin in place.

Cafe curtain tutorial | Apartment Apothecary

Step 2 – Choose either a contrasting thread or matching (I chose a soft blue to give my panel a bit of definition and it is the main colour in the room where this curtain will hang) and stitch all the way round the panel.

Cafe curtain tutorial | Apartment Apothecary

Step 3 – Measure the top edge of your panel and figure out how many tabs you will need, based on having one for every 10cm, or thereabouts. Mark with the chalk where the tabs will be positioned. Cut a piece of fabric for each tab measuring 4 x 12 cm. Press the edges over (about 0.5cm) and fold in half lengthways and press.

Cafe curtain tutorial | Apartment Apothecary

Step 4 – Sew down the open side of the tab.

Cafe curtain tutorial | Apartment Apothecary

Step 5 – Pin the tabs into position, laying the two ends of the tab next to each other, not on top of each other, as this will be easier to sew and it will hang better. Press the curtain.

Cafe curtain tutorial | Apartment Apothecary

And finally, to hang the curtain you will need a piece of dowelling and two cup hooks either side of the window frame. I still need to paint mine!

Cafe curtain tutorial | Apartment Apothecary

Cafe curtain tutorial | Apartment Apothecary

And please indulge a brief moment of floral appreciation…I cut these variegated Hygrangeas at the end of last week from a plant on my balcony and they are making me so happy. Plus, they are in a new jug that I bought at Ardingly antiques fair. It’s the small things.

Cafe curtain tutorial | Apartment Apothecary

Happy sewing!

Katy x