Plant markers

So, the weather has been seriously vile. Snowing in late March? Really?! This time last year I was sunbathing next to an outdoor pool in Devon (I know that isn’t particularly glamorous, but I’m just trying to make the point that it was hot enough to do so).

London roof terrace

Our roof terrace as it looked at the weekend. Lovely!

Anyhoo…the reason I’m discussing the weather is that the seeds I planted a few weeks ago during my sowing seeds tutorial will be ready to plant outside soon, when the weather improves. I need to make some plant markers so I can keep track of what I plant and where, so I have decided to make my own, as I promised, to help save money. You can buy really pretty plant markers but is that really what you want to spend your money on? Much better to recycle and re-use, especially as they will be outside and barely noticeable.

Have a look at my different ideas:

Blackboard plant pot for basil

1. This would work particularly well if you have pots of herbs indoors. Spray the pots with chalkboard spray paint, write the names of the herbs on the pots, which can be changed whenever you like. This way you will never have that embarrassing moment, when asked to fetch a handful of herbs, of not knowing which one is which!

Cork plant marker

2. Slice the side off a cork so you have a flat writing surface. Stick the cork on a BBQ stick, done! Recycle, recycle, recycle!

Twig plant marker

3. Use a vegetable peeler to peel the bark off the end of a twig and add the name of the plant.

Blackboard wooden spoon plant marker

4. Blackboard paint again, this time on an old wooden spoon for bigger plants or a crop of vegetables etc. Easily re-useable as you just rub off the chalk and add the name of a new plant.

Blackboard wooden spoon plant marker

I’ve used this spoon to mark the wild flowers we have planted on our roof terrace. We have planted them in planting bags, rather then the beds, because they can get out of control, especially poppies. They will attract butterflies and bees to our roof to help pollenate the other plants.

Covered jar plant marker for wild flowers

5. If you need to keep the information on your seed packets or plant label then pop it into a jar. Make a slit in the packet at the bottom and then hang it on a stake.

Covered jar plant marker for wild flowers

This protects your seed packet so you can refer back to instructions or care tips.


I will show you how my seedlings are getting on in the next couple of weeks, hopefully they will be ready to plant out soon.  In the meantime, I will do a post next week about different containers you can recycle and use instead of buying plant pots.

Happy gardening! x

Follower updates:

One of my lovely followers, Evelyn, sent in pics of her beautiful children trying the chalkboard plant pot idea. Kept them busy for hours apparently!

Here’s William making his pot.

Tamara doing a great job using multi-coloured chalk. Love it!


Bermondsey roof terrace

I do not know anything about gardening. However, I really want to learn, not least because we are lucky enough to have the most amazing roof garden that looks out over London as far as you can see.  This is rare in London so it seems stupid not to make the most of it.  It’s a really large space but lacks any colour, interest or beauty.

The developers decked the terrace, which is fine, but they used a horrible red coloured stain for the fencing and a different colour wood for the pergola. It would be best if this mis-matching wood could be covered with climbing plants.

Roof terrace pergola

The pergola could be absolutely stunning if over the next couple of years we could cover it in climbing plants entwined with lights.
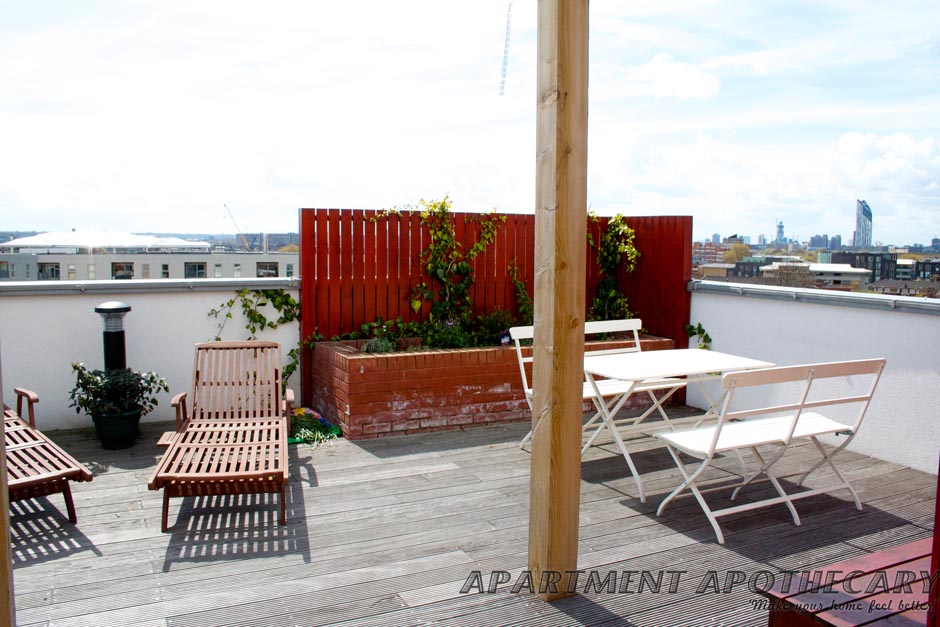
Sunbathing up here is blissful.

The roof garden has 360 degree views of London. I just love it up here.
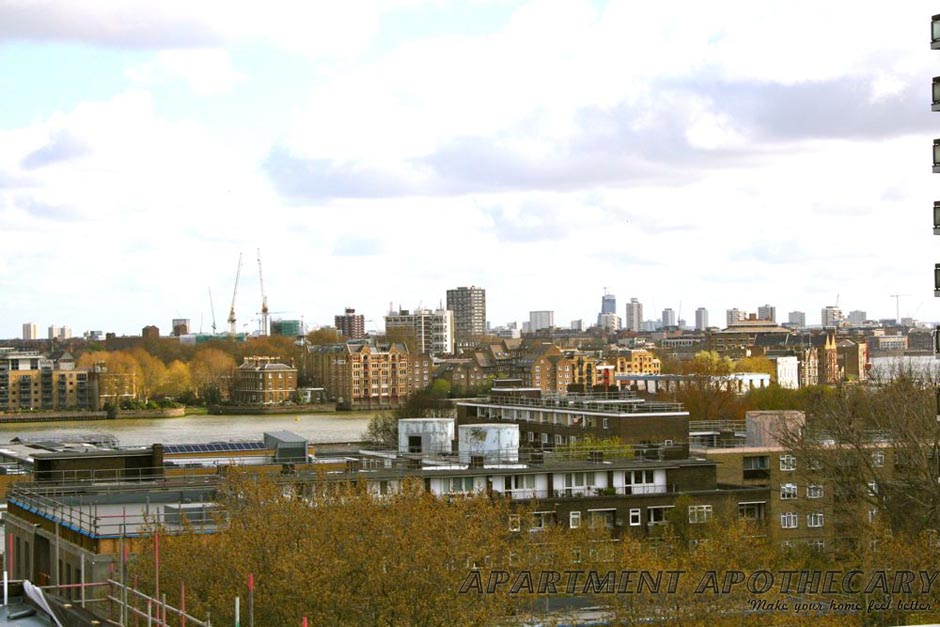
View towards the north looking over the river Thames to Wapping.
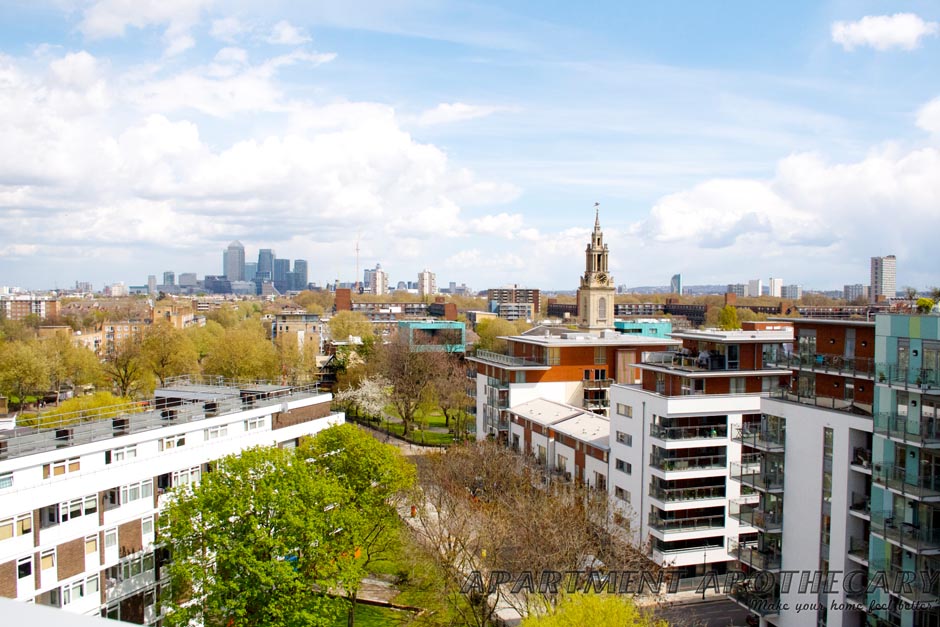
View to the east out towards Canary Wharf.

View to the west over London Bridge station and the Shard.

Our first step is to join with some of the other residents from our apartment block to form a ‘gardening club’. We apply for some funding from ‘Capital Growth’ and a three hour gardening session, which we do on lovely Sunday in February, one of the first bright days this year. The planting that was done by the developers is so boring looking so we begin by pulling up all the plants, potting some of the nicer looking ones and destroying others like the buddleia plants, which get everywhere.

There are eight of us working together to transform out roof garden.
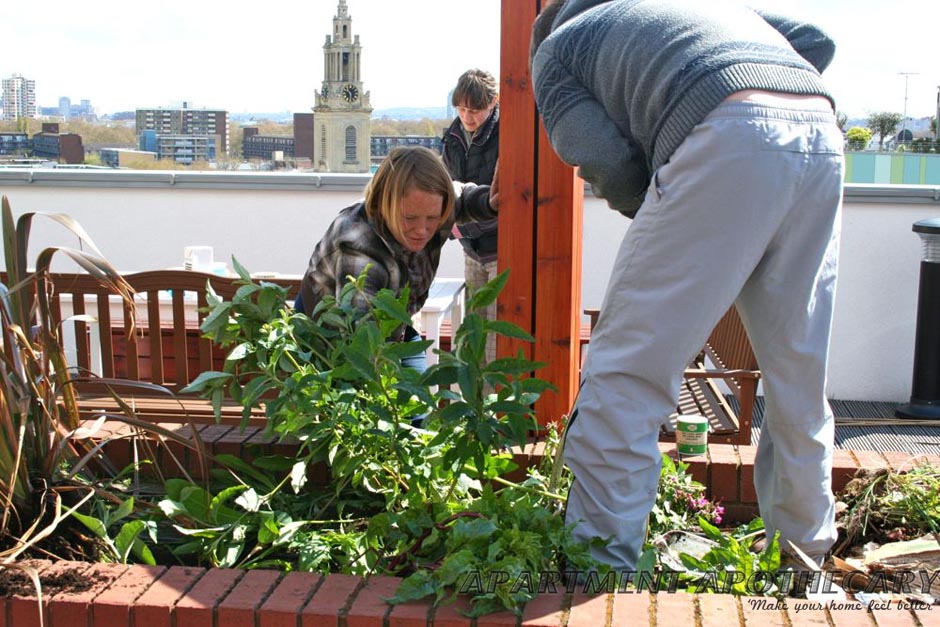
It was really important to dig up the numerous buddleia plants that can become a pest as they grow so large, spread very easily and develop huge roots. Very large plants are not suitable for the raised beds we have as they will dominate too much.
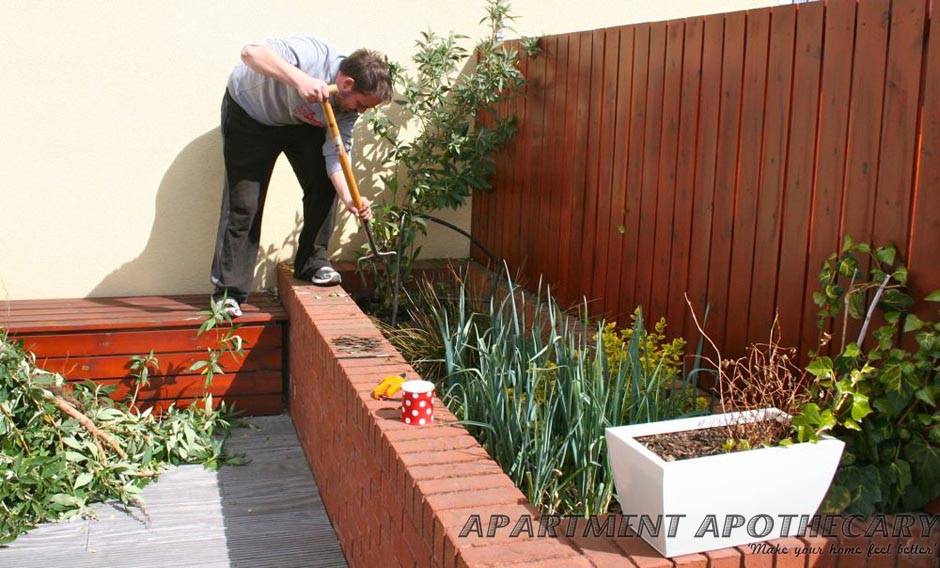
Another reason for trying to clear the beds was we needed to try to improve the soil as the developers had used very poor quality, sandy soil that is not conducive to lush growth.
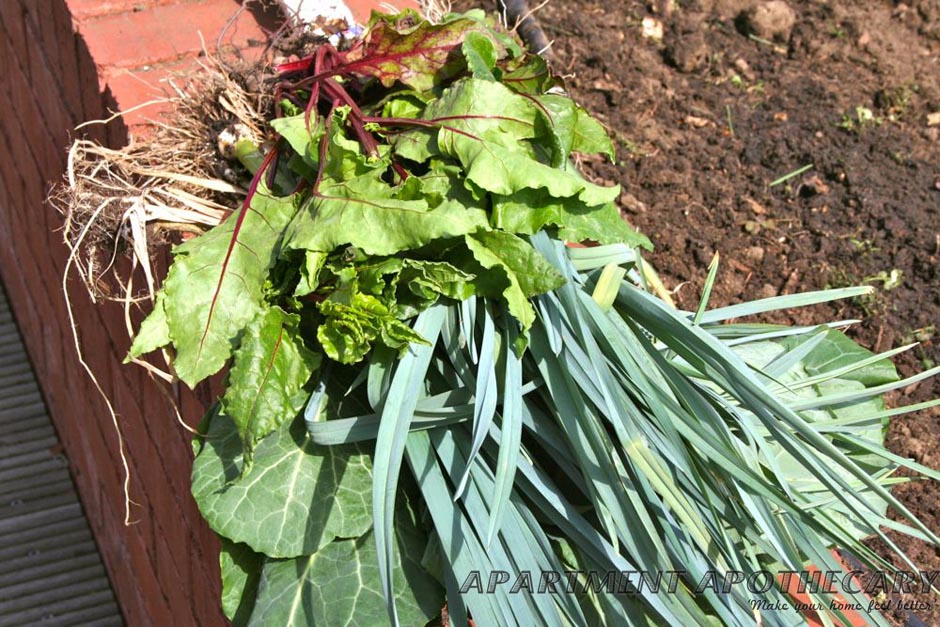
We had planted a few food plants last winter and these are out inspiration to try to make the majority of our planting edible and any crops will be shared amongst the residents in our block.

The next step is to move the compost bin we set up last year. At the moment it is slap bang in the middle of the biggest bed and very un-sightly. So we move it to a corner, turn it, and use what compost has been made to enrich the soil in each bed.

Compost can be made by adding food waste (uncooked is best, especially if you don’t want it to smell) and cardboard and turning it every now and then.
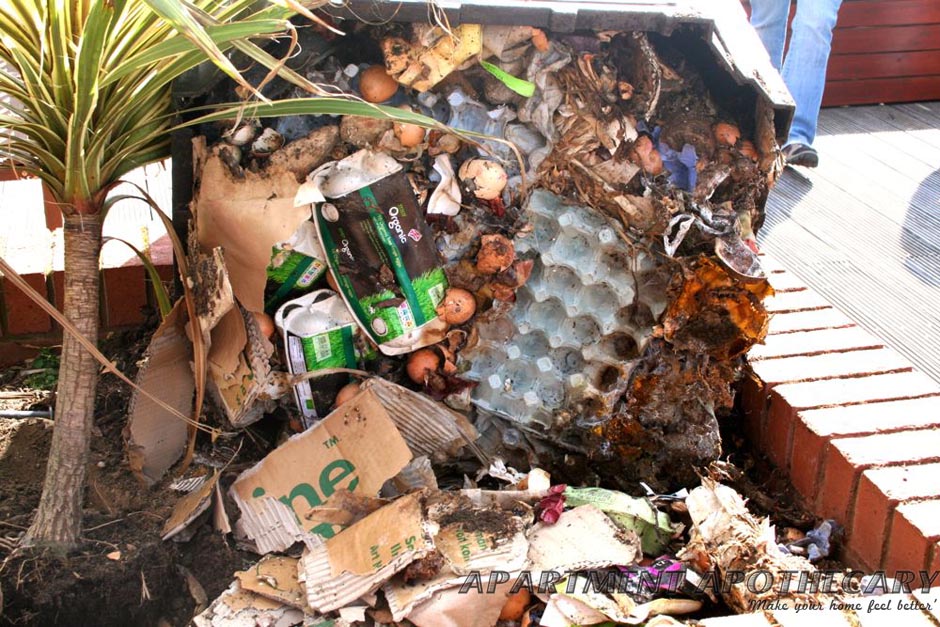
The bits of waste that have not turned into compost yet will need to be ripped up into smaller pieces and added to the compost bin again.

We then decide what to grow and where.  The ladies from ‘Capital Growth’ talk us through lots of different varieties of salad leaves, vegetables and flowers that will work well together and they give us a quick lesson about the best type of compost to use and how to look after soil.
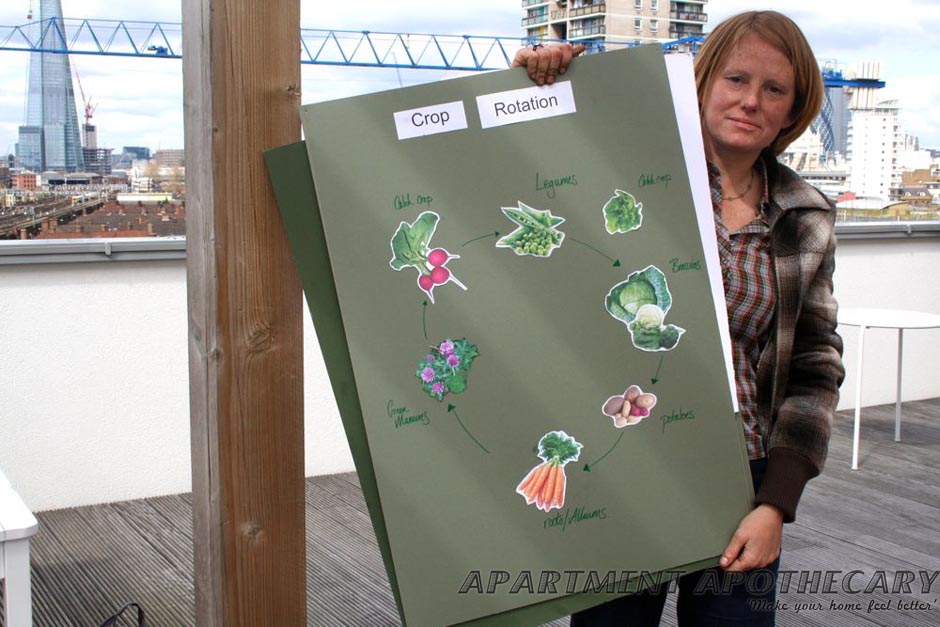
Rotating crops enables the plants to grow as well as possible as each plant uses different nutrients.

Leaf mulch, coconuts husks, food waste compost.

We decide to have herb, wildflower, vegetable and lettuce beds and other various flowers to make it look pretty and to attract certain pests so they do not ruin the food crops. We then learn how to sow seeds.

We try to choose plants that will complement each other for example, we plant nasturtiums that will attract black fly away from our food crops.
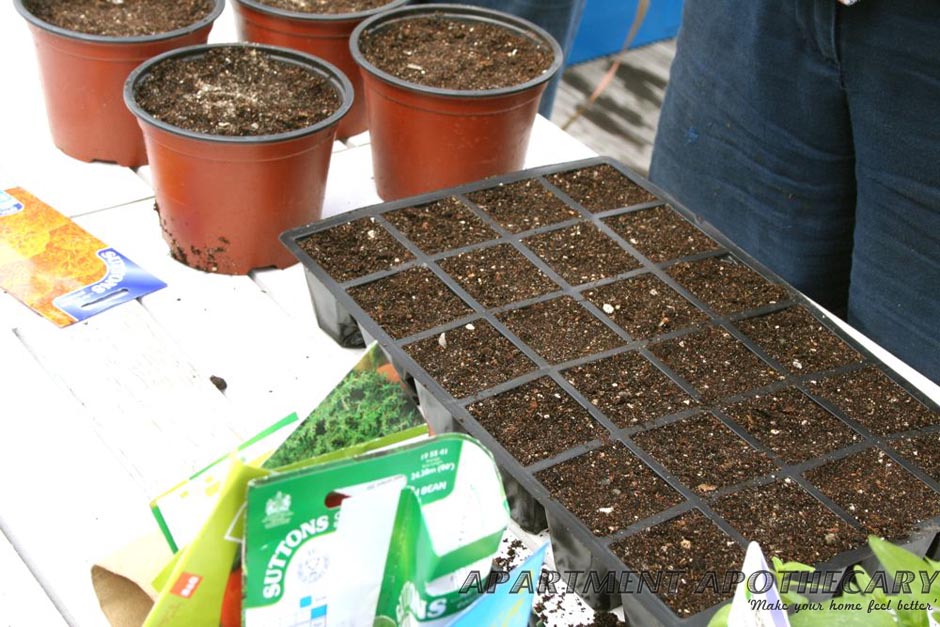
We will buy a cheap cold frame to keep these seeds in until they are ready to plant out.

I also plant a few flowers to get us started. I put some sweet peas at the back of a couple of the beds as I’ve learnt they grow very tall and like to trail up or along whatever is there.  I also put in some geraniums and snap dragons for a bit of immediate colour.

Geraniums.

Geraniums will add colour to the corner of the beds..

A row of sweet peas will grow tall and cover some of the ugly red fencing. They also smell divine.

What have I learnt so far?

1) Plants need to be re-potted or fed (once or twice a year) to remain healthy as it is just as important to look after soil as it is to look after the actual plant.

2) Leaf mulch makes excellent compost.

3) Flowers and food plants should be mixed together as this prevents pests (I need to find out more about this).

4) Plant bulbs at the beginning of the autumn.

5) If you don’t harvest the food that you grow it will flower (otherwise known as bolting).

6) You can sow lettuce seeds in the spring and as long as you continuously harvest the outer leaves they will last the summer long.  There are varieties that you can then plant at the end of the summer that will last throughout winter (names of these varieties to follow).

7) A perennial plant is a plant that lives for more than two years so these are easy to maintain. They will usually die back over the winter and then return in the spring from their root-stock rather than going to seed as an annual plant does.

8) Once bulbs, such as daffodils, have faded you don’t have to have an empty pot or bed.  If you have planted the bulb deep enough you can plant perennial bedding plants (such as snap dragons, geraniums, pansies) on top of the bulbs.  This creates a very easy to maintain and pretty bed or pot that does not require planting every year.

9) Compost needs turning regularly.

10) You should try to recreate the wild as much as possible, which means you should combine as many different types of flowers and plants as possible. For example, a lot of flowers keep away pests from vegetable plants and vice versa.


I will keep you updated over the next few months on how much progress we make.  Hopefully, Bermondsey will be in bloom soon.


Sowing the seed

Spring is springing so today my task is to sow seven different types of seeds for the roof garden: Lavender, thyme, parsley, chives, chilli peppers, green beans and lettuce (always check your seed packets for the best month to sow the seeds). This is what I learnt about sowing seeds from the lovely ladies at Capital Growth…

EQUIPMENT NEEDED:

Seeds

You will need: Seeds.

You will need: Compostable seedling pots, gloves, trowel, pencil.

Sowing seeds compost

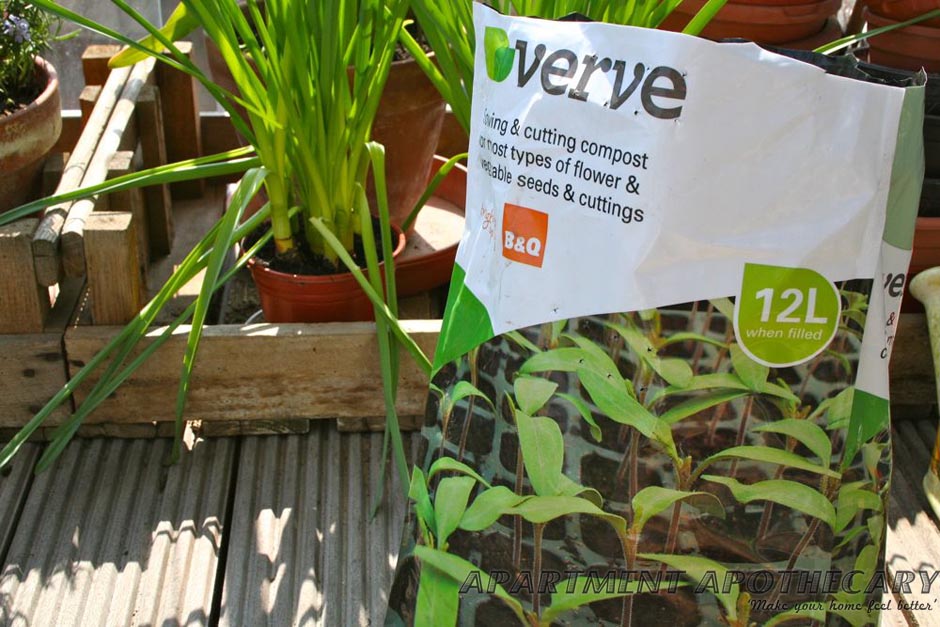
You will need: Compost for seeds and cuttings.

Sowing seeds

You will need: Water and seed tray with lid.

Roberts radio and Lloyd Loom chair

I always need my Roberts radio for a bit of company whilst gardening.  Yes, that’s right, I am 98 years old and totally unashamed about it.

TUTORIAL:

Compost in biodegradeable pots

1. I began by filling each pot with compost.

2. I pressed the soil down, but not too hard as I didn’t want the soil to be too compact.

3. I watered each pot with a small amount of water. It shouldn’t be water-logged as seeds can rot in too much water.

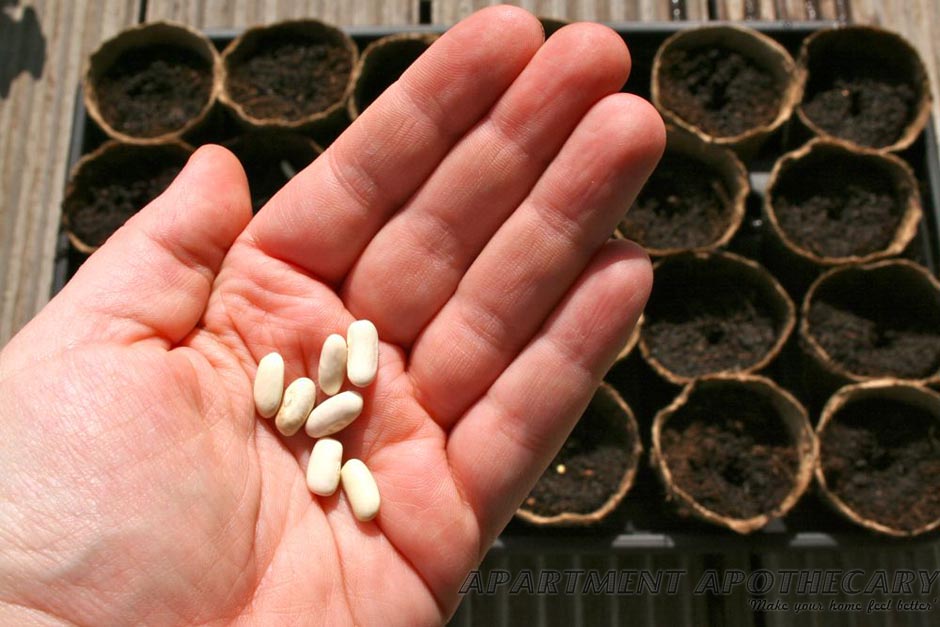
French bean seeds

4. The next step depends on the type of seeds to be grown. If they are tiny, like lettuce seeds, they can be almost just placed on top of the soil. If they are large seeds, like french beans, they will need a hole to put them in, which I did with a pencil.
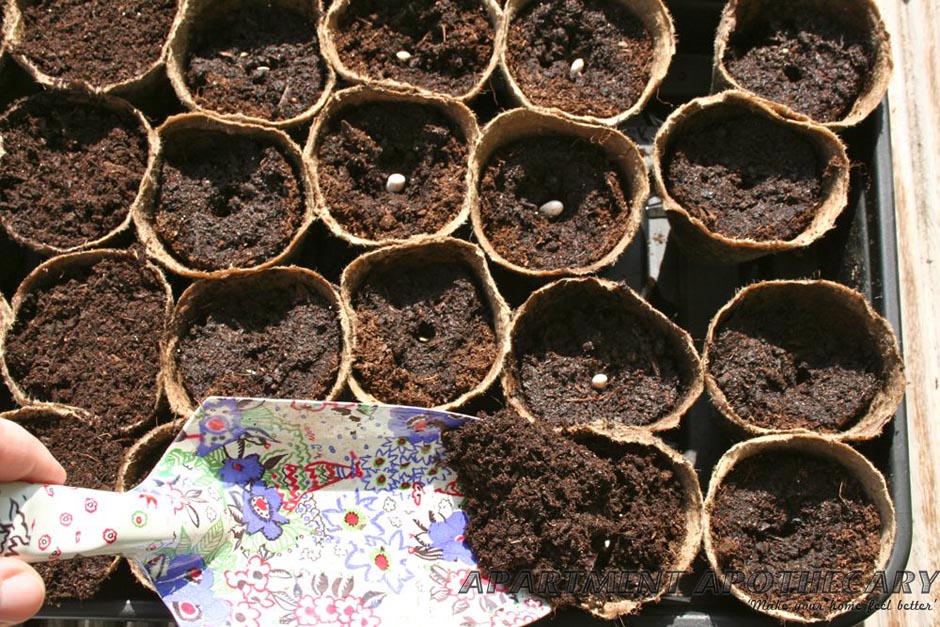
5. The rule that I was taught during our gardening session was that you cover the seed with the amount of soil that the seed is high e.g. a french bean seed is about 1cm high so you should cover it with about 1cm of soil.

Seed trays

6. I gave each pot a bit more water so the new layer of soil is moist. I do not have any plant markers and was not prepared so I used cocktail sticks and post-it notes (not ideal). I then put them inside in the warm.

I have learnt that whilst the seeds are germinating they need to be warm (i.e. inside if possible), but they do not need to have direct sunlight until they sprout. Once they do start sprouting you will need to turn your seed trays regularly as they grow towards the sun.  I will keep you up to date on when (if at all!) the seeds germinate and when to move them outside. I’m keeping my fingers crossed…

BUY YOUR OWN HERE:

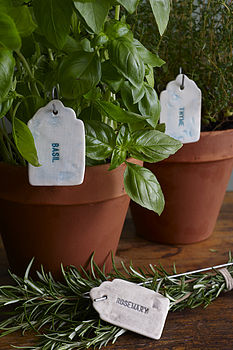
In the mean time I have found some lovely plant markers from notonthehighstreet that you can buy if you don’t have any. But I am also going to do a post about making your own, as otherwise you can end up spending a fortune on your garden.

Blackboard plant markers

Liberty Bee slate plant markers. Click on picture to buy online for £7.

Alice Shields hand made earthenware plant markers. Buy online for £27.

Ceramic plant markers

Jo Heckett ceramic plant labels. Buy online for £6.50.

What have I learnt so far?

  1. When sowing seeds you only need to cover the seed with surprisingly little soil. A good rule is cover with as much soil as the seed is high i.e. a french bean seed is about 1cm high so you would cover it with about 1cm of soil.
  2. Don’t over water the seeds as they can rot.
  3. Put water into the bottom of the tray so that the seeds can take up as much water as they need.
  4. The seeds need to be kept inside for the heat but they do not need direct sunlight until the shoots begin to show.
  5. Once the shoots are out rotate your seed trays as they will grow towards the light.