High shelves


I recently did a post about shallow shelves that showed shelves don’t have to be merely practical but can be a design statement in themselves. However, the reality is we often surround ourselves with ‘stuff’ and have nowhere to put it so design has to come second. Ceiling height shelves offer the practical storage we need but can also look really good.  Another advantage is that the foot of space that traditional shelves use, which is often too much of a sacrifice, is not needed for high shelves;  they are positioned in space that will never be used, and don’t leave you feeling hemmed in.

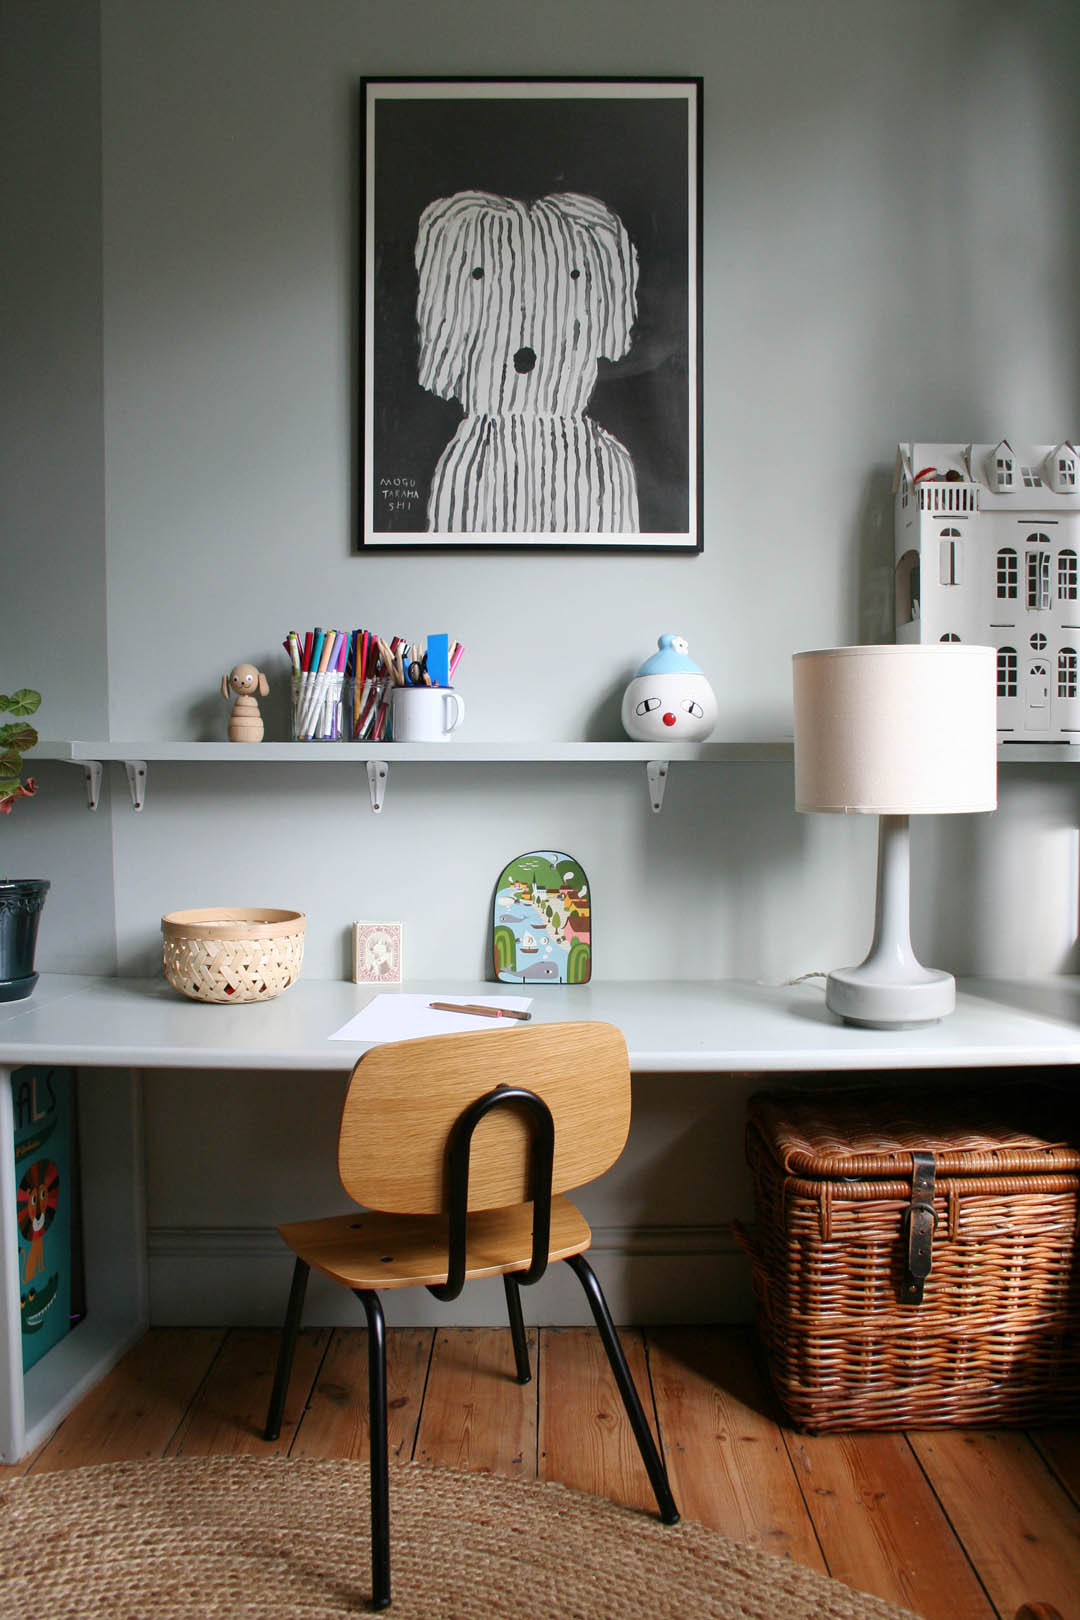
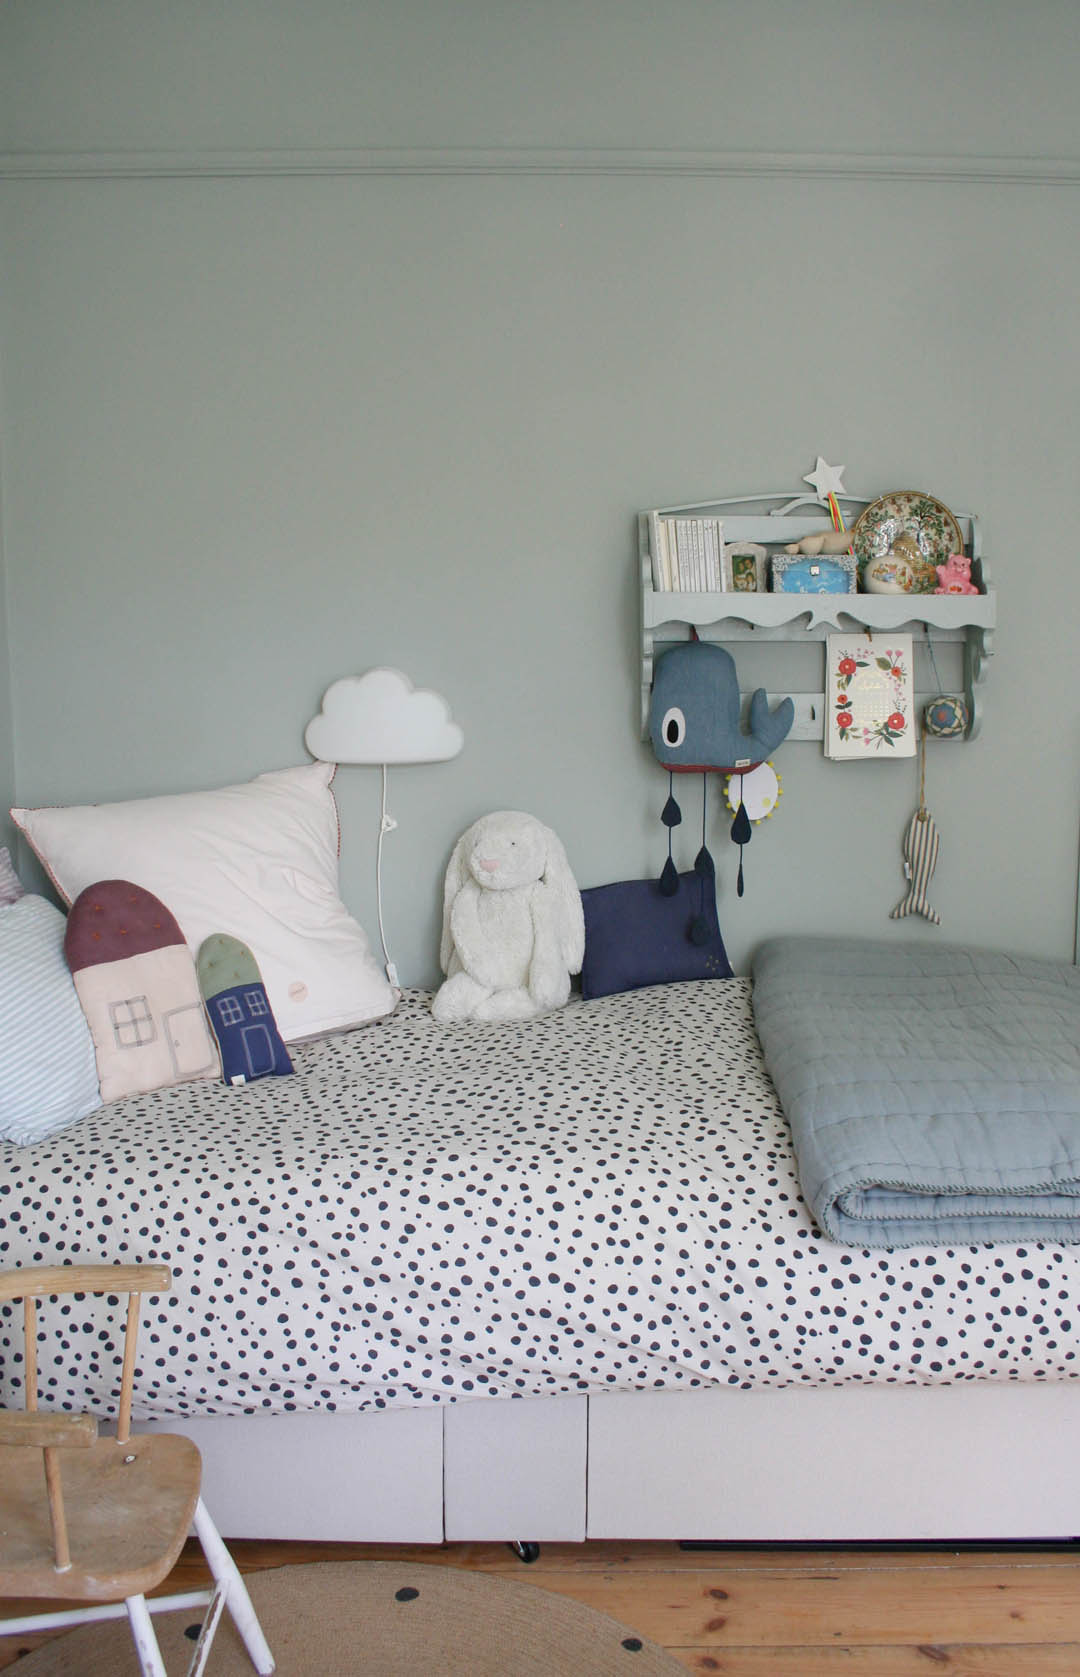
We have recently put a high shelf above our bed for books (recognise the book ends from my previous post?); not only does this give us extra storage space but it also softens the room as only books can (when I say we, I mean Jules, although I painted). We also put a shelf above the door of our work-room. By positioning it above the door, when you enter the room, you can not even see the shelf and therefore do not feel the loss of space. We painted the shelves white and used white brackets because we didn’t want to draw attention to the shelf itself but you could make it a real feature if you wanted to.

High shelves

I love this shelf above the door in our work-room. You can not see it when you enter the room and uses totally wasted space.

Have a look at other ways people have used high shelves to interesting effect…

This high shelf is used for storing crockery that is not often used, which one rarely has enough space in kitchen cupboards for. It is painted in the same colour as the walls so it is barely noticeable but its underside is cleverly used for hooks to add yet more storage.

High shelves in bedroom

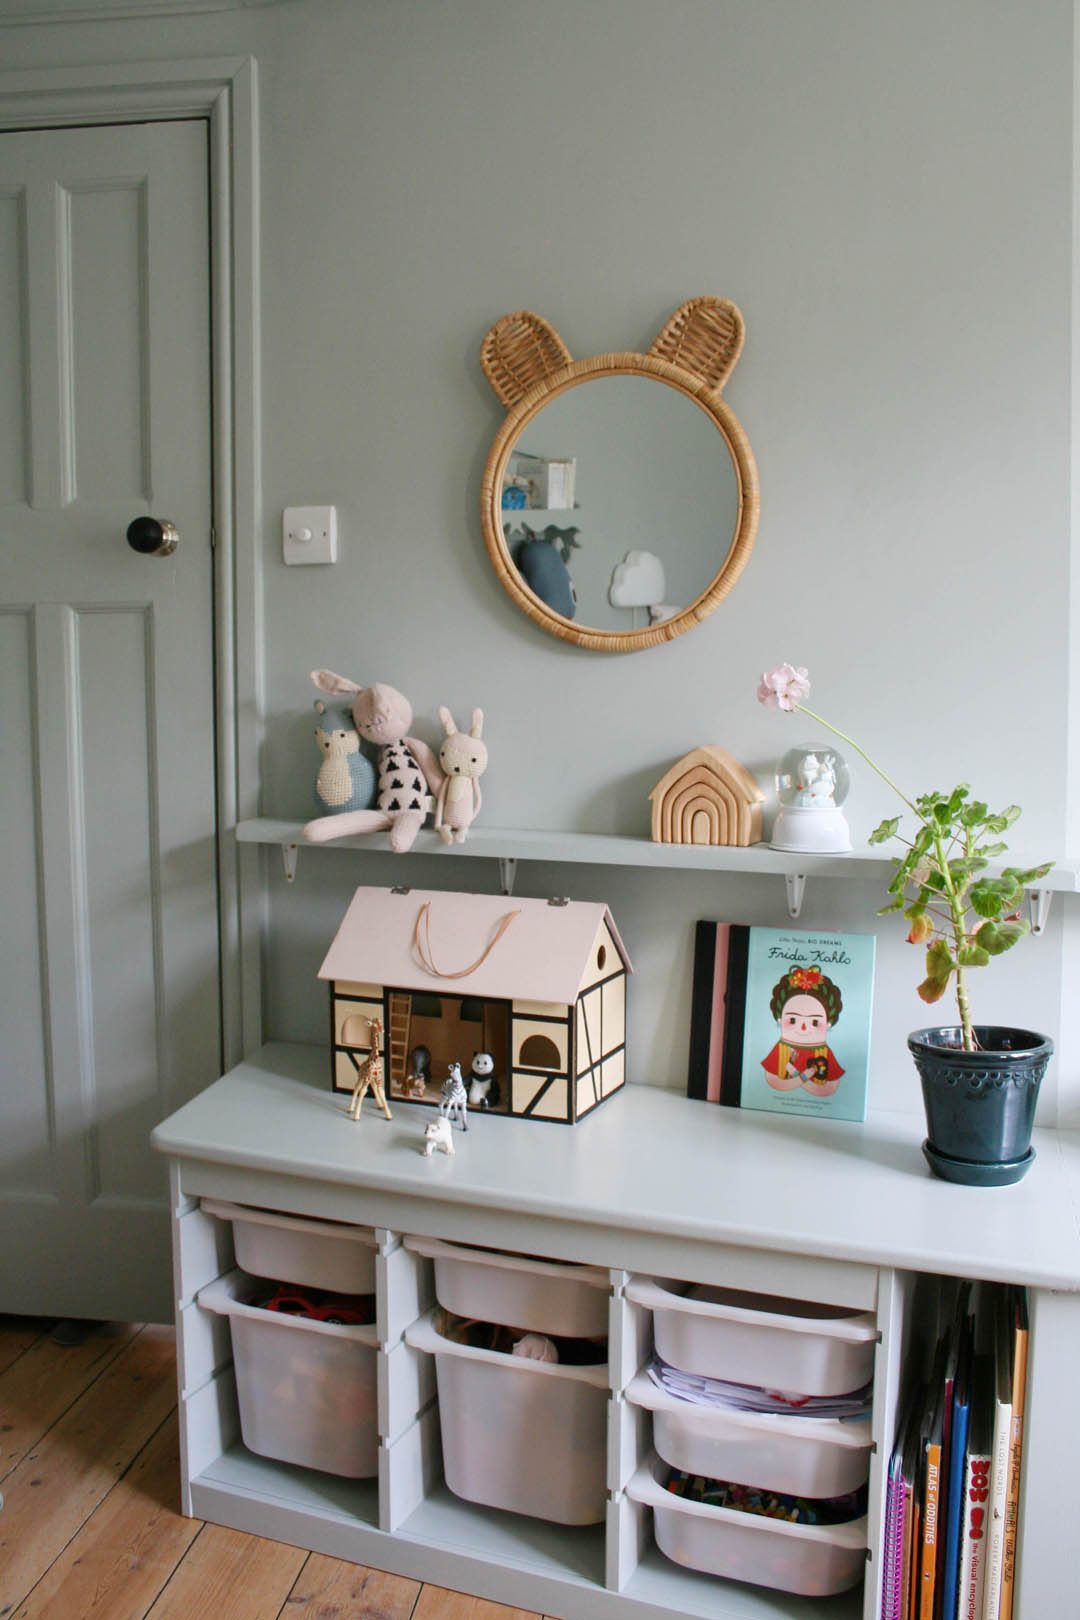
Even though this shelf is covered in objects it doesn’t feel cluttered because of its height.

High shelves on stair well

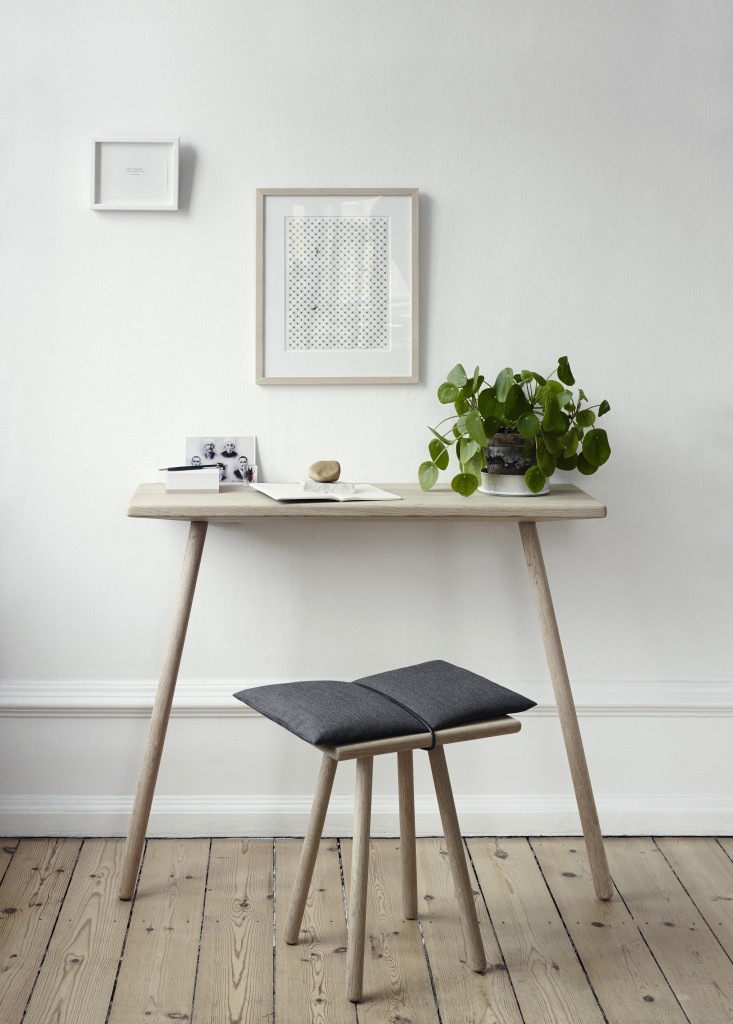
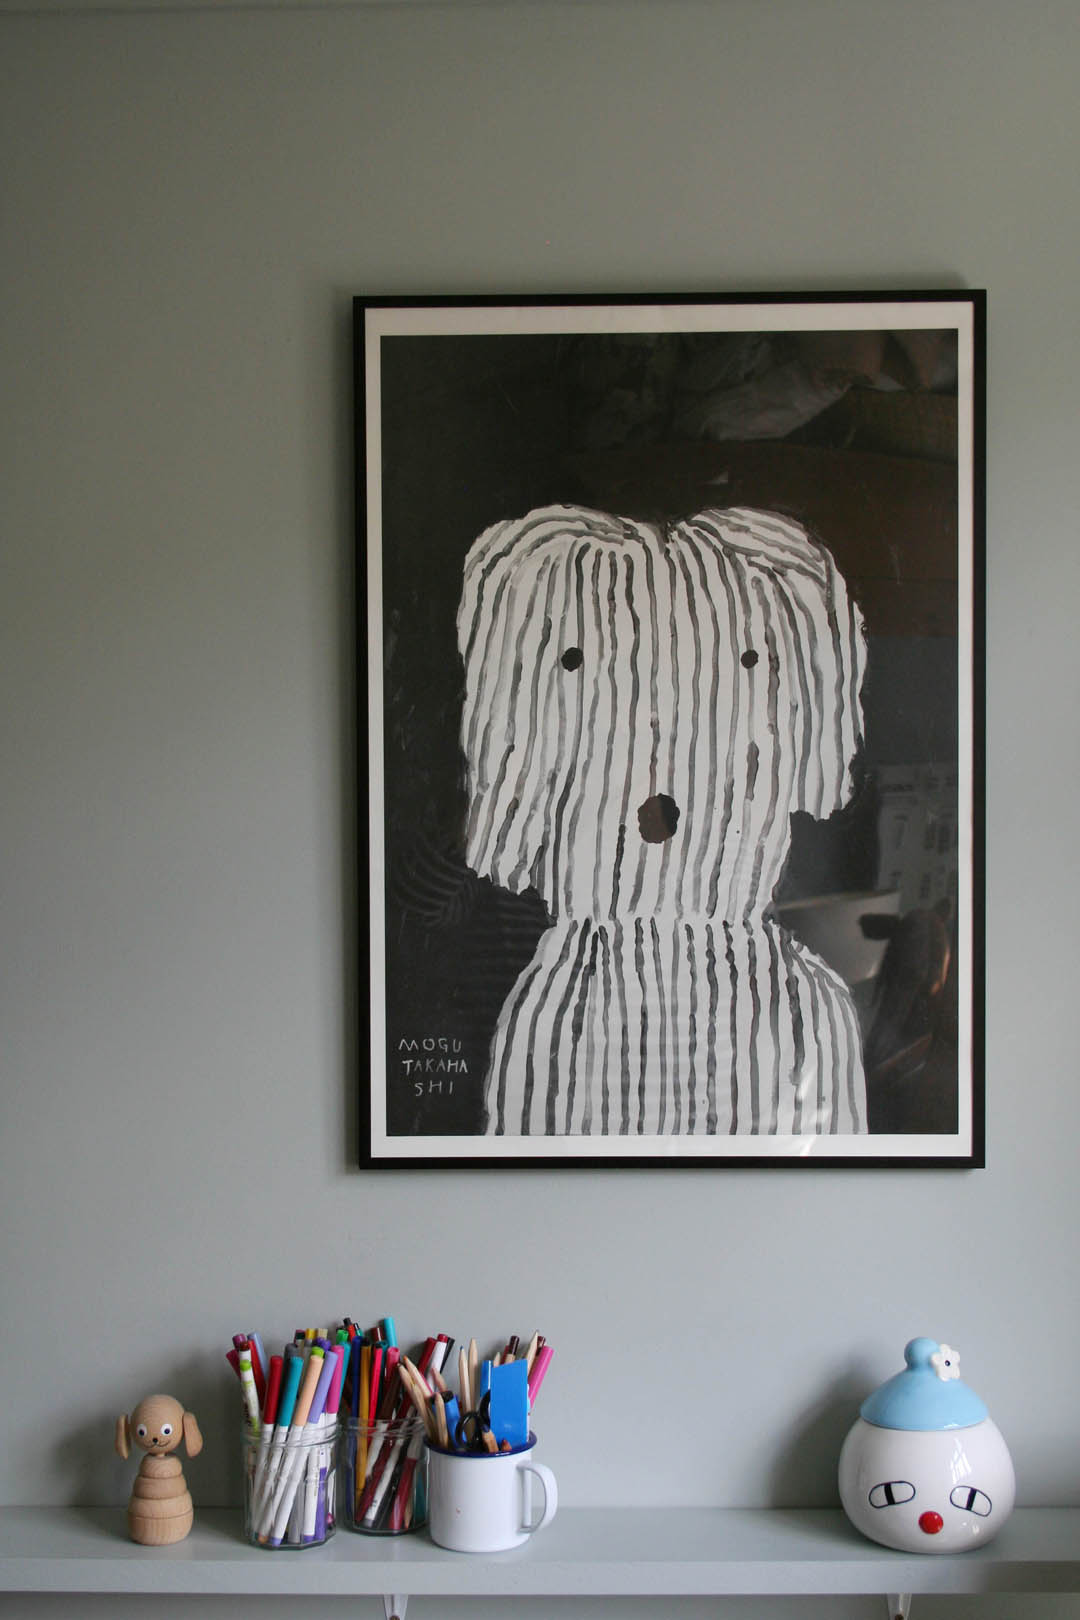
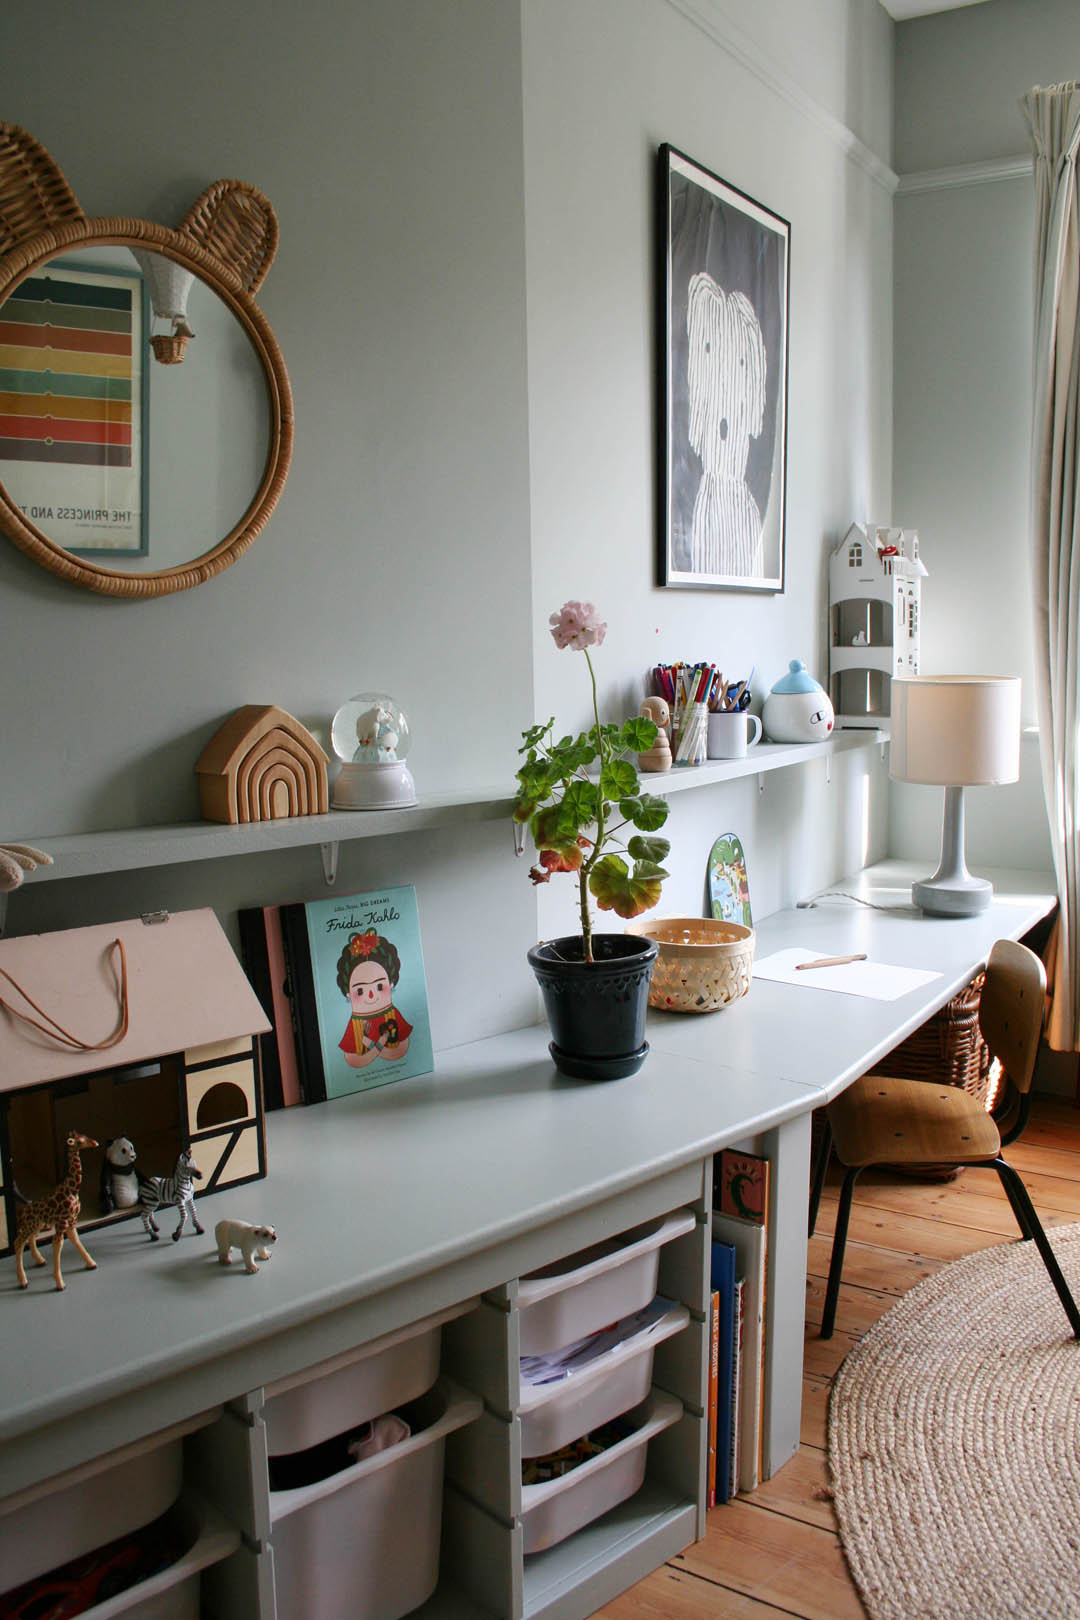
This high shelf is used to display art work.

High shelves

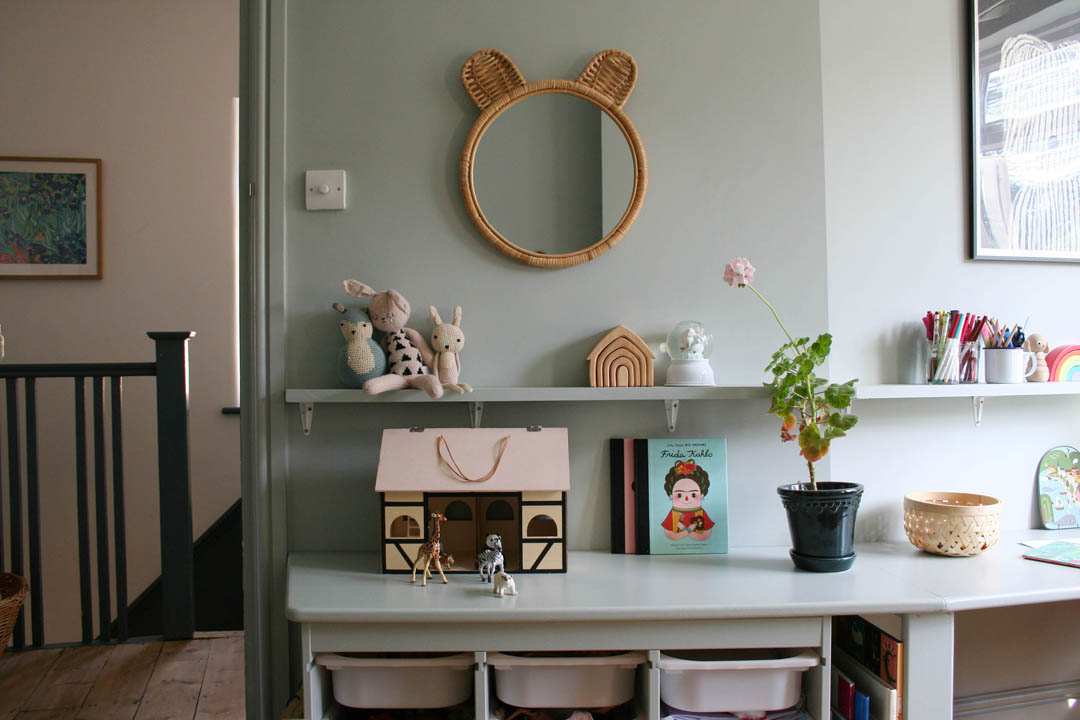
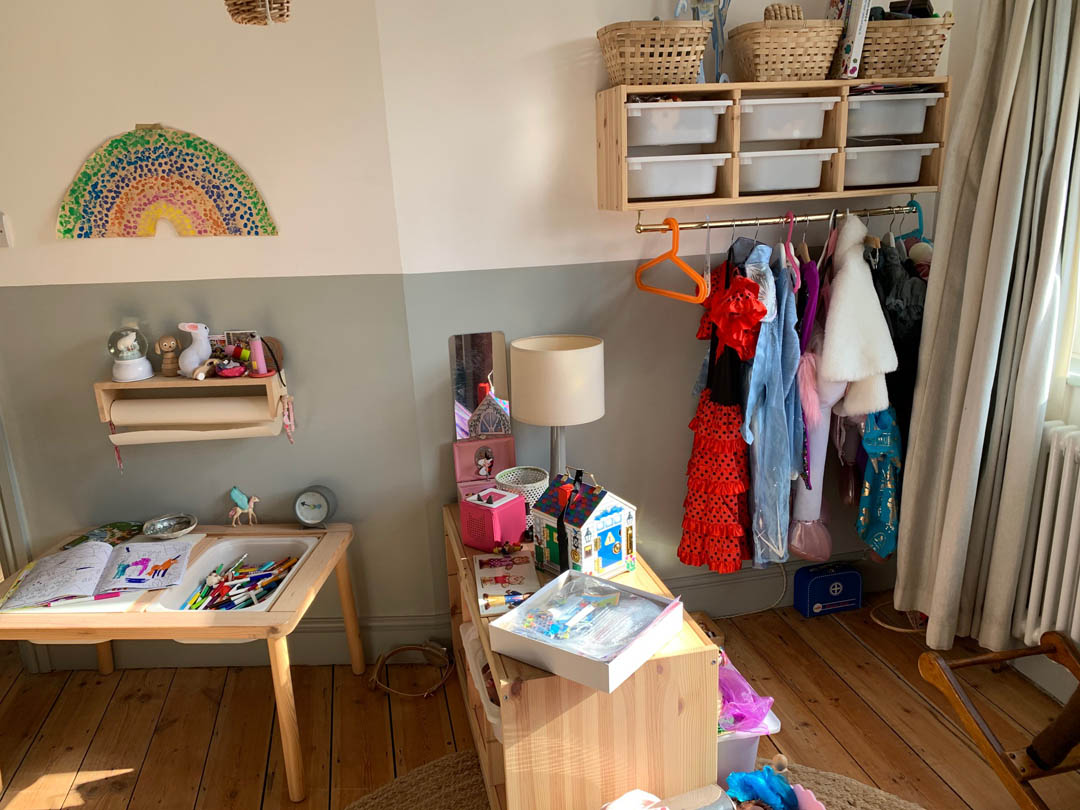
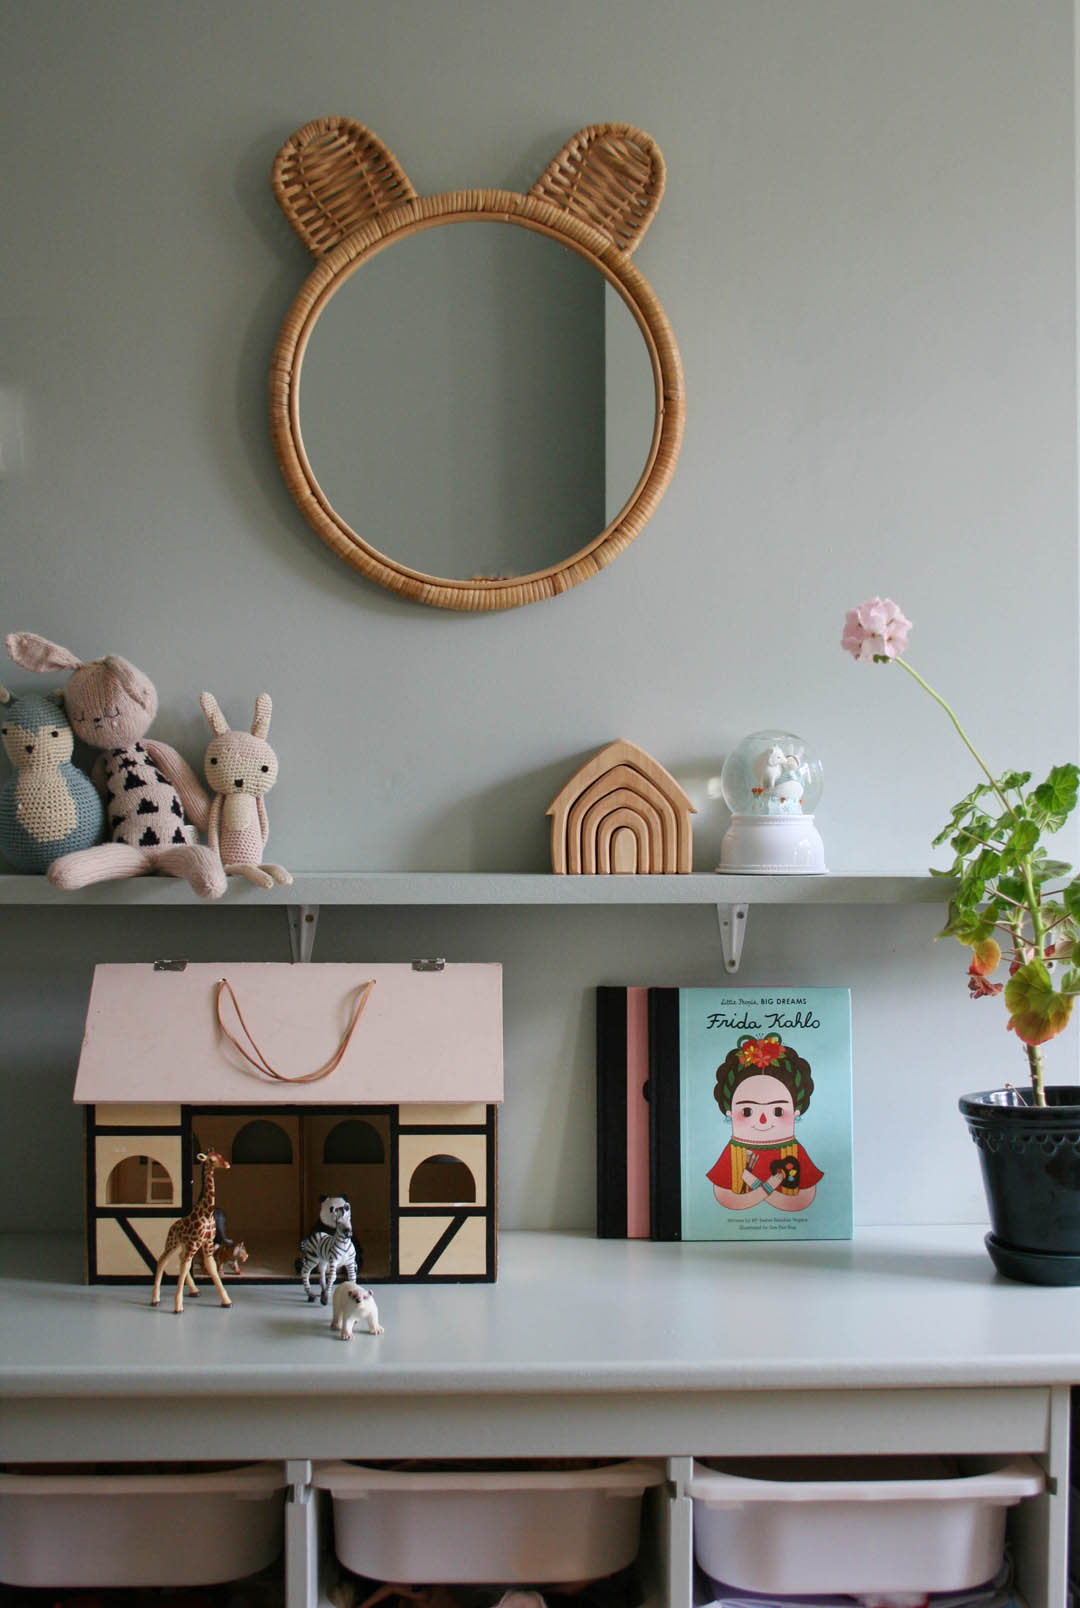
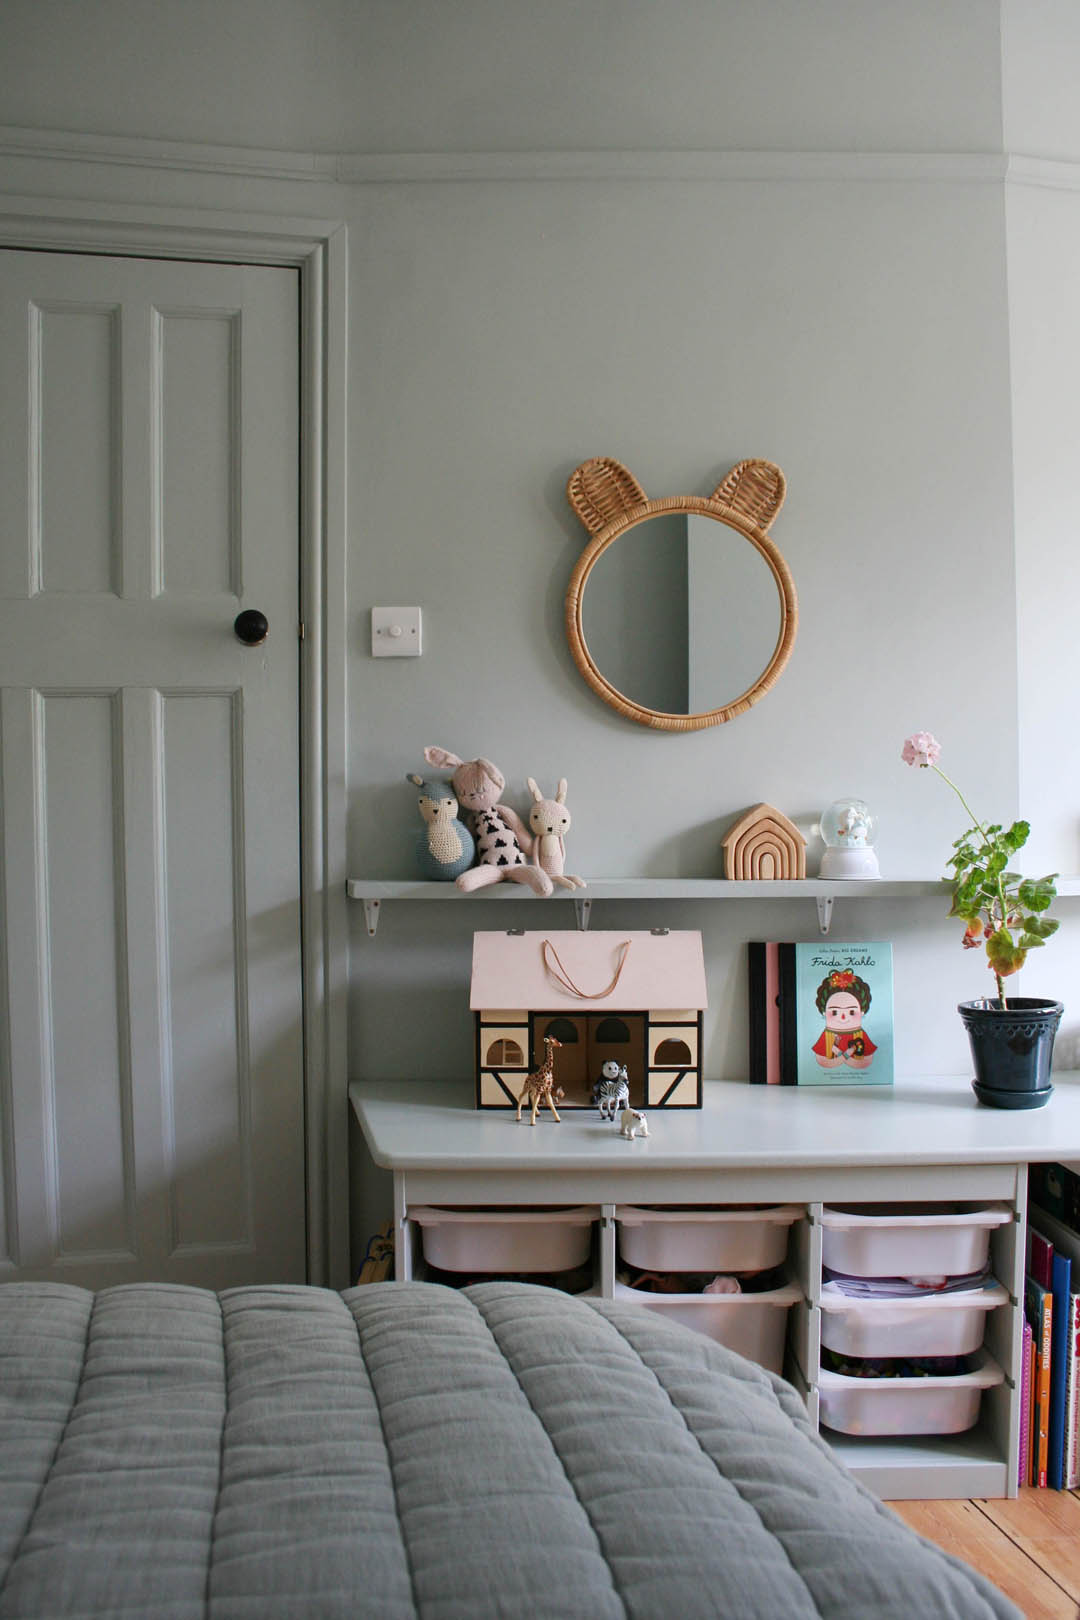
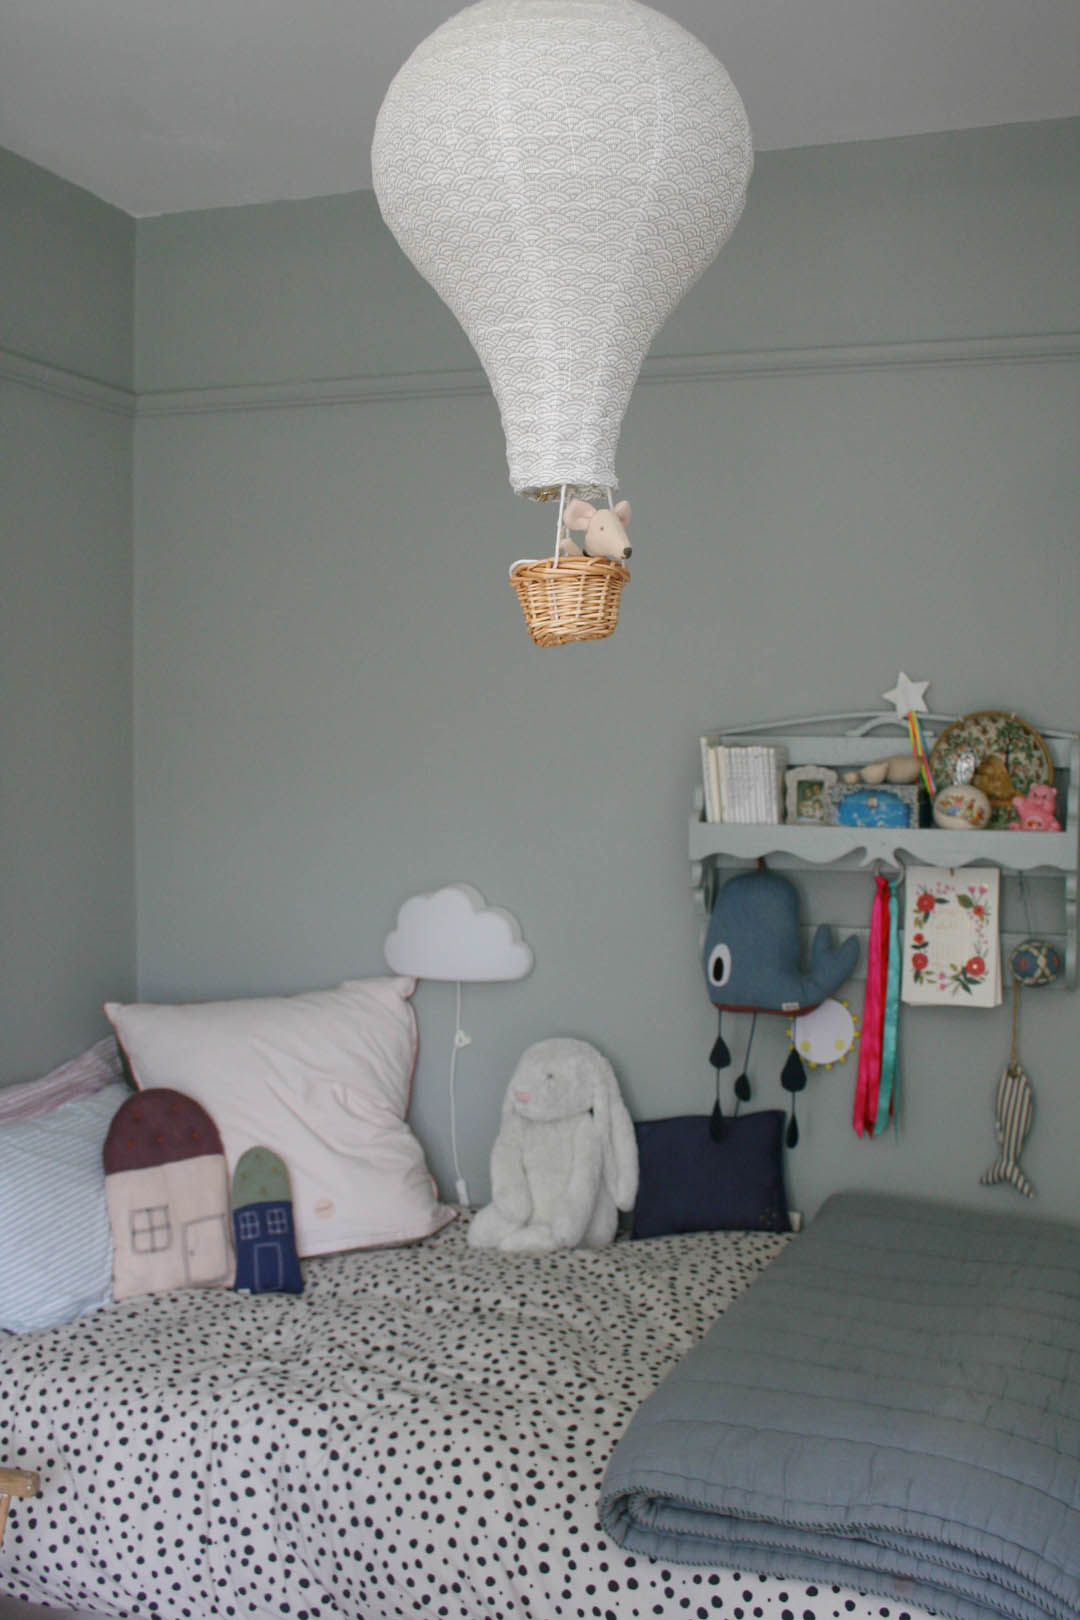
An ‘above the door shelf’ is used here to display treasures and a plant.

High shelves

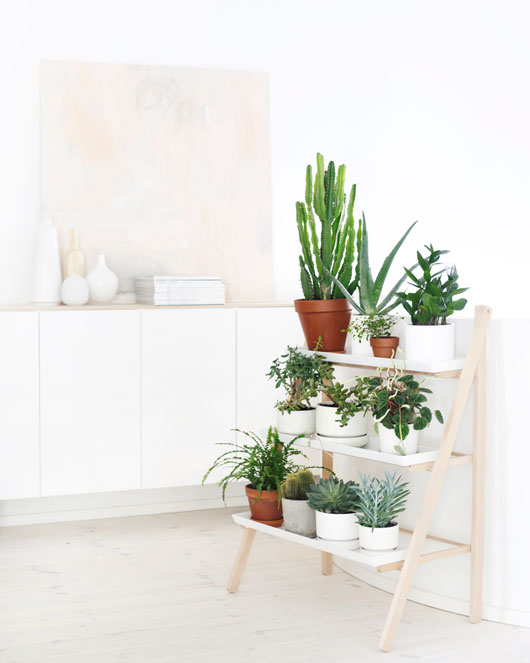
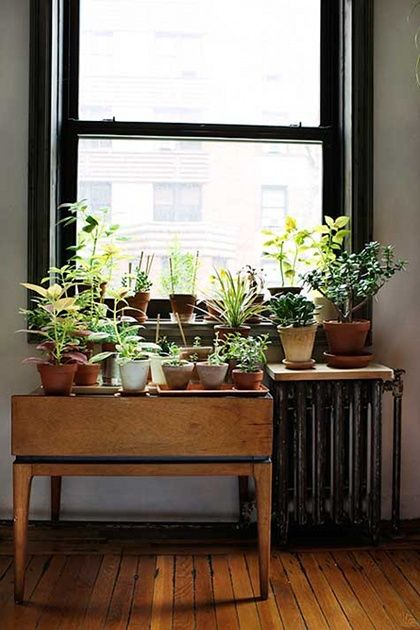
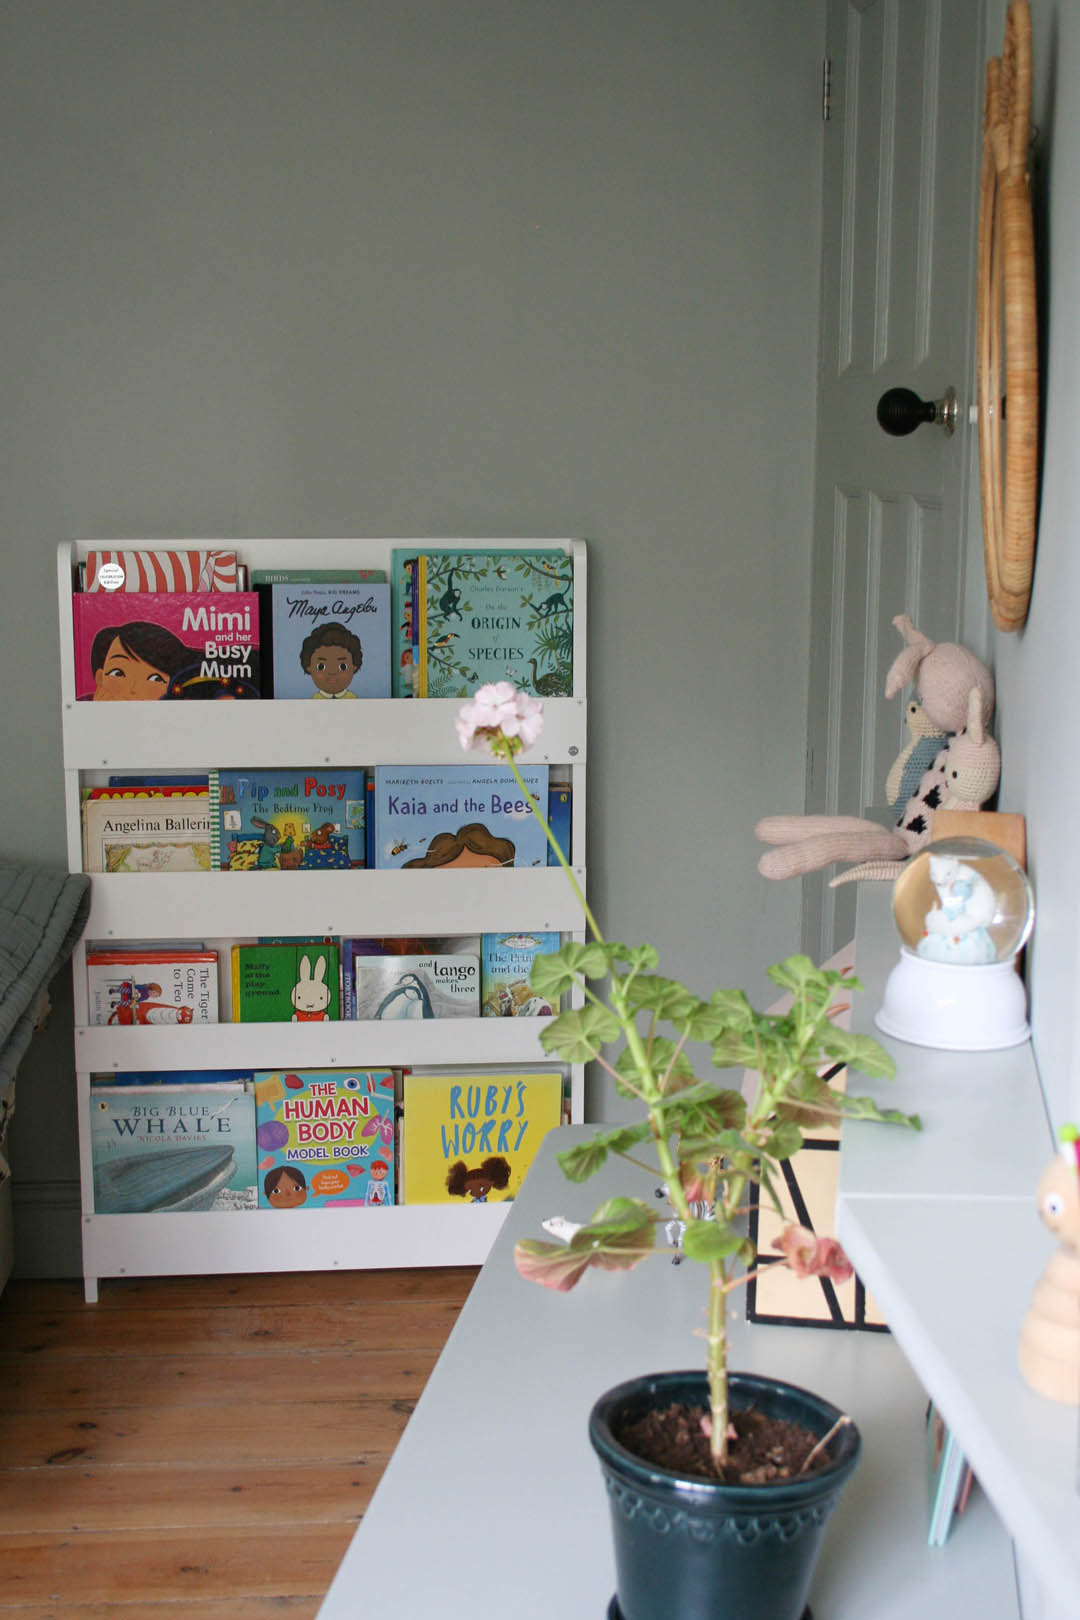
This shelf is not quite as high as the others but still high enough so that it does not use too much space or in danger of clumsy kinders. A lovely place to show off plants and kitchen wares.

High shelves

Love this so much. All I want is a ‘garden room’ with a shelf of cloches!!

High shelves

Another ‘above the door’ shelf used here to display porcelain and pottery.

Ceiling height high book shelves

This ceiling height shelf wraps around the whole room and becomes a feature of this bathroom.

High shelves

What about a shelf above the bathroom door to store extra towels? You are very lucky if you have a bathroom big enough not to need to do this.

High shelves

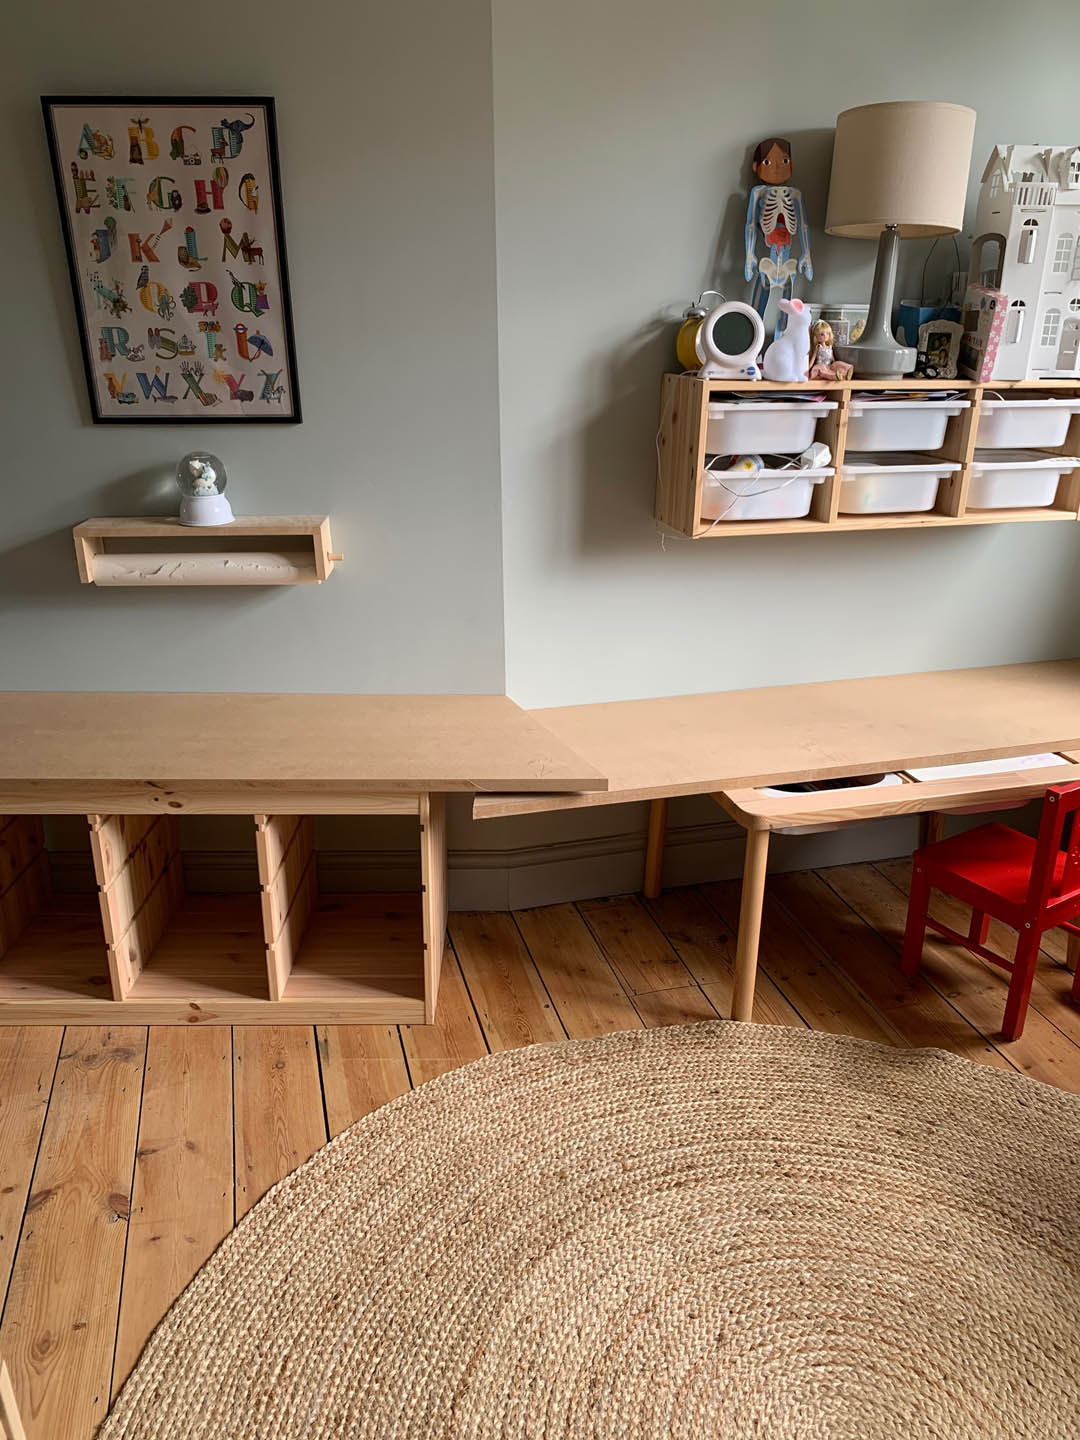
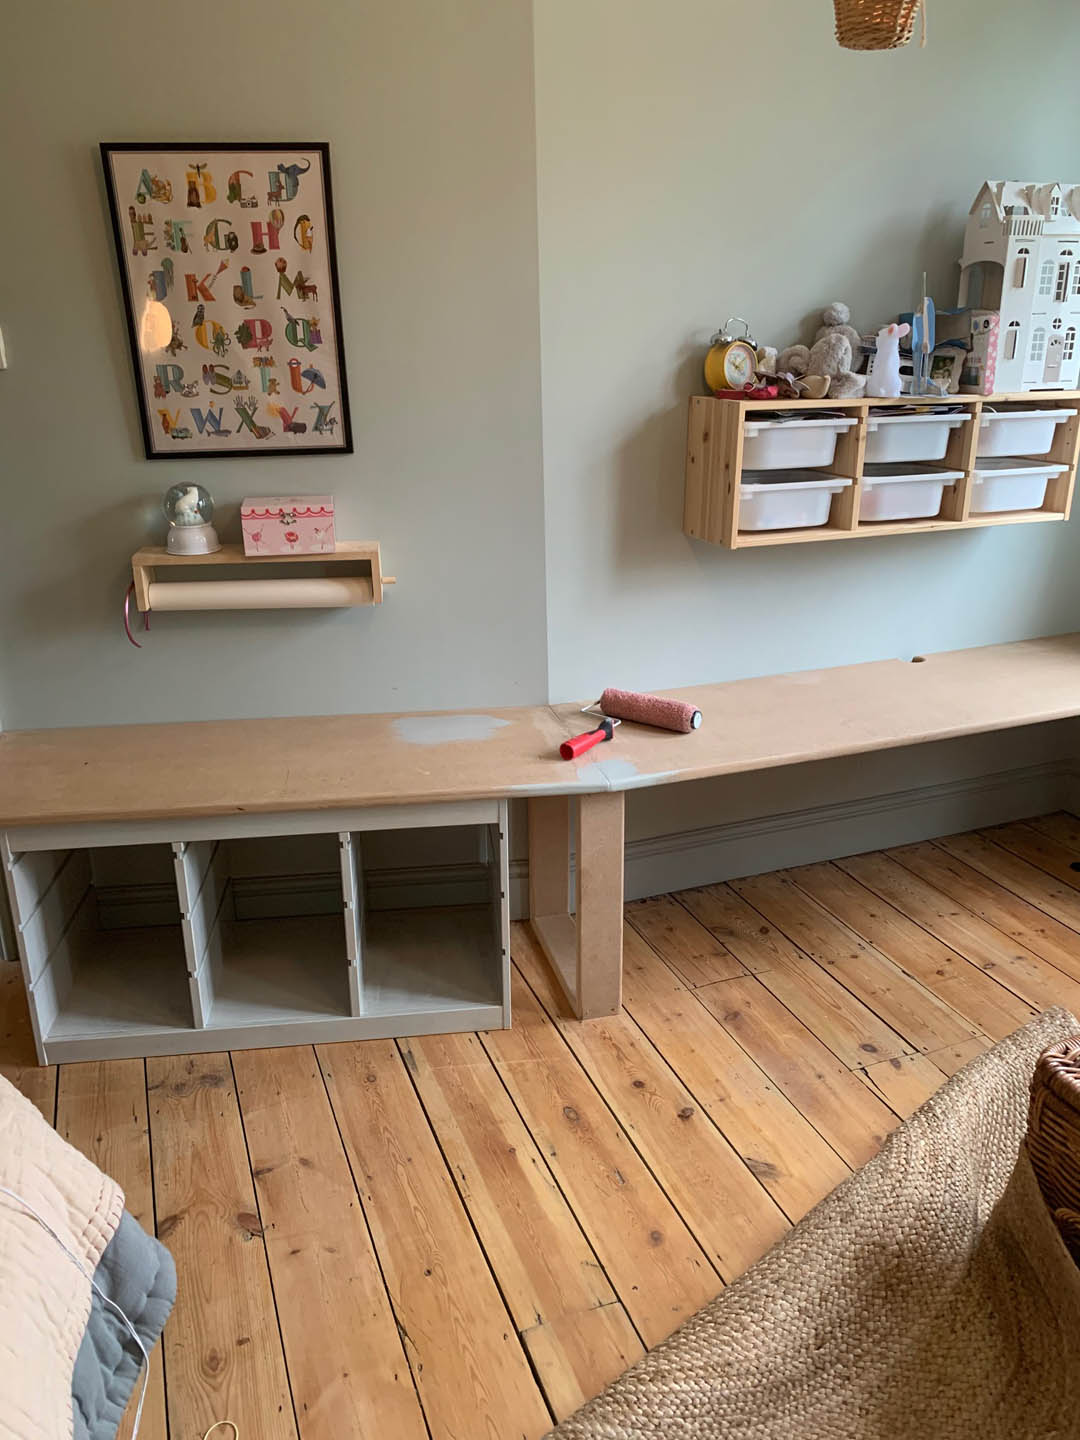
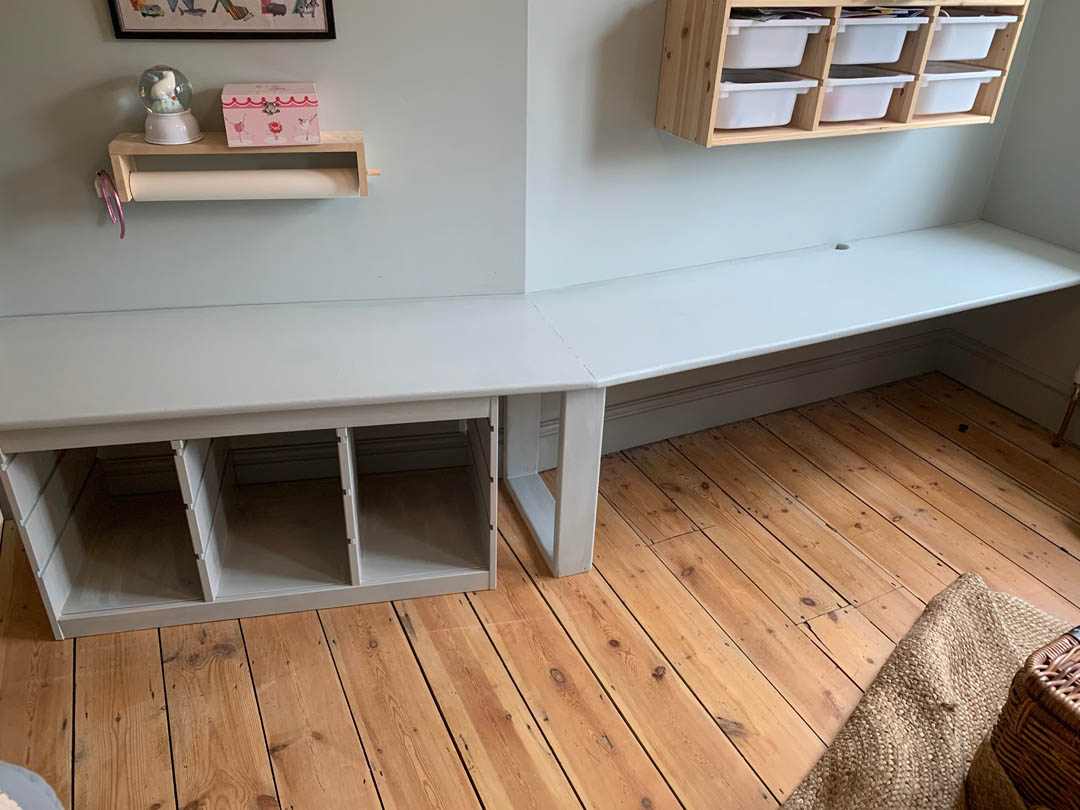
If this bank of shelves were lower, they would eat into precious living space and make this room seem much smaller. As they are, they provide a huge amount of storage, freeing up lots of wall and floor space.

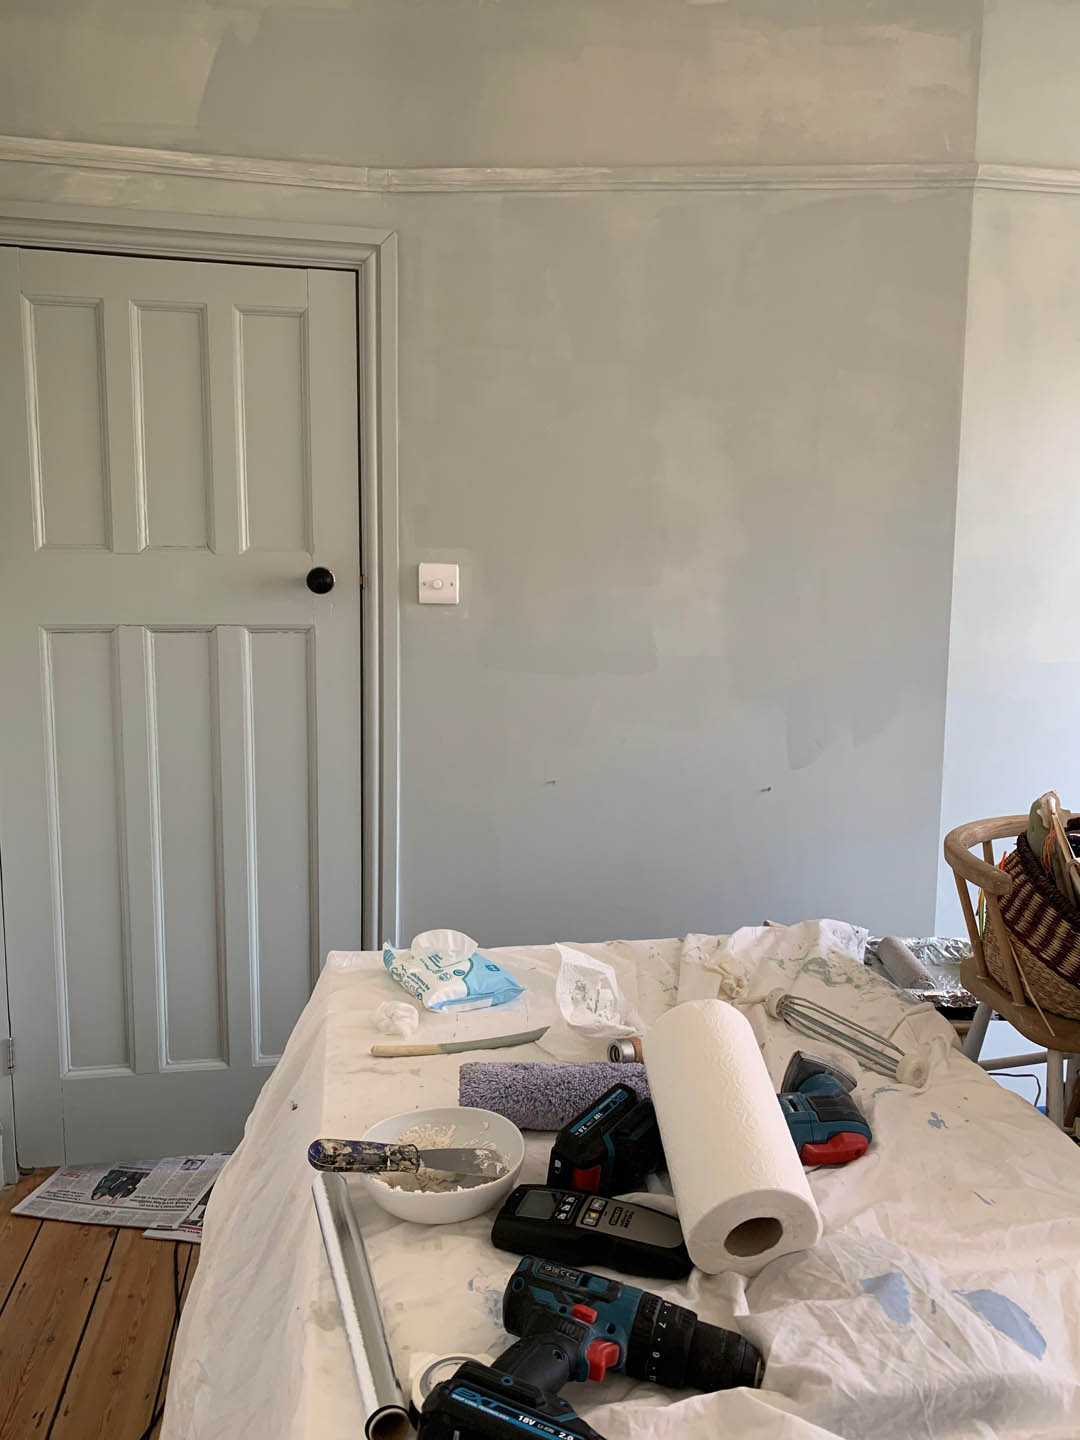
In the mean time my aim is to learn how to put up shelves myself instead of always relying on my dad or my boyfriend.  I don’t have much confidence of this happening…just being honest. It’s so much more  fun filling the shelves, rather than putting them up!


Top 10 storage tips

I know it’s only been a few months since I declared my decluttering mission to be over but I have to admit that I *may* be back on it. The problem we have is that our lovely home office, filled to the brim with craft materials, stationery, books and props has got to go – I know, I know! We will need to convert the room to a nursery in a few months time because even though we will have the baby in our room for the first few months we have nowhere else in our flat to store baby stuff and we want a guest bed back in that room so that family can come and stay (to help!). At the end of the day, my office has been a luxury and I will definitely be able to cope without it.

However, I don’t want to get rid of all my office ‘stuff’ so I am starting to think about different storage methods as well as traps I shouldn’t fall into. Here are my top tips…

1) Don’t store things under furniture

I’m always at risk of stuffing everything I own under my bed but if at all possible try your best not to do this. If you have a bed, sofa or cupboard that is raised off the floor on legs you should always try not to store things underneath them as this will block out light and instead of light from your windows being able to travel freely around a room it will be adsorbed by all the nasty clutter.

2) Make good use of doors

The back of a door in a room or the inside of a cupboard door is invaluable space to store things. Make as much use of them as possible. I have a set of hooks on the back of every door in our flat and because we always have the doors open you can’t even see what is stored on them. We also have a shoe organiser on the back of our hallway cupboard, our ironing board on the inside of another hallway storage cupboard door and every single kitchen cupboard has storage for pan lids, cleaning materials, foil and cling film or food. This hanging organiser would be perfect for some of my craft materials and could hang on the back of a door and will keep everything organised and easily accessible.

Top 10 storage tips | Apartment Apothecary

Hanging organiser from Clas Ohlson

3) Store smaller items in boxes/baskets on shelves

I have so many little bits and bobs in my office and the best way of storing those is in boxes or baskets that I can neatly store on shelving. I always add tags or labels so that I know exactly what is in each box, which makes it easier to grab stuff when I need it.

Wooden boxes and wire baskets from Clas Ohlson


4) Store similar things together

I think this is really helpful rule and easy enough to follow. Don’t create storage boxes full of random bits and bobs that you’ve just thrown together; plan what needs to be stored and group things together in a thoughtful way. This will enable you to access your stuff much more easily.

5) Transparent storage boxes

There are always going to be a few things (ok, maybe more than a few) that you want to keep but you don’t need regular access to. I like to store these things in transparent storage boxes that go in our large hallway cupboard. Being transparent means I can glance at them and know what is in each one and that way I don’t forget about things.

Storage boxes from Clas Ohlson

6) High shelves

I love a high shelf (I’ve written about them before here) and we have them above most doors in our flat. They don’t encroach on the space, they can provide a large amount of storage in otherwise wasted space and they are so easy to put up and cheap.

7) Baskets

I LOVE a basket or ten and they are perfect for every room, every landing, passageway or corner that I can get them into to help collect those extra things that need a home – blankets, magazines, shoes, slippers, bags.

Bamboo baskets and black baskets from Clas Ohlson

8) Organise your drawers

Inserts to help make the most of the storage space in drawers are a godsend and make a massive difference.

Top 10 storage tips | Apartment Apothecary

Drawers inserts from Clas Ohlson

9) Vacuum pack clothes and linens

There will definitely be a bit of vacuum packing going on around here as I need to make space in wardrobes so out of season clothes and spare bedlinen/duvets will need to make way. The added bonus of vacuum storage bags is that they keep clothes and linens protected from dust, damp and moths.

Top 10 storage tips | Apartment Apothecary

Vacuum storage bag from Clas Ohlson

10) Use wall space

It’s all about using wall space rather than floor space. The more floor space you can free up the bigger and more spacious your home will feel. Don’t go overboard but do take a good look around and see if there are walls that could be working harder for you.

Top 10 storage tips | Apartment Apothecary

Storage hook from Clas Ohlson

I hope some of these tips may help you if you’re struggling with space. I’ll let you know how I get on when I start the job in a couple of months.

Katy x


*This post was written in collaboration with my blog sponsor for this month Clas Ohlson

How to add plants to your home

As I write this there is the most wonderful sun in the sky and warmth in the air. It is truly delightful: Spring is springing, bulbs are out, birds are singing. Seeing colour in the park makes me smile and I’ve loved growing my own bulbs at home this year. I’m inspired to have more house plants and display these in different ways. I’m currently collecting ideas that I would like to share with you today. Plants can totally transform the feel and style of a room so it’s something to consider with more thought than I have done in the past.

1. Planting indoor bulbs.

2. Hanging jars and bottles:

How to add plants to your home www.apartmentapothecary.com

Image from Terrain.

3. Trailing plants placed on a high shelf:

How to add plants to your home www.apartmentapothecary.com

Image from Fat Cat Brussels flickr.

3. A fruit tree:

How to add plants to your home www.apartmentapothecary.com

Image from Freunde von Freunden. Photograph by: Natalia Guarín.

4. Succulents and cacti in vintage tins and pots:

Homebarn lookbook style and photographed by Caroline Davis www.apartmentapothecary.com

Image from Homebarn Lookbook, styled and photographed by Caroline Davis.

5. Plants EVERYWHERE:

How to add plants to your home www.apartmentapothecary.com

Image from Old Chum flickr.

6. A ladder shelf:

How to add plants to your home www.apartmentapothecary.com

Image from Weekday Carnival blog. Photograph by Riikka Kantinkoski.

7. A dedicated trolley or table for plant pots:

How to add plants to your home www.apartmentapothecary.com

Image from Design Is Mine blog.

8. Placing plants in crates hanging on the wall:

How to add plants to your home www.apartmentapothecary.com

Image from Smile and Wave blog.

9. Add just one statement plant:

How to add plants to your home www.apartmentapothecary.com

Image from Bungalow 5 blog.

10. A fiddle fig tree in a basket:

How to add plants to your home www.apartmentapothecary.com

Image from Smitten Studio blog.

Just LOVE all of these images and I hope you’ve got some ideas about how you can display house plants a bit more creatively.

Katy x


The finished IKEA PAX hack wardrobes

As promised, here are pictures of our PAX wardrobes now they have been hacked and painted. If you missed it I shared how we hacked our PAX wardrobes last week and although it was a long process for us – mostly because we customised the door fronts – it has been so worth it.

The concern most people have when they opt for built-in wardrobes is losing a sense of space. However, I would say the opposite is actually true. When you add free standing furniture to a room, especially in a small room, it is the gaps between the furniture and the walls that they stand against that can make a room feel disjointed and cramped. For example, when we had built the wardrobes and had not started the boxing in process the room felt a lot smaller suddenly. This was because the gaps between the sides of the wardrobes and the alcove walls as well as the tops of the wardrobes and the ceiling created horrible gaps and resulting shadows that made the room suddenly feel higgledy piggledy and as I looked around the room my eye just didn’t know what to look at first as there were so many awkward shapes and lines. The moment they were boxed in the room felt calm and cohesive again.

I chose to paint the wardrobes Shaded White, which is ever so slightly darker than the School House White on the walls. It allows the wardrobes to disappear into the walls but the slightly darker tone provides just enough contrast. I just LOVE how light and calm this room is now. When I come into the room it is like walking into a big dreamy cloud. The black fireplace, Inchyra Blue door (when open from the hallway) and a few dots of colour from cushions, plants and the Jitney woodwork are just enough points of contrast for all the neutral paintwork.

I chose to add the corner cupboard rather than having two alcove wardrobes as I really wanted as much storage as possible. Yes, I could have had a a chest of drawers or dressing table along that wall instead but in such a small room it would have been impossible to fill this space with anything that gives me as much storage as the PAX does.

We are so pleased with how the cupboards have turned out. Believe it or not we still haven’t fully organised the interiors so I will have to show you those at a slightly later date when they are finished (quite a lot of just stuffing things in is the current situation. But for those of you wondering, the first cupboard on the left is a shelf with a mirror that acts as a dressing table area with drawers below it for makeup and drawers for underwear. The second cupboard is forward facing hanging, the third cupboard is half shelves and half drawers and then the cupboard in the alcove, which is the deepest is all hanging with high shelves at the top. I will show all soon but it is amazing what it can fit!

I’m very pleased with how little floor space the cupboards take up as we were able to to choose 35cm depth frames for the left hand wall so when I enter the room the cupboards do not feel obstructive.

The big issue I was left with covering so much wall space with the wardrobes and not having any other furniture in the room besides bedside tables was the lighting. I had always had a lamp in the alcove, which combined with the two low hanging pendants over the bedside tables was a perfect amount of light for this small room where I never ever need overhead lights. Therefore, I had to consider wall lights on the chimney breast but this would be a big expense for the light fittings and getting them wired in. So I decided a good option would be to find a small lamp to sit on the very shallow fire surround – a pretty difficult challenge, I can tell you. I did find one from John Lewis (they no longer sell it unfortunately) that fits perfectly as it has an irregular sized shade and luckily I love it, especially the plum coloured base. It was only £55 so this was definitely the least expensive way of dealing with the issue as well as the least hassle and it emits the perfect amount of light for the room. We took a hole out of the side of the wardrobe frame and box so we could plug it in where we have an existing plug hole in the alcove (we made sure all of our plug sockets are exposed by cutting our notches in the cupboard frames).

Jules’s cupboard is on the right side of the room and fits into the alcove but is only 35cm deep as there is so little space between the cupboard and the end of the bed. Jules was concerned that having no symmetry between the two sets of cupboards would look strange but it really isn’t a problem, in my opinion because of the colours we have used. Yes, one set of cupboards is deeper than the other, neither set are central within the alcove and the left hand set has a massive 15cm gap that required boxing in but I really think the boxing in process has smoothed out all of those differences and has made it all look very cohesive.

I took these photos on a very dull day and just as I had finished the sun came out and poured into the room so i took a pic of the the window and I think this gives you a really good sense of just how small the room is.

We’re super pleased and I will follow up with more about the interiors and costs!

Katy x

DIY desk for child’s bedroom

Firstly, I want to say a big hello and I’m sorry that I’ve been away from the blog for so long. Unfortunately, the blog was hacked back in May and it took a long time to restore it (there are still a lot of images missing) and then I took the summer off whilst Mimi was on holiday before she started primary school a couple of weeks ago. I’m not quite sure how we have got to the primary school stage but there you go! Anyhoo, I hope you are all well and I look forward to updating you on what we have been up to in our house and some of the projects I have been working on for clients.

We struggled with Mimi’s room throughout the pandemic as we had planned to update it for her changing needs from toddler to child just before the first lockdown but then got stuck with everything closed etc etc so it became a real mish mash over the last eighteen months. We finally got it together to sort it out, minus the high bed she really wants but I reckon that will make a good Christmas present.

The biggest issues were needing somewhere to put all her trinkets, papers, toys as well as somewhere to sit and draw. I also didn’t want to spend very much and use leftover paint from our initial renovation three years ago. I designed a desk to wrap around the slightly awkward angled wall in her room from one £48 piece of MDF that provides storage and a very large surface for toys and an all important dedicated place to draw, colour and write, which are the things she loves to do most. Everything has been painted in Light Blue by Farrow & Ball – the walls are Estate Emulsion and the woodwork/desk are Estate Eggshell because we have loads of it and I love the colour! Please note that Light Blue is neither light nor is it particularly blue. In some lights it has quite a lot of green, at other times it is very grey or silvery and it never appears ‘light’. I would also not advise using it in a north facing room as it can appear rather drab without a decent dose of sun light.

So, this is where we were at with the room by the end of the third lockdown…

There wasn’t enough space for anything, stuff was always on the floor and she had outgrown constant dressing up so this side of the room just looked a mess and she just stopped using it altogether. No surface was big enough for her to spread herself out and everything was a jumble. I started by painting the whole room, including above the picture rail, Light Blue to make the space feel bigger.

You can kind of see in the images above how taking the colour above the picture rail stretches the walls upwards and makes the room look and feel bigger. The door and woodwork was already Light Blue and I chose to keep it that colour mainly because I really, really didn’t want to re-paint all the woodwork (!) and also because the colour block effect does make a small room feel less disjointed.

We then used one sheet of MDF to create two lengths that join in the middle where the room angles outwards. It would have been sooooo much easier had the wall angled inwards but we needed to create a support for the two lengths, which we did with some of the MDF. We also decided to integrate the exisitng IKEA Trofast unit into the desk for more storage.

The left hand MDF surface is supported by the Trofast unit and then on the right hand side we put MDF batons on the wall at the back and on the right hand wall. We also cut a notch out of the back of the right hand length to reach the plug hole.

We really went to town sanding the edges and corner of the MDF, which makes all the difference. We used woodfiller to fill the gap where the two lengths of MDF meet. I then painted the lot, including the Trofast unit in Ronseal All Purpose primer and then Light Blue Estate Eggshell (I would have used Modern Eggshell but I was trying to use up old paint and the Estate Eggshell has actually worked really well).

We also took down the shelves that were on the wall and used the rest of the MDF sheet to make one long shelf that runs above the desk. Mimi calls this her ‘special shelf’ and puts all of her little trinkets on it (I have to admit I moved a lot of them to take photos!!).

I didn’t originally like the support we made for the centre of the desk where the wall angles outwards but I realised we could use the nook it created for all of the oversized books that Mimi has, which is perfect! I bought a new chair for the desk as her old IKEA one that we got from a neighbour was too small and she was complaining of a sore neck.

I also bought a new duvet cover and poster to add a bit of contrast and to ground all of the blue. On the most part though we have kept things from her original nursery including the quilt, pillows, cushions, toys.

We haven’t done much on this side of the room as this is where we plan to put the high bed – for now Mimi has the old single divan that used to be in what is now our home office.

The great thing about the new desk set up is that the floor is no longer absolutely covered in stuff and it will definitely grow with her even if we have to raise it slightly. And for now it’s just right for our big school kid!

Katy x

Source list:

Walls – Light Blue Farrow and Ball Estate Emulsion

Woodwork, desk and shelf – Light Blue Estate Eggshell

Trofast drawer unit – IKEA

MDF sheet – A standard sheet 2440mm x 1220mm but it needs to be 25mm thick. We got it from a local wood merchant delivered.

Shelf brackets

Desk chair – Sebra

Cane mirror – Kidly

Fine Little Day Jaxx poster – Tea and Kate (I used an old IKEA black metal 50x70cm frame)

Monochrome spot duvet cover – H&M

Bookshelf – Tidy Books