Floral Easter decoration

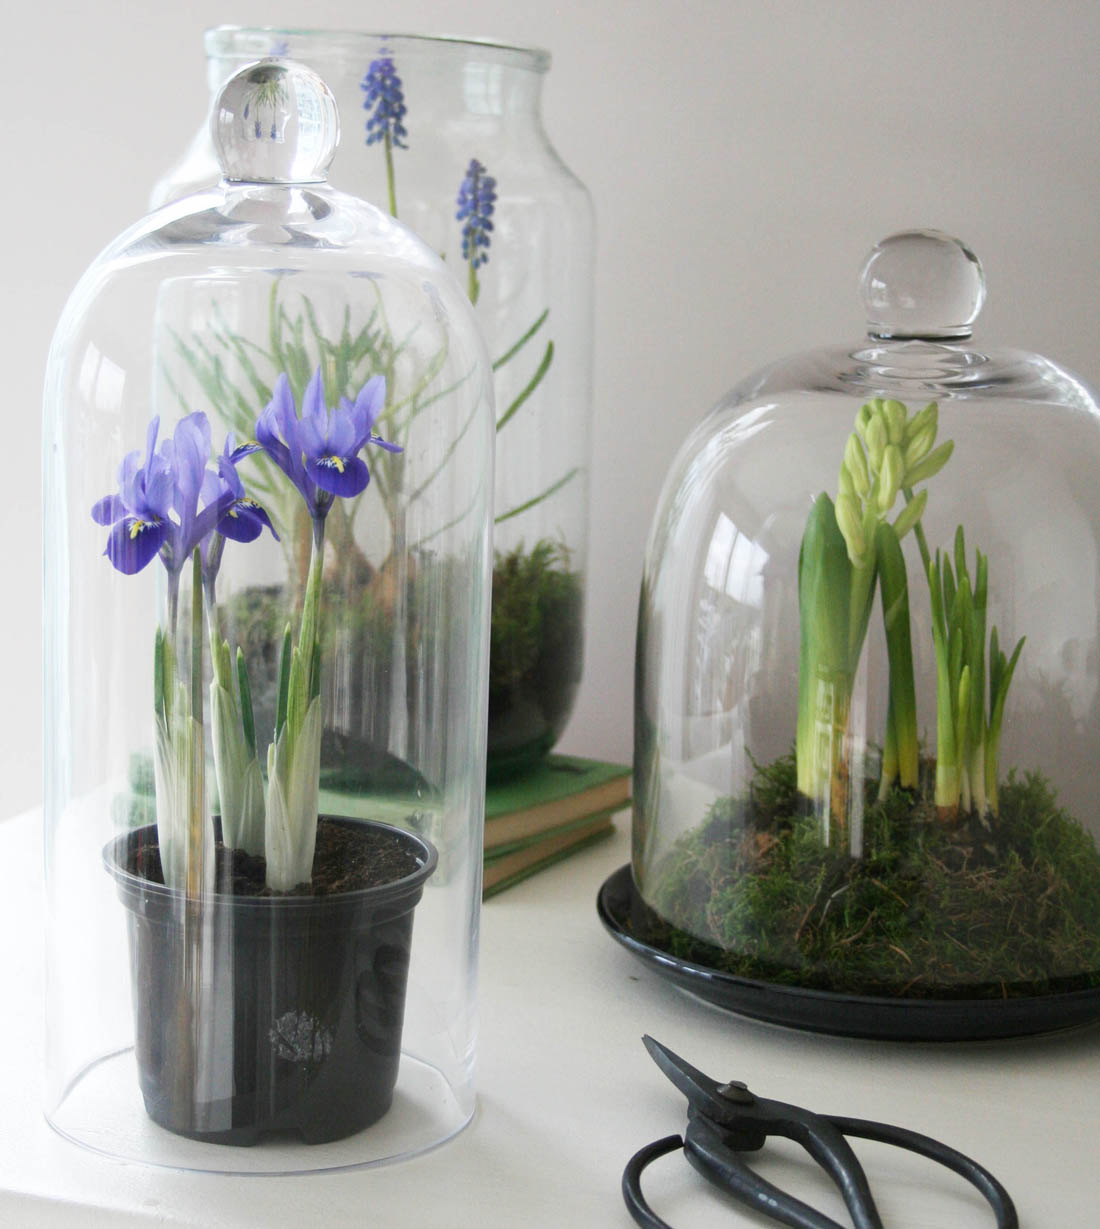
I love, love, love Easter so as soon as I saw this hanging candle holder from Out There Interiors I knew I wanted to add a Spring touch so I could hang it over the Easter table. Hanging decorations over dining tables are always a good thing as they leave more space for hot cross buns, chocolate eggs and more hot cross buns.

We always used to spend Easter at my grandparents’ house down in Devon and my Grandma would decorate the table so beautifully so I decided to channel my Grandma today and go back to good old oasis. I will always remember watching her flower arranging at her church and squidging my fingers into the oasis and probably getting told off for doing so. I’ve never used it myself but it seemed like the perfect way to add flowers to this candle holder. Plus, it holds a dinner candle in place perfectly.

Hanging candle holder for a Spring easter table | Easter table decoration | Out There Interiors | Apartment Apothecary

I cut out a piece of oasis the size and shape of the candle holder and soaked it in water for a minute or so. I then placed it into the holder.

Hanging candle holder for a Spring easter table | Easter table decoration | Out There Interiors | Apartment Apothecary

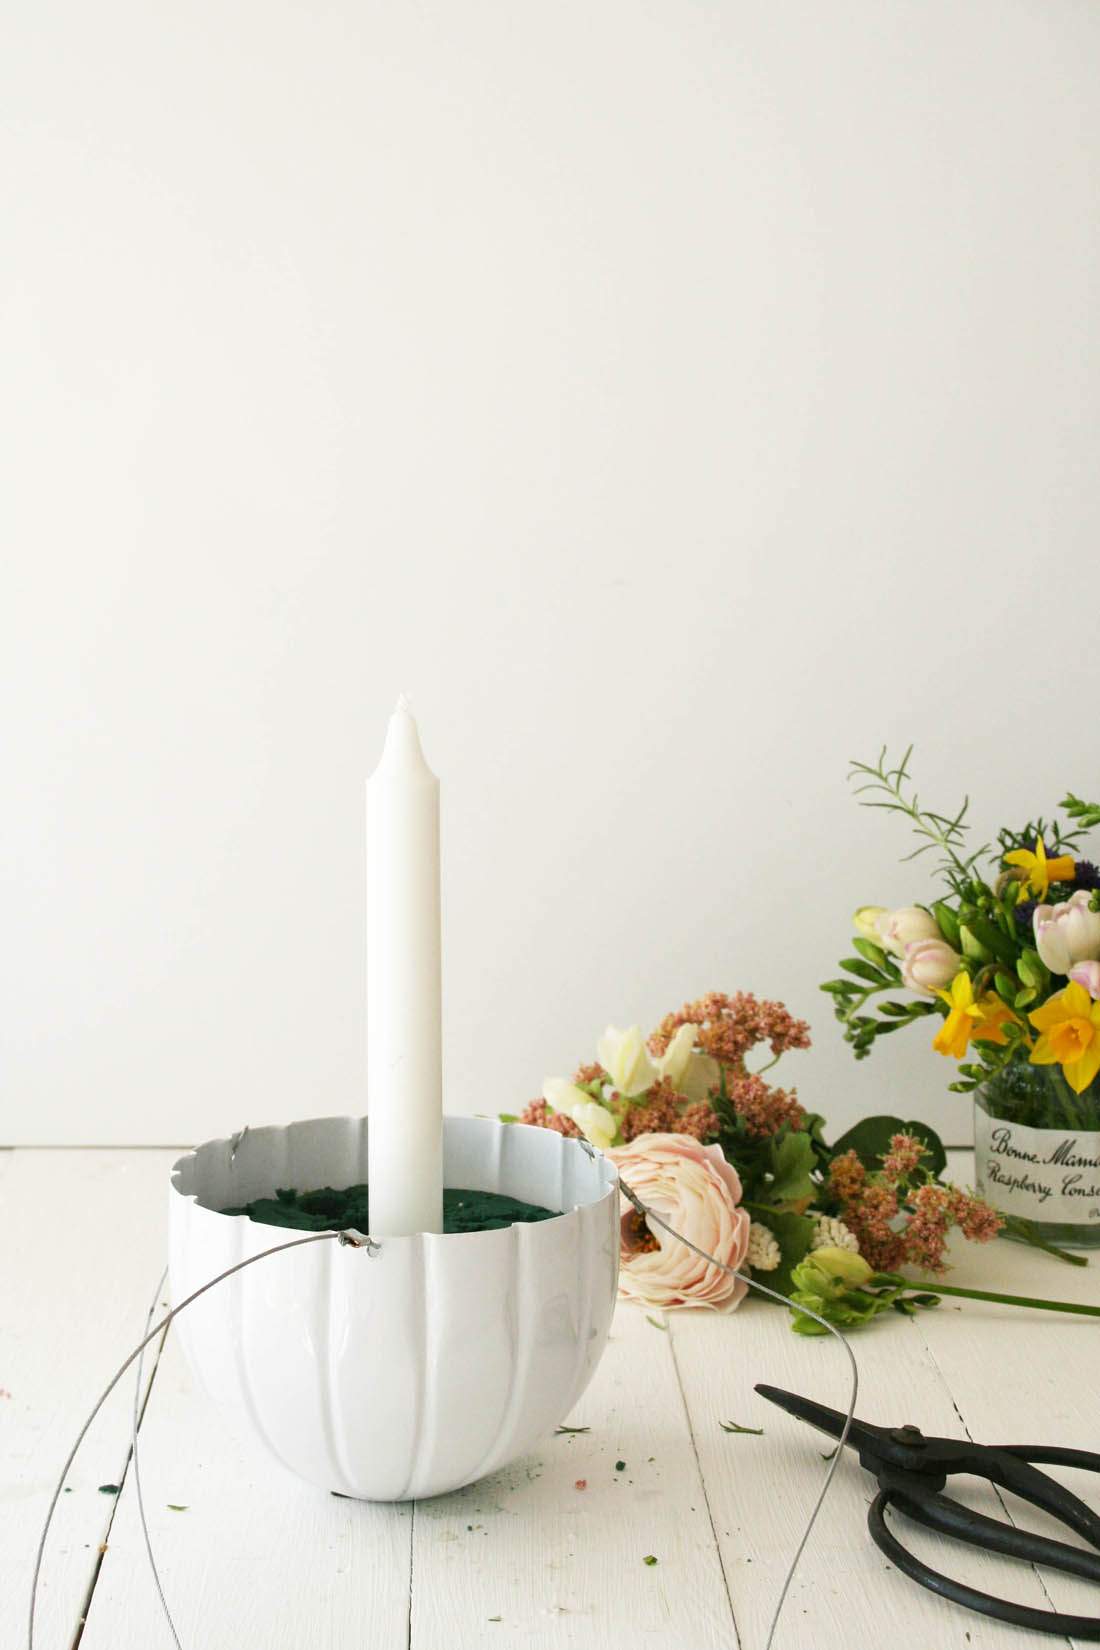
I stuck a dinner candle into the centre of the oasis (otherwise a big pillar candle would stand up by itself).

Hanging candle holder for a Spring easter table | Easter table decoration | Out There Interiors | Apartment Apothecary

I cut some blooms from my balcony (freesias, grape hyacinths, lavender leaves, rosemary) and added a couple that I had bought. It couldn’t be easier to stick them into the oasis – just make sure you are arranging it to look good from below as it will be hanging above you.

Hanging candle holder for a Spring easter table | Easter table decoration | Out There Interiors | Apartment Apothecary

Cute, isn’t it? Just make sure you keep a close eye and don’t let the candle burn all the way down. Happy easter everyone, hope you all have the most wondrous long weekend.

Katy x


*Written in collaboration with Out There Interiors.

Styling the Seasons – March

Welcome March and the return of Spring! One of the things that I love most about this time of year is that the mornings are brighter and I feel like I can reclaim hours in the day that were otherwise lost to me over the winter. Productivity levels go up and energy returns as everything comes to life once again.

Styling the Seasons - March | Apartment Apothecary | Indoor bulbs | Plants under cloche

This month is set to be a busy one, full of celebrations starting with my Dad’s partner’s 70th birthday this week (happy birthday, Shirley!), Mother’s Day, a special weekend getaway for my mum’s 70th, Easter and then my friend’s wedding at the end of the month. Lots of parties, presents and having a good time. Hopefully, we will see more of the sunshine and that special Spring feeling that is so hard to describe in words.

Styling the Seasons - March | Apartment Apothecary | Indoor bulbs | Plants under cloche

I did this month’s styling a couple of weeks ago as I was doing an Instagram takeover for HomeSense with a ‘Getting ready for Spring’ theme. I bought these cloches for £5 each and I love how they make a humble pot of Spring bulbs shine – they’d be perfect for an Easter table centrepiece. Just don’t leave them under glass for too long!

Styling the Seasons - March | Apartment Apothecary | Indoor bulbs | Plants under cloche

Charlotte and I would love for you to join us this month and style a surface in your home to show what this month means to you. Blog about it or post a picture on your favourite social media platform and tag us in so we can see.

Happy March styling everyone!

Katy x

Hand printed Valentine’s posies

I would love to gift all my friends and myself a bunch of pretty flowers this Valentine’s day but cut flowers cost a lot! Therefore, I have tried to find a way of making a little go a long way without too much compromise so that you can spread the love this year. February is great for early Spring flowers (forget red roses!) like Anemones, Paperwhites, Tulips and Hyacinths so I grabbed a handful of them from Borough Market the other day, which cost about £15 in total. I decided to make them into tiny posies with a handprinted pouch for my girlfriends – an easy way to make a teeny tiny bunch of blooms extra special.

Hand printed Valentine's pouches | Apartment Apothecary

You will need

– Bunch of flowers

Calico or cotton

Dylon fabric paint and plastic bag to protect table

– Pencil with an eraser tip

– Sewing machine or needle and thread

– Pins

– Twine or ribbon

– Kitchen roll and clingfilm

– Fabric scissors

Hand printed Valentine's pouches | Apartment Apothecary

Step by step

1. Cover the table with a plastic bag. use the eraser tip of a pencil to print spots on the fabric. Once it is dry iron it to set the paint.

Hand printed Valentine's pouches | Apartment Apothecary

2. Cut the printed fabric into strips 30 x 14cm.

Hand printed Valentine's pouches | Apartment Apothecary

3. Fold the strip in half, right sides together and pin it together. Sew up the sides of the pouch, leaving the top open.

Hand printed Valentine's pouches | Apartment Apothecary

4. I then printed Valentine’s messages using a stamp.

Hand printed Valentine's pouches | Apartment Apothecary

5. Gather your blooms and select a few for each posy, cutting down the stems to fit inside the pouches.

Hand printed Valentine's pouches | Apartment Apothecary

6. Saturate some folded kitchen roll and roll the posy up in this and cover it in clingfilm so no moisture leaks out.

Hand printed Valentine's pouches | Apartment Apothecary

7. Pop the posy into the pouch and tie it up with string or ribbon.

Hand printed Valentine's pouches | Apartment Apothecary

Your posies are ready for delivery to your best girls or boys.

Hand printed Valentine's pouches | Apartment Apothecary

Hope everyone feels the love this Sunday!

Katy x


Planting a terrarium

It’s been a couple of years since I finally managed to convince my mum to give me the terrarium that we found in the bushes in the house we moved to when I was 13 years old. She had never planted it so I promised that I would do it for her and then kind of never gave it back – ha! I have had to replace a couple of the plants in the terrarium over the last two years but on the most part it has been ridiculously simple to keep alive and healthy.

Mine is a closed terrarium full of tropical plants that love heat and you can see what I planted in it here. This weekend I had the task of planting another equally beautiful terrarium that belongs to my friend. She has just moved into a new house and rather than buy her a useless house warming present I offered to plant this beauty for her. This is only partially closed as there are open windows all the way round the planter and my friend wants it to be completely hassle free so I have used lots of succulents. Let me tell you how I did it…

How to plant a terrarium | Apartment Apothecary

First up I went for a walk with Otto along the Thames and popped down to one of the beaches and collected some small pebbles to lay at the bottom of the terrarium to provide drainage.

Secondly, I ordered some special terrarium soil that contains charcoal and coconut husks and this keeps the soil fresh, which is very important in a closed environment and it also aids the drainage. Lay the soil over your pebbles.

Thirdly, I bought a variety of succulents of different heights and textures. I ordered mine from eBay because there’s nowhere near me that sells a good variety of plants and I still haven’t learnt to drive (I know!!). I bought two collections from this seller, which totalled about £25 for eight plants and the delivery charge, and they arrived very well packaged and in good health – not cheap but far less hassle than travelling to a garden centre from where I live. Plant them with enough space between each, being aware that they will spread as they grow. It can be quite fiddly because of the restricted access so you just have to be slow and patient.

Fourthly, do not over water! All you need is about one very small jug’s worth every month or so. Just keep a close eye on the plants and the moment you see any shrivelling in the plump leaves you know it’s time for some water.

How to plant a terrarium | Apartment Apothecary

Such a great find; I think it cost her about £20 from an antiques shop in Rye. Do you think she will notice if she never sees it again?!

Katy x


Urban jungle bloggers: plants in my kitchen

So, my kitchen is currently in a state of disrepair with tools and materials everywhere so there was no chance of me taking photos in there for this month’s Urban Jungle Bloggers. However, I was desperate to join in this month as I’ve missed the last couple with the general craziness of the festive season. Luckily I have a couple of shots taken by Cathy Pyle for an upcoming home tour (more on that next week).

Urban Jungle Bloggers | Plants in kitchen | Plants in vintage pots | Apartment Apothecary | Photograph by Cathy Pyle

I love this vintage marmalade jar and thought it would be the perfect home for an easy to care for succulent. Image by Cathy Pyle.

This is a good snapshot of the plants in my kitchen, all of which are planted in vintage pots or containers. I am very excited about ripping down the wall cupboards this weekend to be replaced by open shelves (which will probably happen the weekend after that – the major problem with doing it all yourself is it takes soooo long as everything has to be done at the weekends) as I can fill them up with even more plants! I love using food related vintage containers for plants in my kitchen – you can see an old jelly mould that I made into a hanging planter for herbs here and old food cans for herbs here.

KatyOrme-30

My friend Farah bought me this utensil jar from a car boot sale and I love it. I also love its succulent hair do. Image by Cathy Pyle.

Do make sure to search the #UrbanJungleBloggers hashtag on Instagram and Twitter and take a look on the Urban Jungle Bloggers website for more inspiration for adding plants to your kitchen. Also, pop over to Happy Interior Blog and Joelix to see Igor’s and Judith’s take on the theme.

I am looking forward to draping the place in plants once our DIY endeavours are done so watch this space…

Katy x